It’s been about 2 weeks since the first post, and things are moving along nicely. While I would’ve originally liked to have been done by now, I’m happy with how things are progressing. Between working a lot and multiple Halloween events, I haven’t had a ton of time, but I got a lot done in the past 2 weeks. First up is tile.

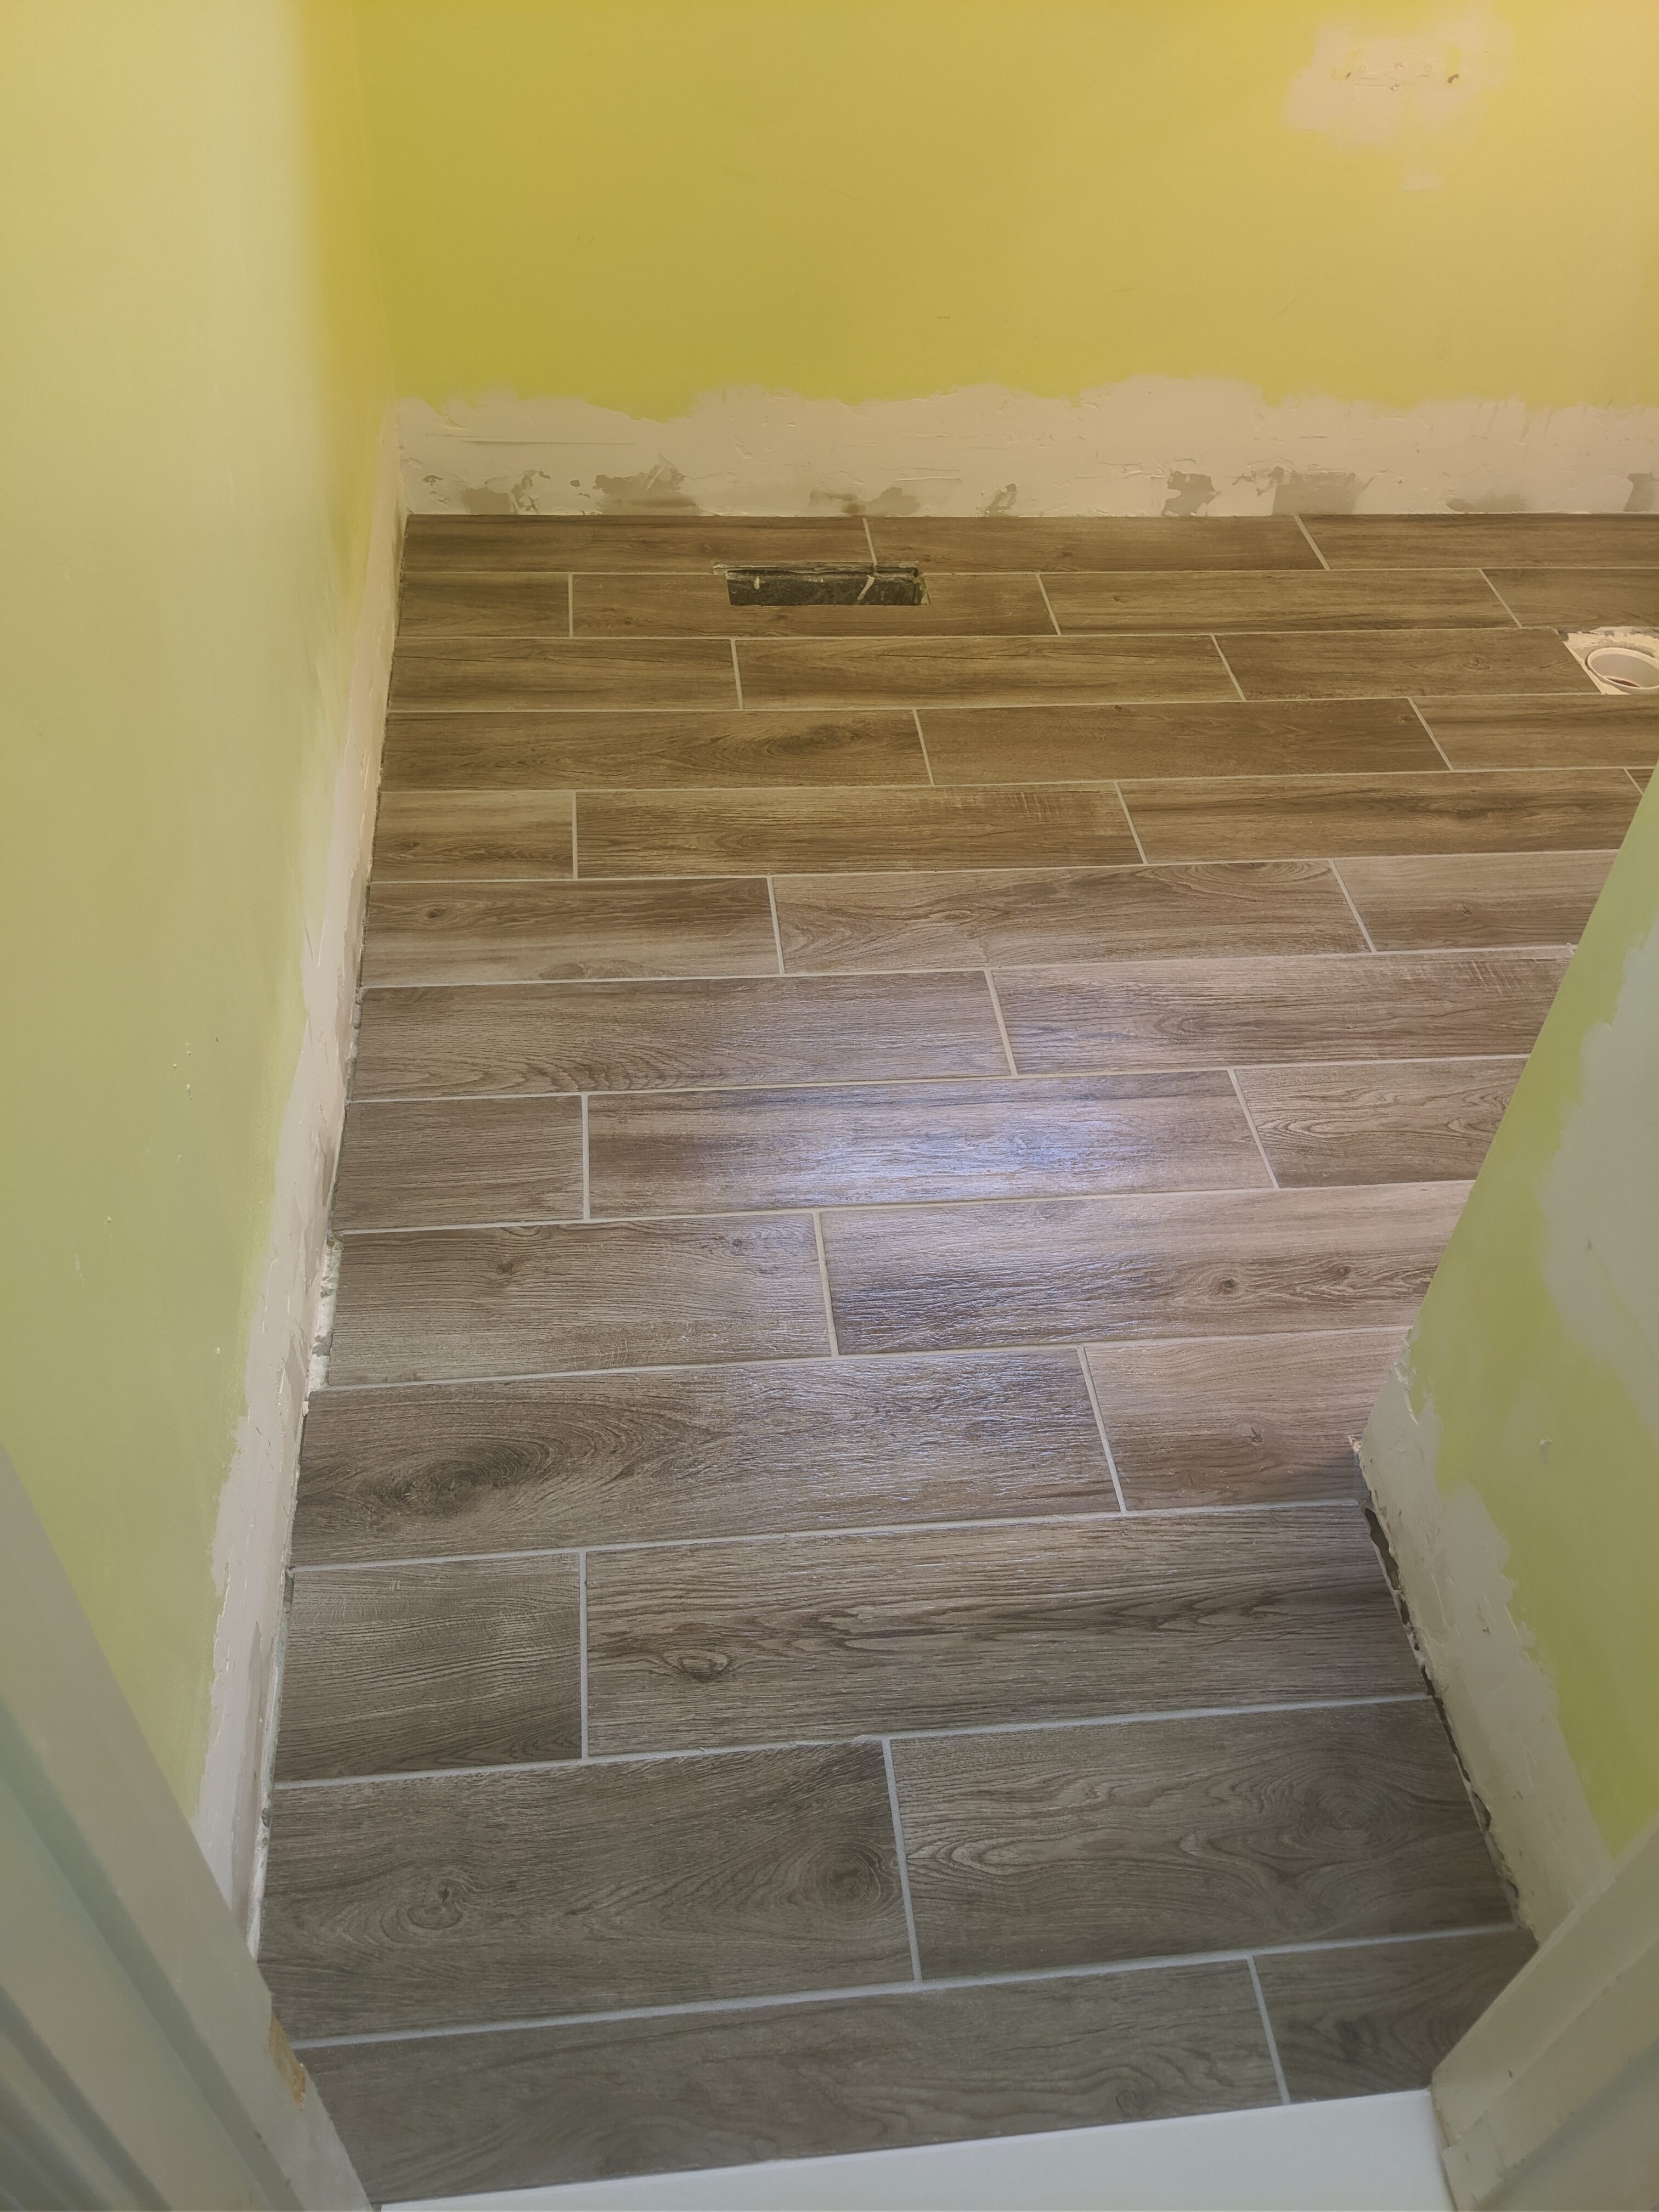
For the flooring, we decided on some weathered wood look porcelain tiles. They’re 6×24″ tiles, so they’re relatively easy to work with. The first thing I had to decide on was the pattern I was going to do. I was pretty sure that I was going to do a 33% offset again, because it fits the space well. I thought I was going to lay them vertically from the door, but quickly decided against that and went with horizontal. This actually ended up making things really easy, because the width of the main part of the room is 6′. So 3 full tiles fills it. Knowing that, you only need 2 cuts for the majority of the floor (8″ & 16″). I did all of those with my manual cutter with ease. I didn’t however take into account the 1/8″ spacers, so my final tile in each row needed a slight trim, which had to be done with the wet saw. No biggie though. Really the only tough cuts I had in this room were the one’s around the floor register, and the outside corner since that fell in the middle of a tile. All in all though, things went very well and I only had one tile break on me.
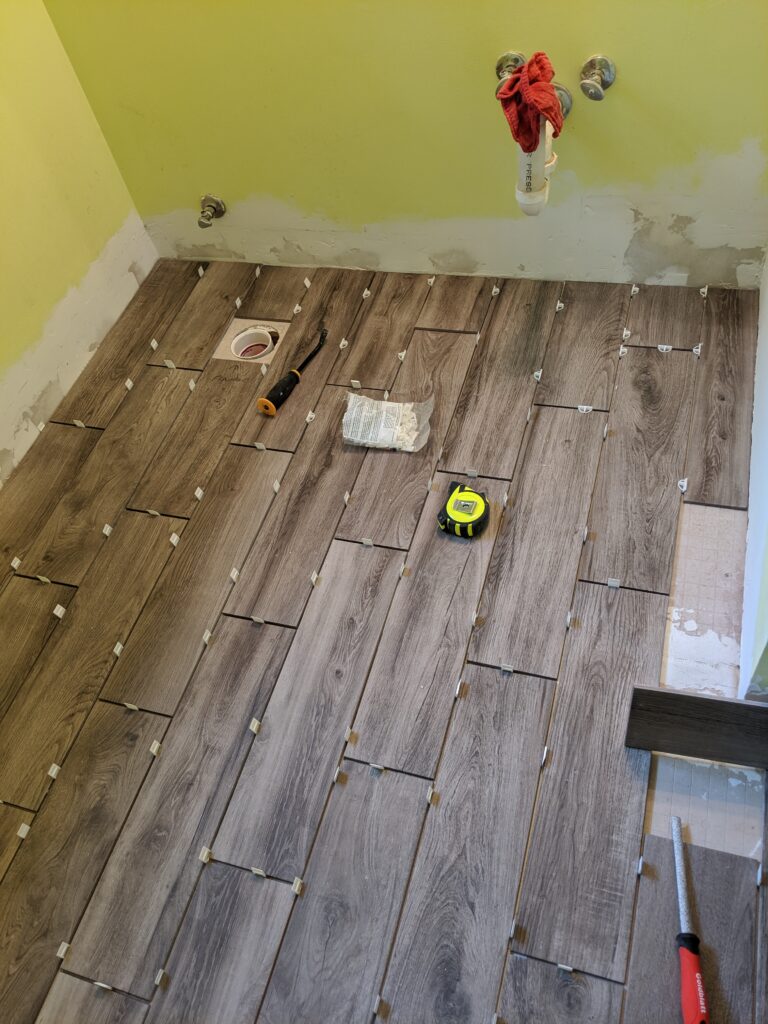
Dry fitting tiles. 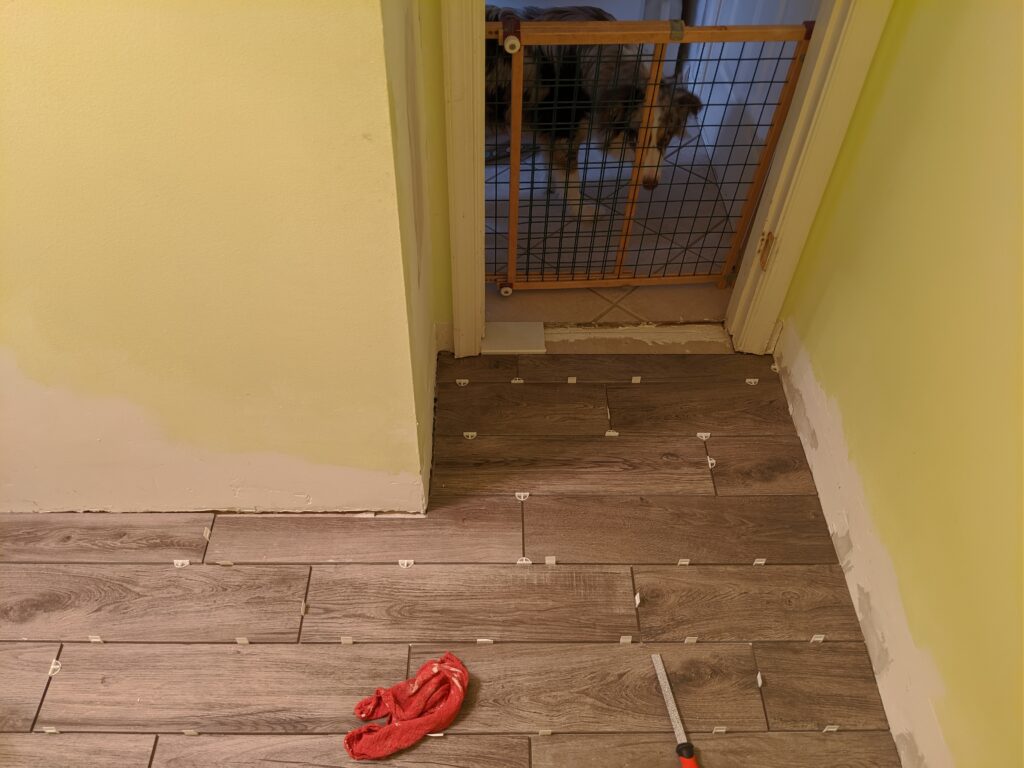
Dry fitting tiles.
Once again, I got Ivan to come out and help me out with the actual setting of tiles. It goes so much quicker with someone to help when you’re working in a fairly small area. It gets really hard to move around, and hurts like hell when you do, so having someone else who can grab things, back butter the tiles, and just have a conversation with makes the whole process better. We got started around 7:00pm Thursday night, and finished around 11:00pm.
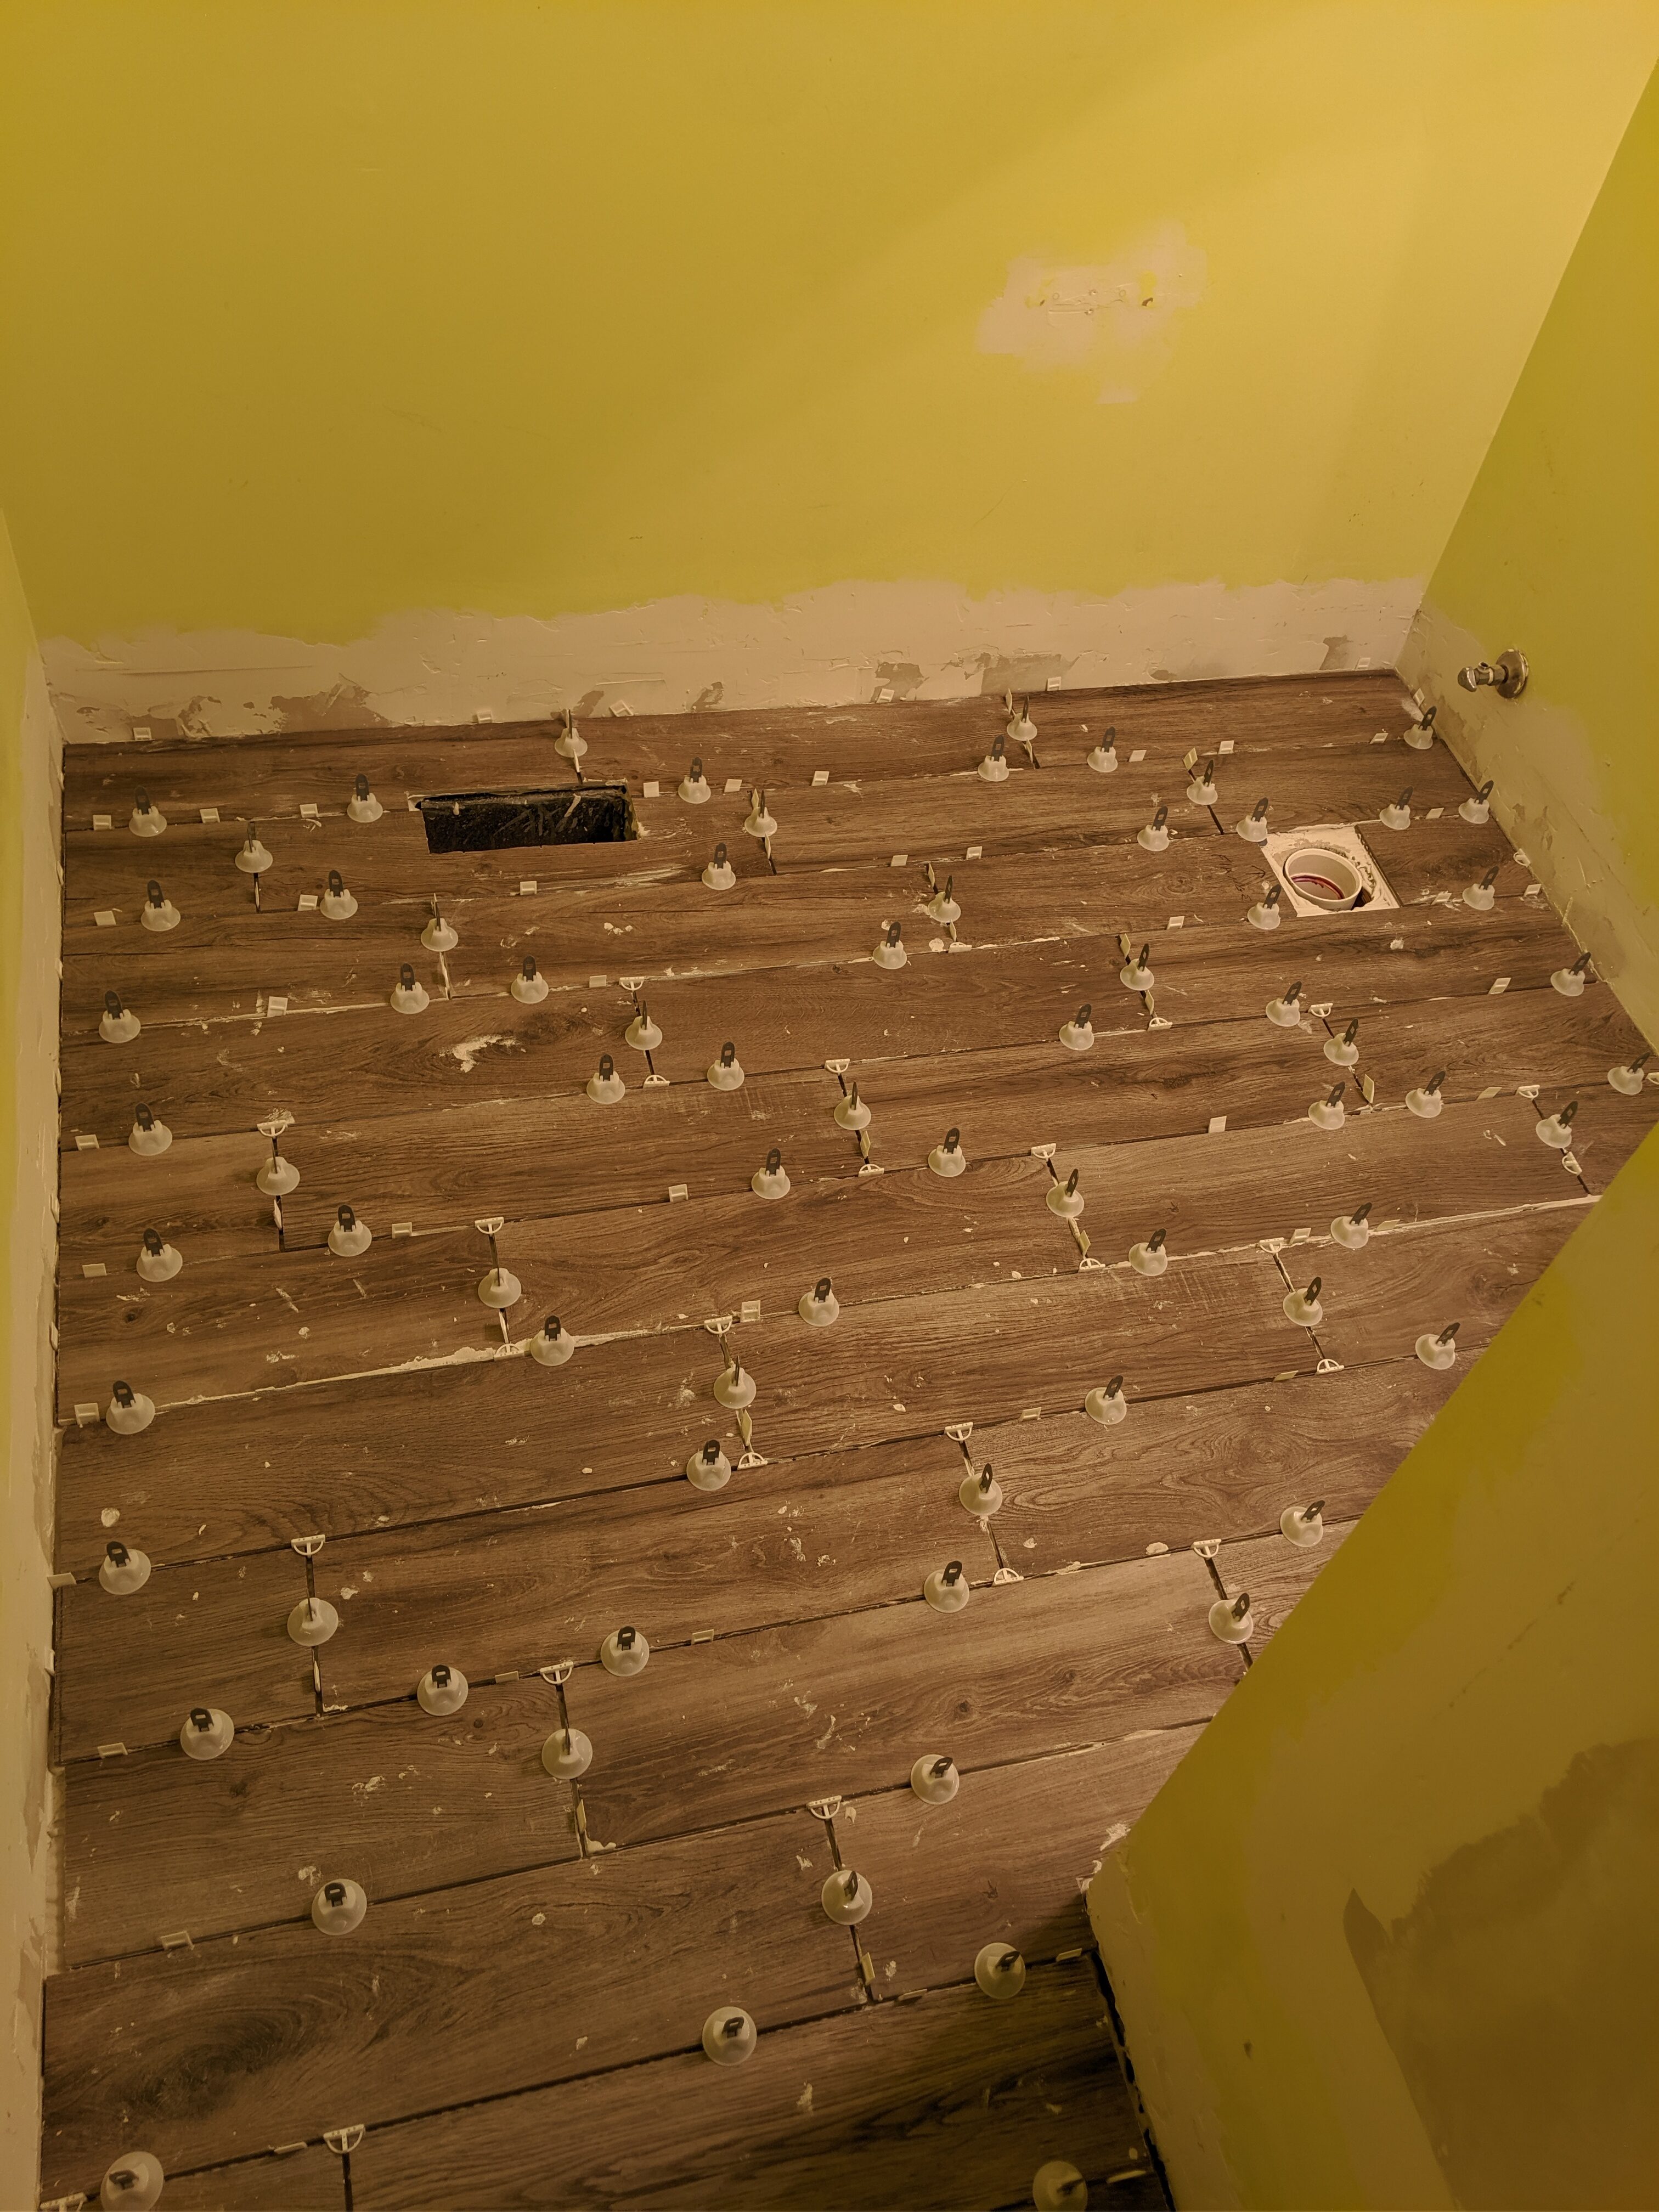
Friday I had work, then we went to a Halloween party, so nothing was getting done then. Not that I really could’ve done anything since the mortar really needs a good 24 before you mess with it. So Saturday morning, we got back to work. I kicked out all of the levelers, and pulled all the spacers, then we got to work cleaning the excess mortar. Luckily the stuff on the surface of the tiles came off with a little warm water, sponge, and elbow grease. Next up, I hit the grout lines with my carbide blade grout saw. I mentioned in my previous remodel how much I love this thing (until I screwed up my subway tiles). It cuts through mortar with ease, and makes grinding away the mortar on the side edges super quick too. Once that was done, we vacuumed out all the dust, and did another good cleanup on the tiles and started grouting.
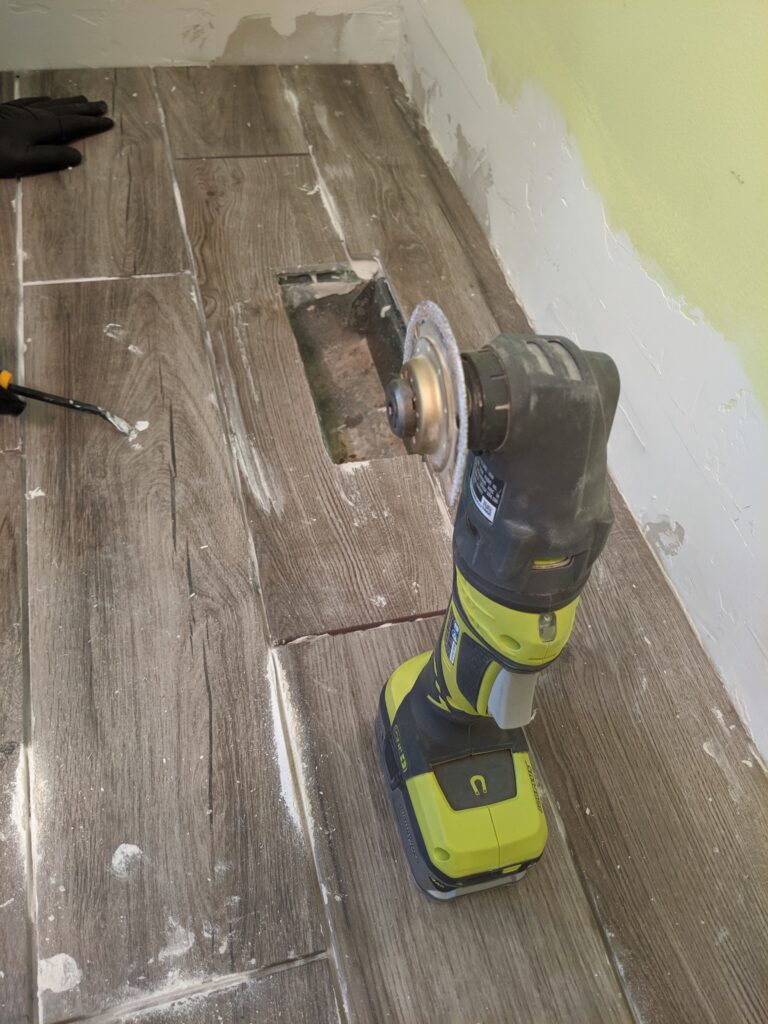
The work horse! Carbide grout blade. 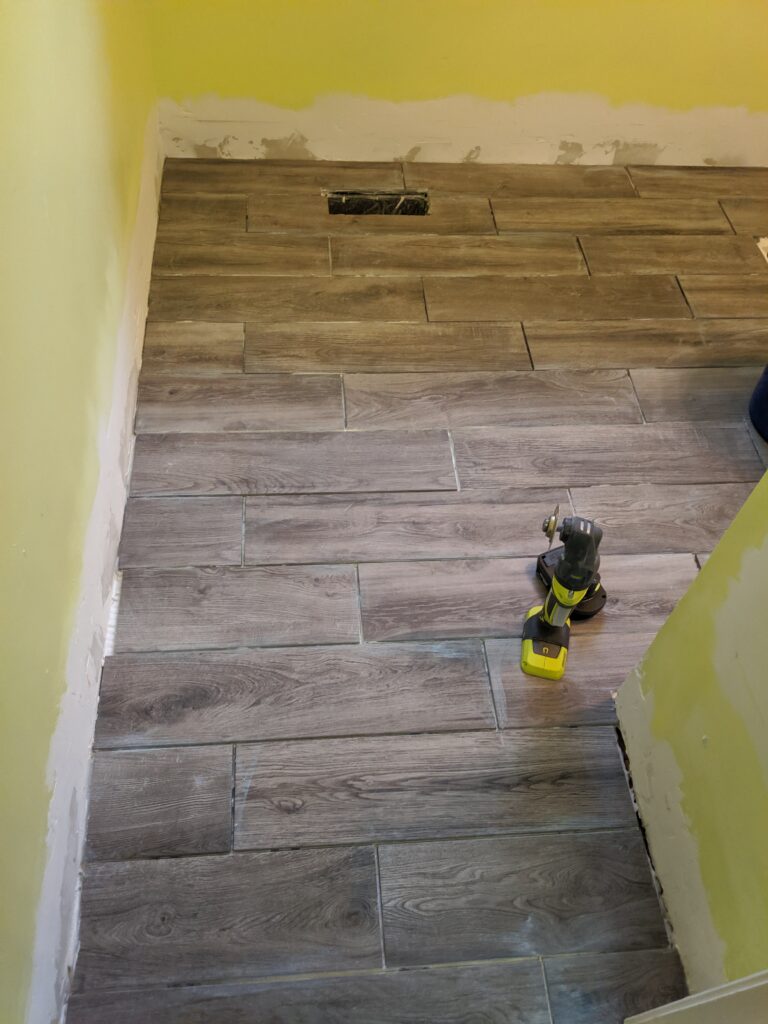
All cleaned up and ready for grout!
I used the same type of grout that I used in my last remodel, Mapei FlexColor CQ. I had really good results with it up there, so decided to stick with it. It’s really easy to work with, and I like that they also do color matched caulk for all of their colors. Grouting was pretty uneventful and we were done in less than an hour. I was a little freaked out that the color was too light, but it’s darkened up a good bit since it cured. One thing of note with the FlexColor, is that you can actually reapply it to a low spot after it’s dry, as it will bond to itself. If you look closely near the door, there’s a spot where I’ll need to do just that.
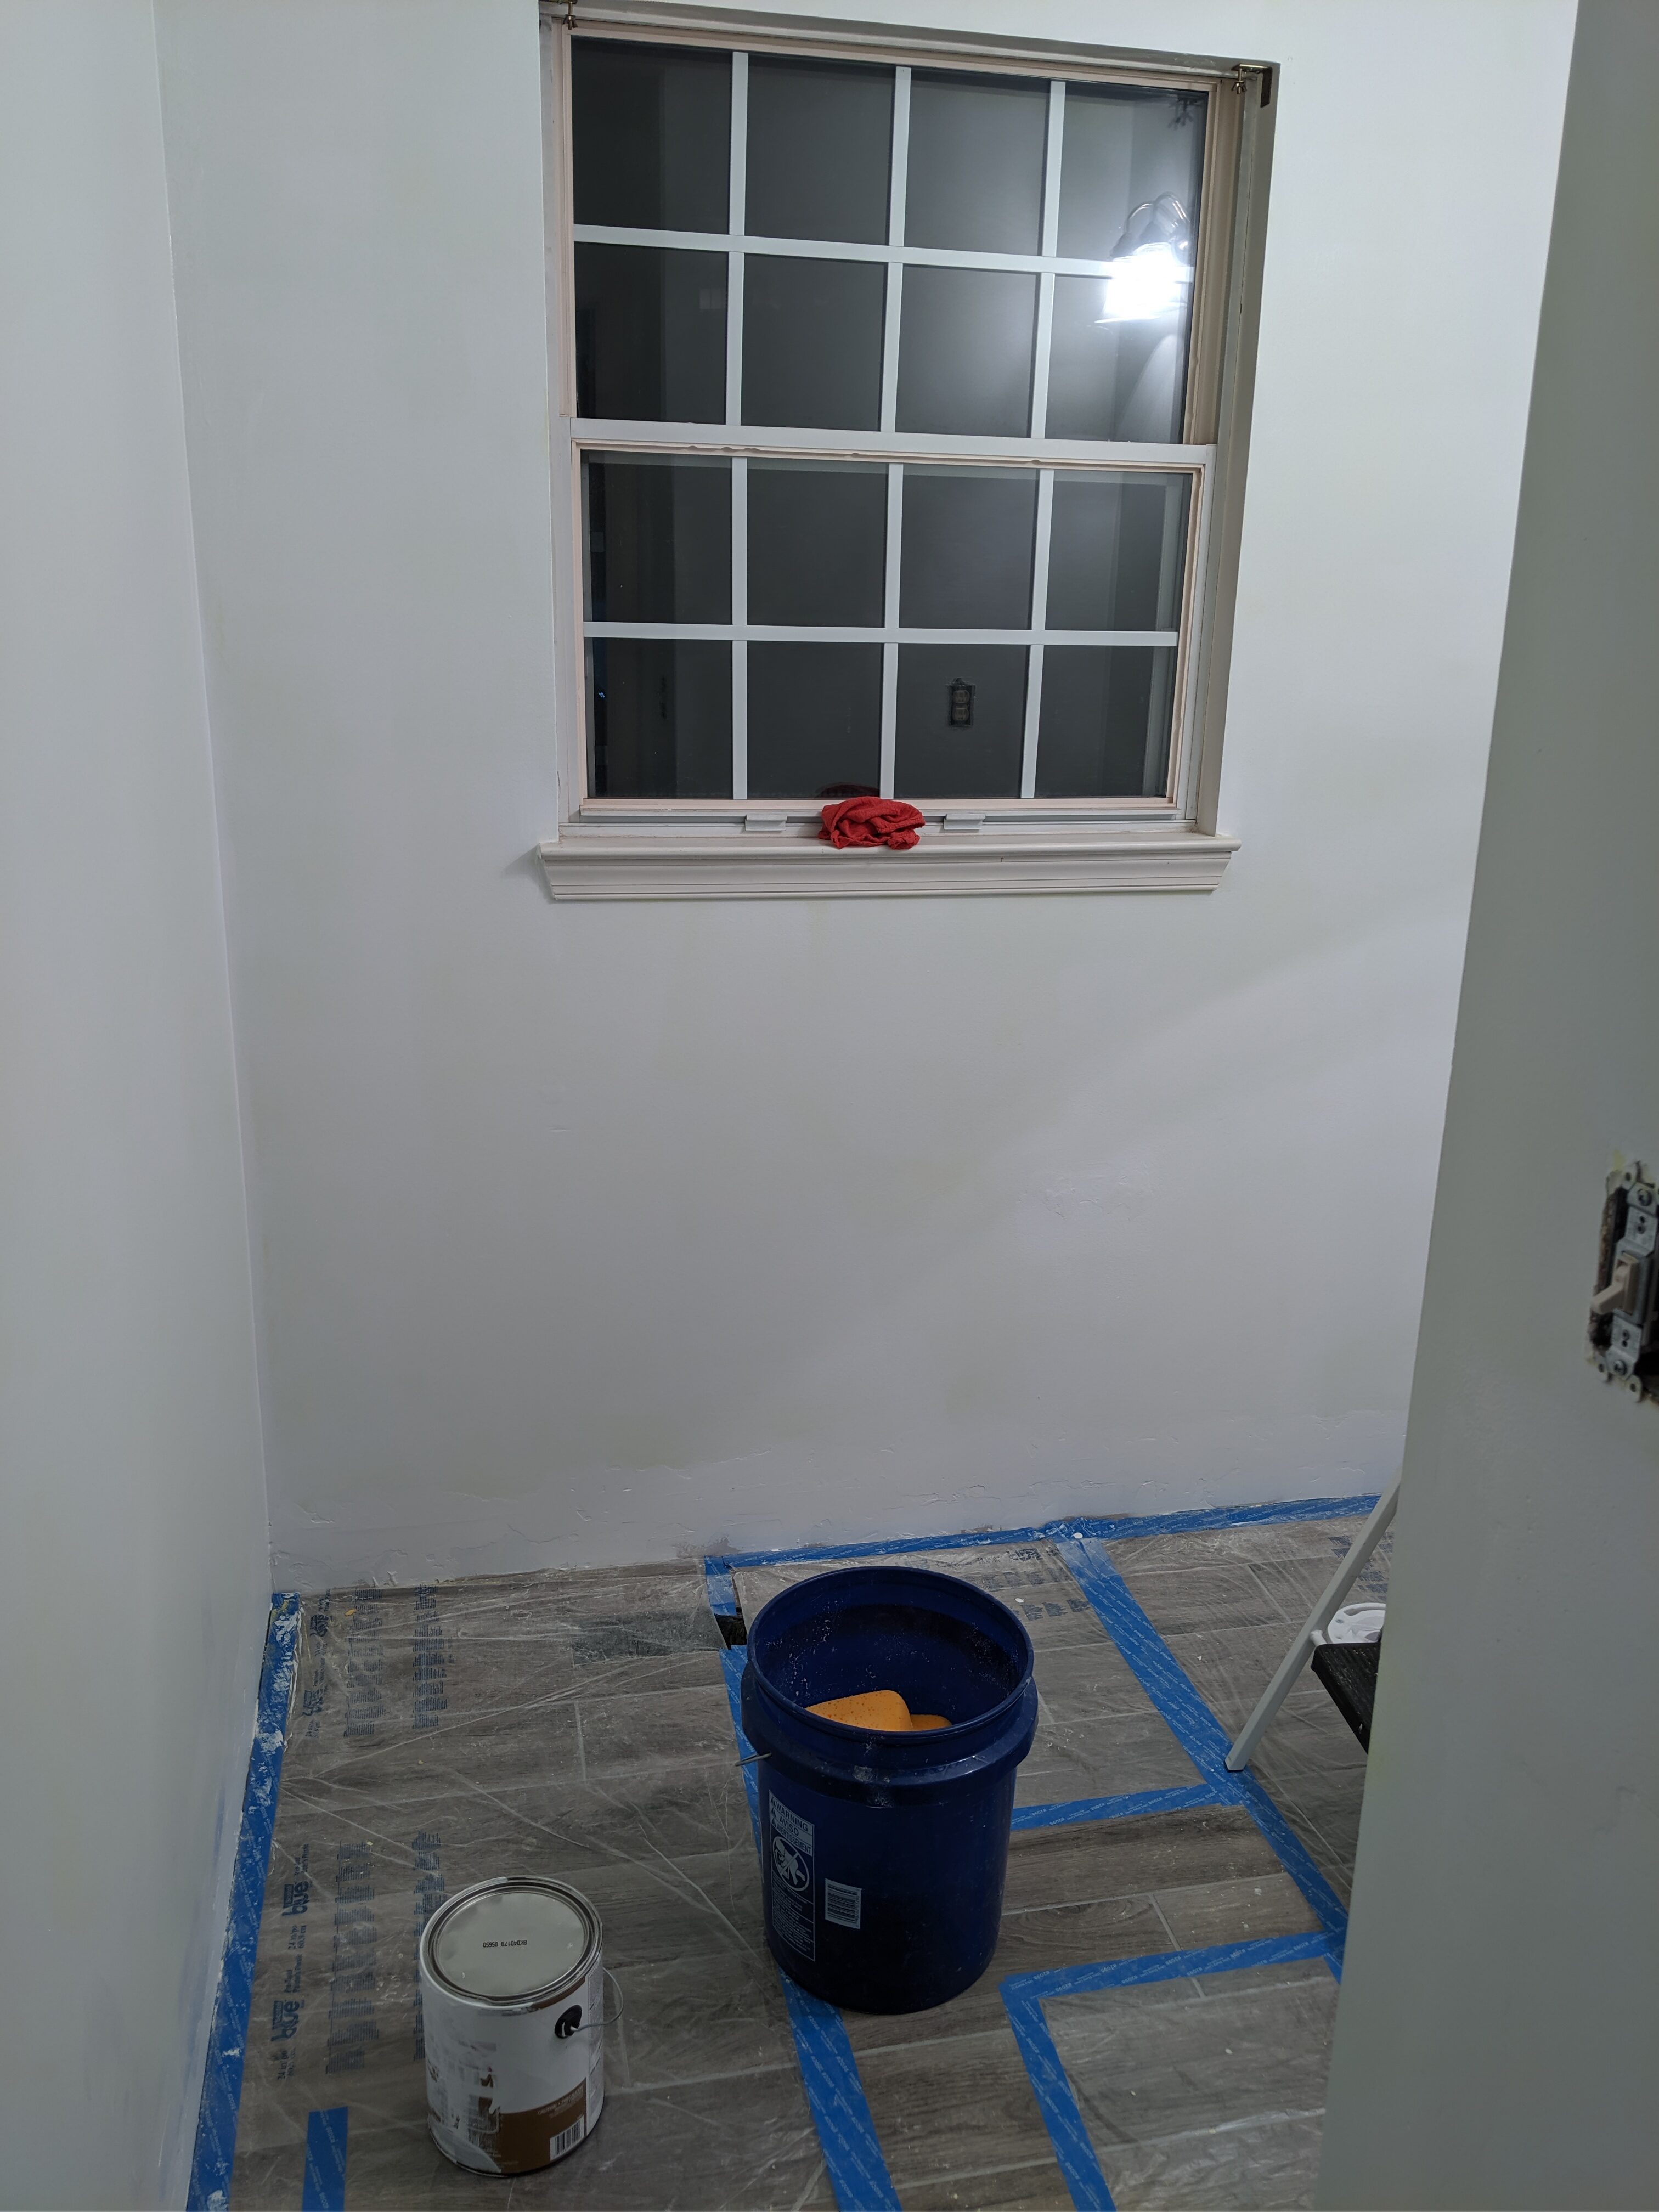
After the grout cured, I got to priming and painting the walls. As usual, I had to get Stephanie to come in and do the top edges of the wall up to the ceiling. I still managed to hit it a few times, but hopefully I can touch it up versus having to paint the whole ceiling, but it may be too old to match the new ceiling paint. Also, the lighting is terrible in this bathroom (I haven’t setup the new lights), so I didn’t bother trying to get a pic with the color, as it’s not true at all. You will see it in the next set of pictures though with the wainscoting. Instead, here’s a pic of the primed walls.
I got all the paint done, but I’ll still have a lot more to paint, as all the trim and wainscoting will be painted white once it’s done and caulked up. I got started on the trim and wainscoting this weekend, but I’ll save that for the next post once I get that all completed.