Welly, welly, welly, welly, welly, welly, well. Anyone who’s been to our house and used the powder room in the past couple of years, has probably noticed loose & cracked tiles. I was very aware that the floor was failing in there, and badly in need of being ripped out. I wasn’t however, fully aware of the cause. Last year, I noticed some water staining down below the bathroom in the basement ceiling. I happened to have a hole in the ceiling next to it, and could see some water damage on one of the joists. Unfortunately, I couldn’t really see the extent of it since I was just on the edge of the bathroom. At any rate, it was already on my todo list, but it kept getting delayed due to other stuff. Just before we went on vacation last month, I noticed water on the tiles behind the toilet. I flushed it, and watched water pour from the tank somewhere. So I turned off the water in there and decided it was finally being dealt with when we returned.
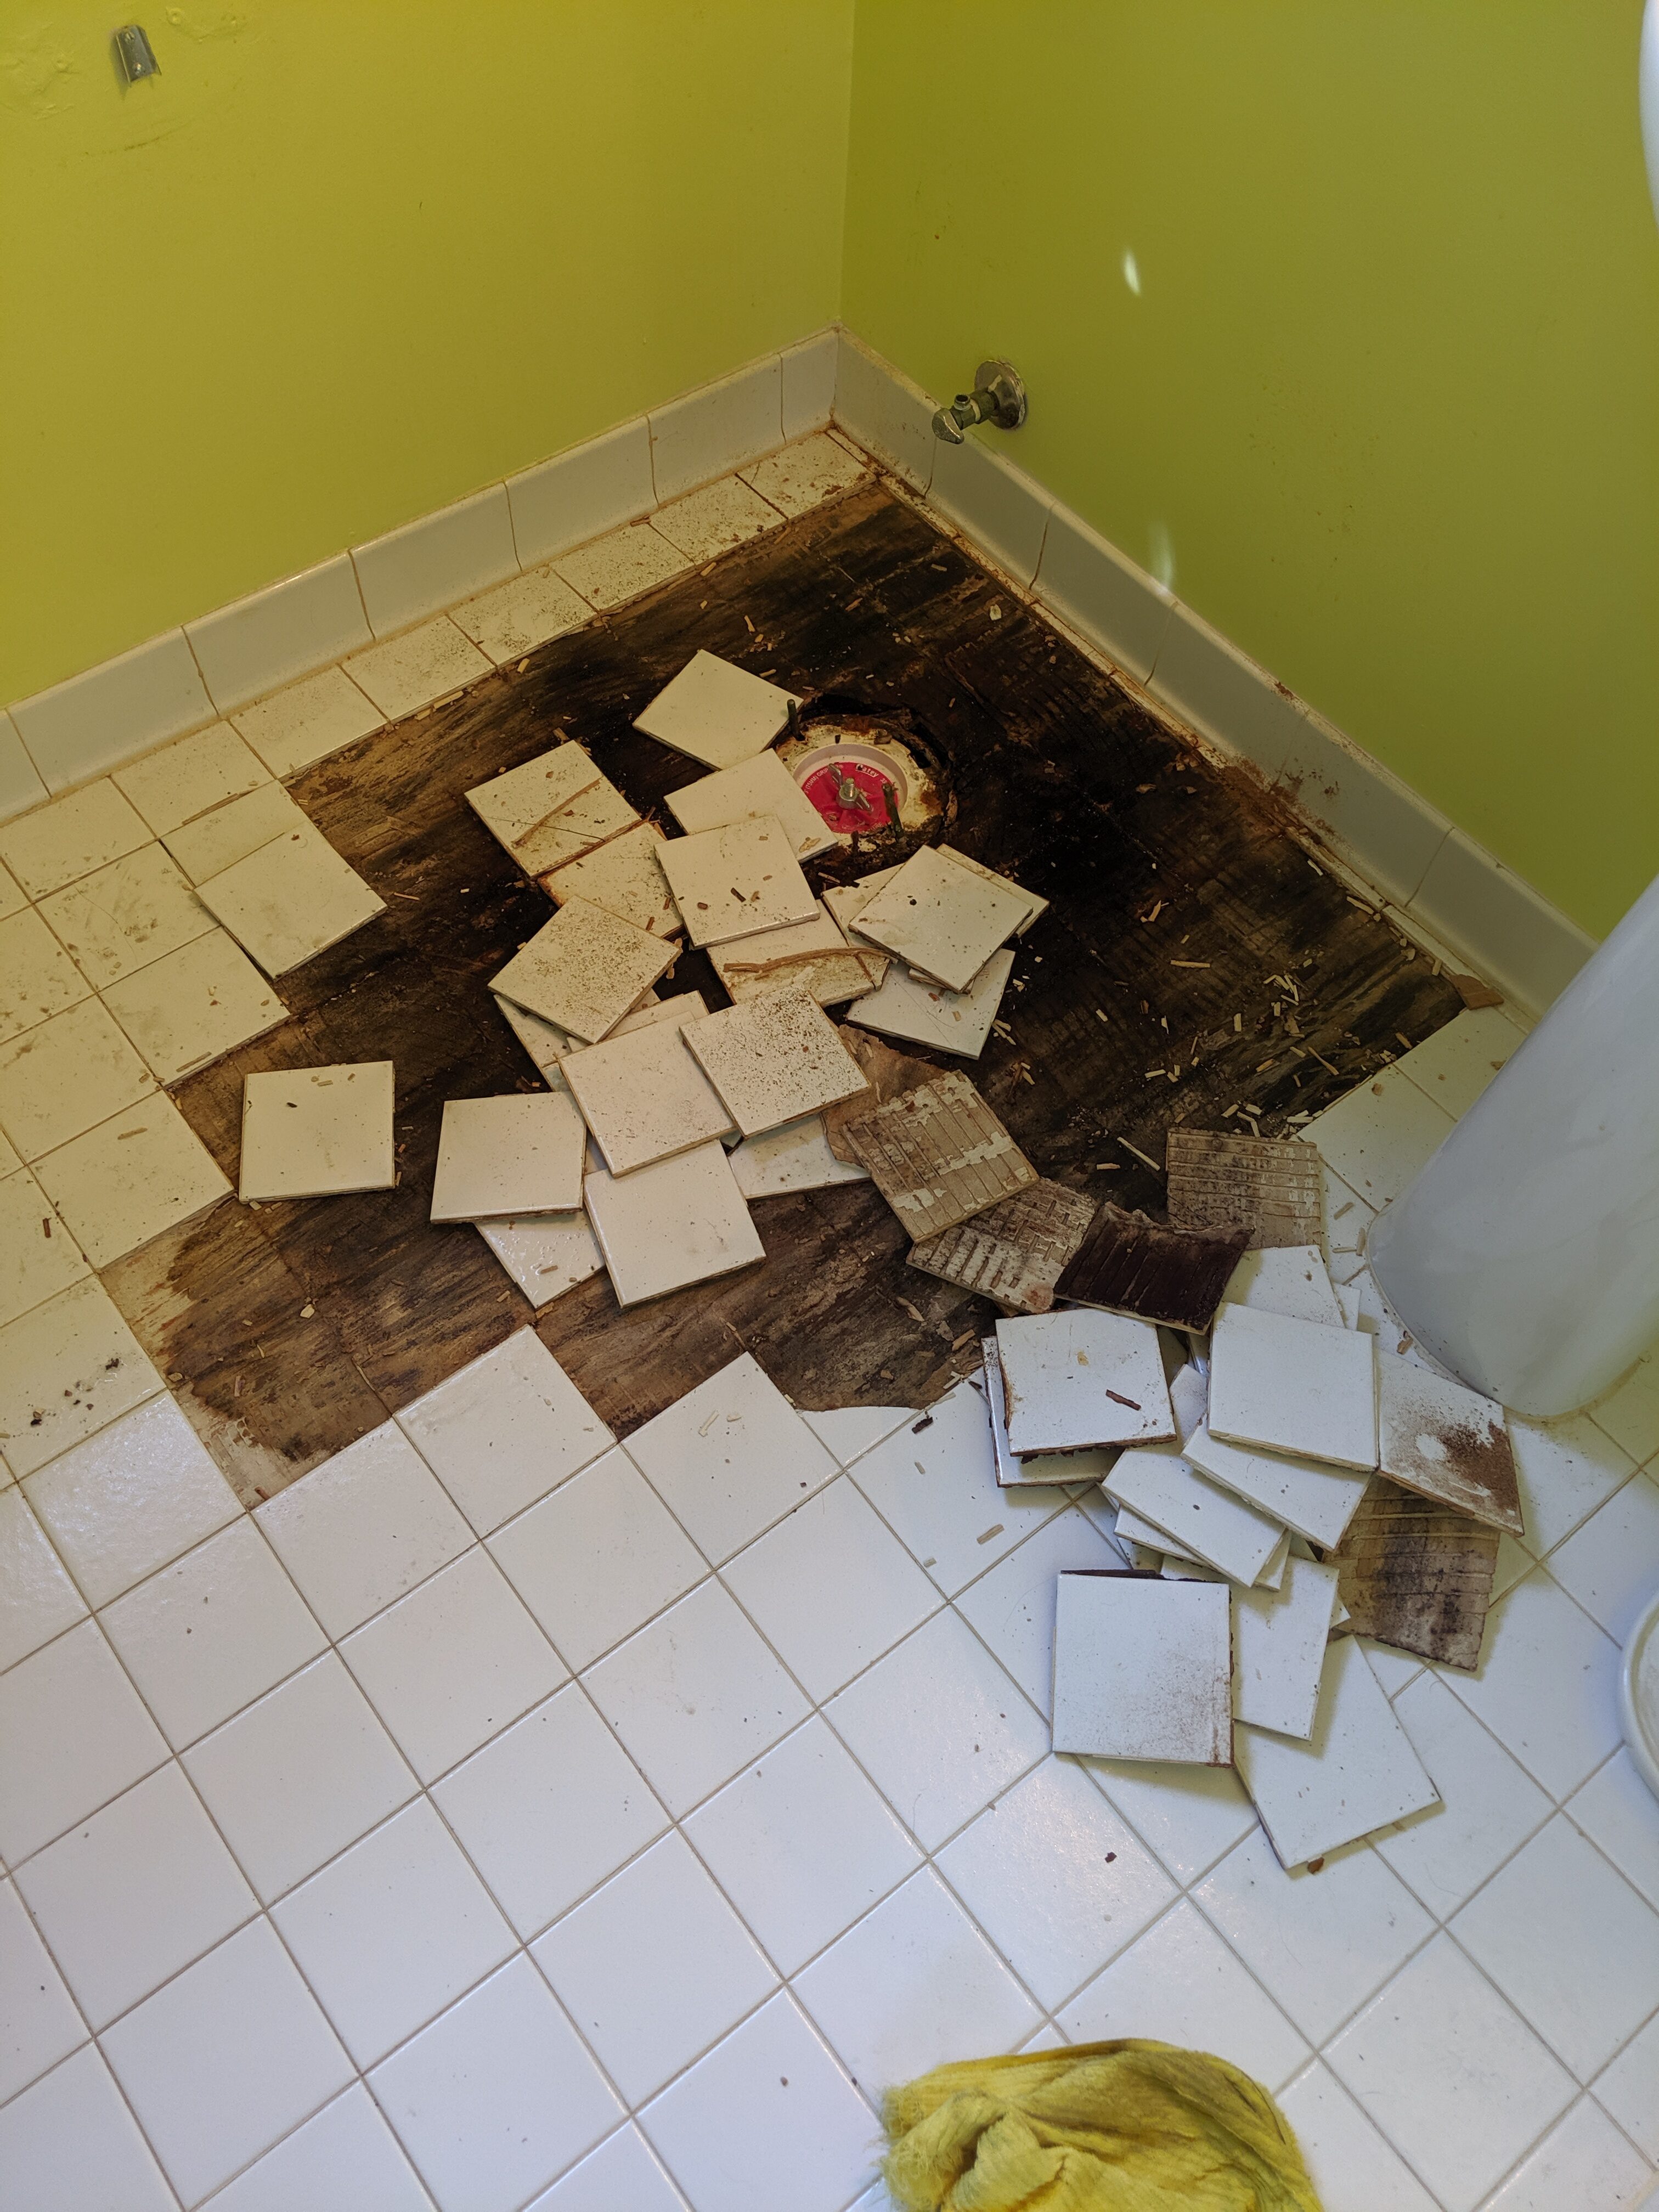
I started demo on September 27th. My homie Ivan came over to help out. We started by getting ready to remove the toilet. I went to unscrew the bolts and they were super loose. So I unscrewed them with my fingers and was able to lift the toilet straight out, along with a handful of tiles that were still caulked to it! We started lifting tiles out with our hands, and the pile in the pic above is what we got to with zero tools! It uncovered a very water damaged floor. I was expecting this, but not quite so bad. No worries though, I had planned to replace the subfloor anyway. By the end of the day, we had everything out of there and a good portion of the water damaged subfloor removed.
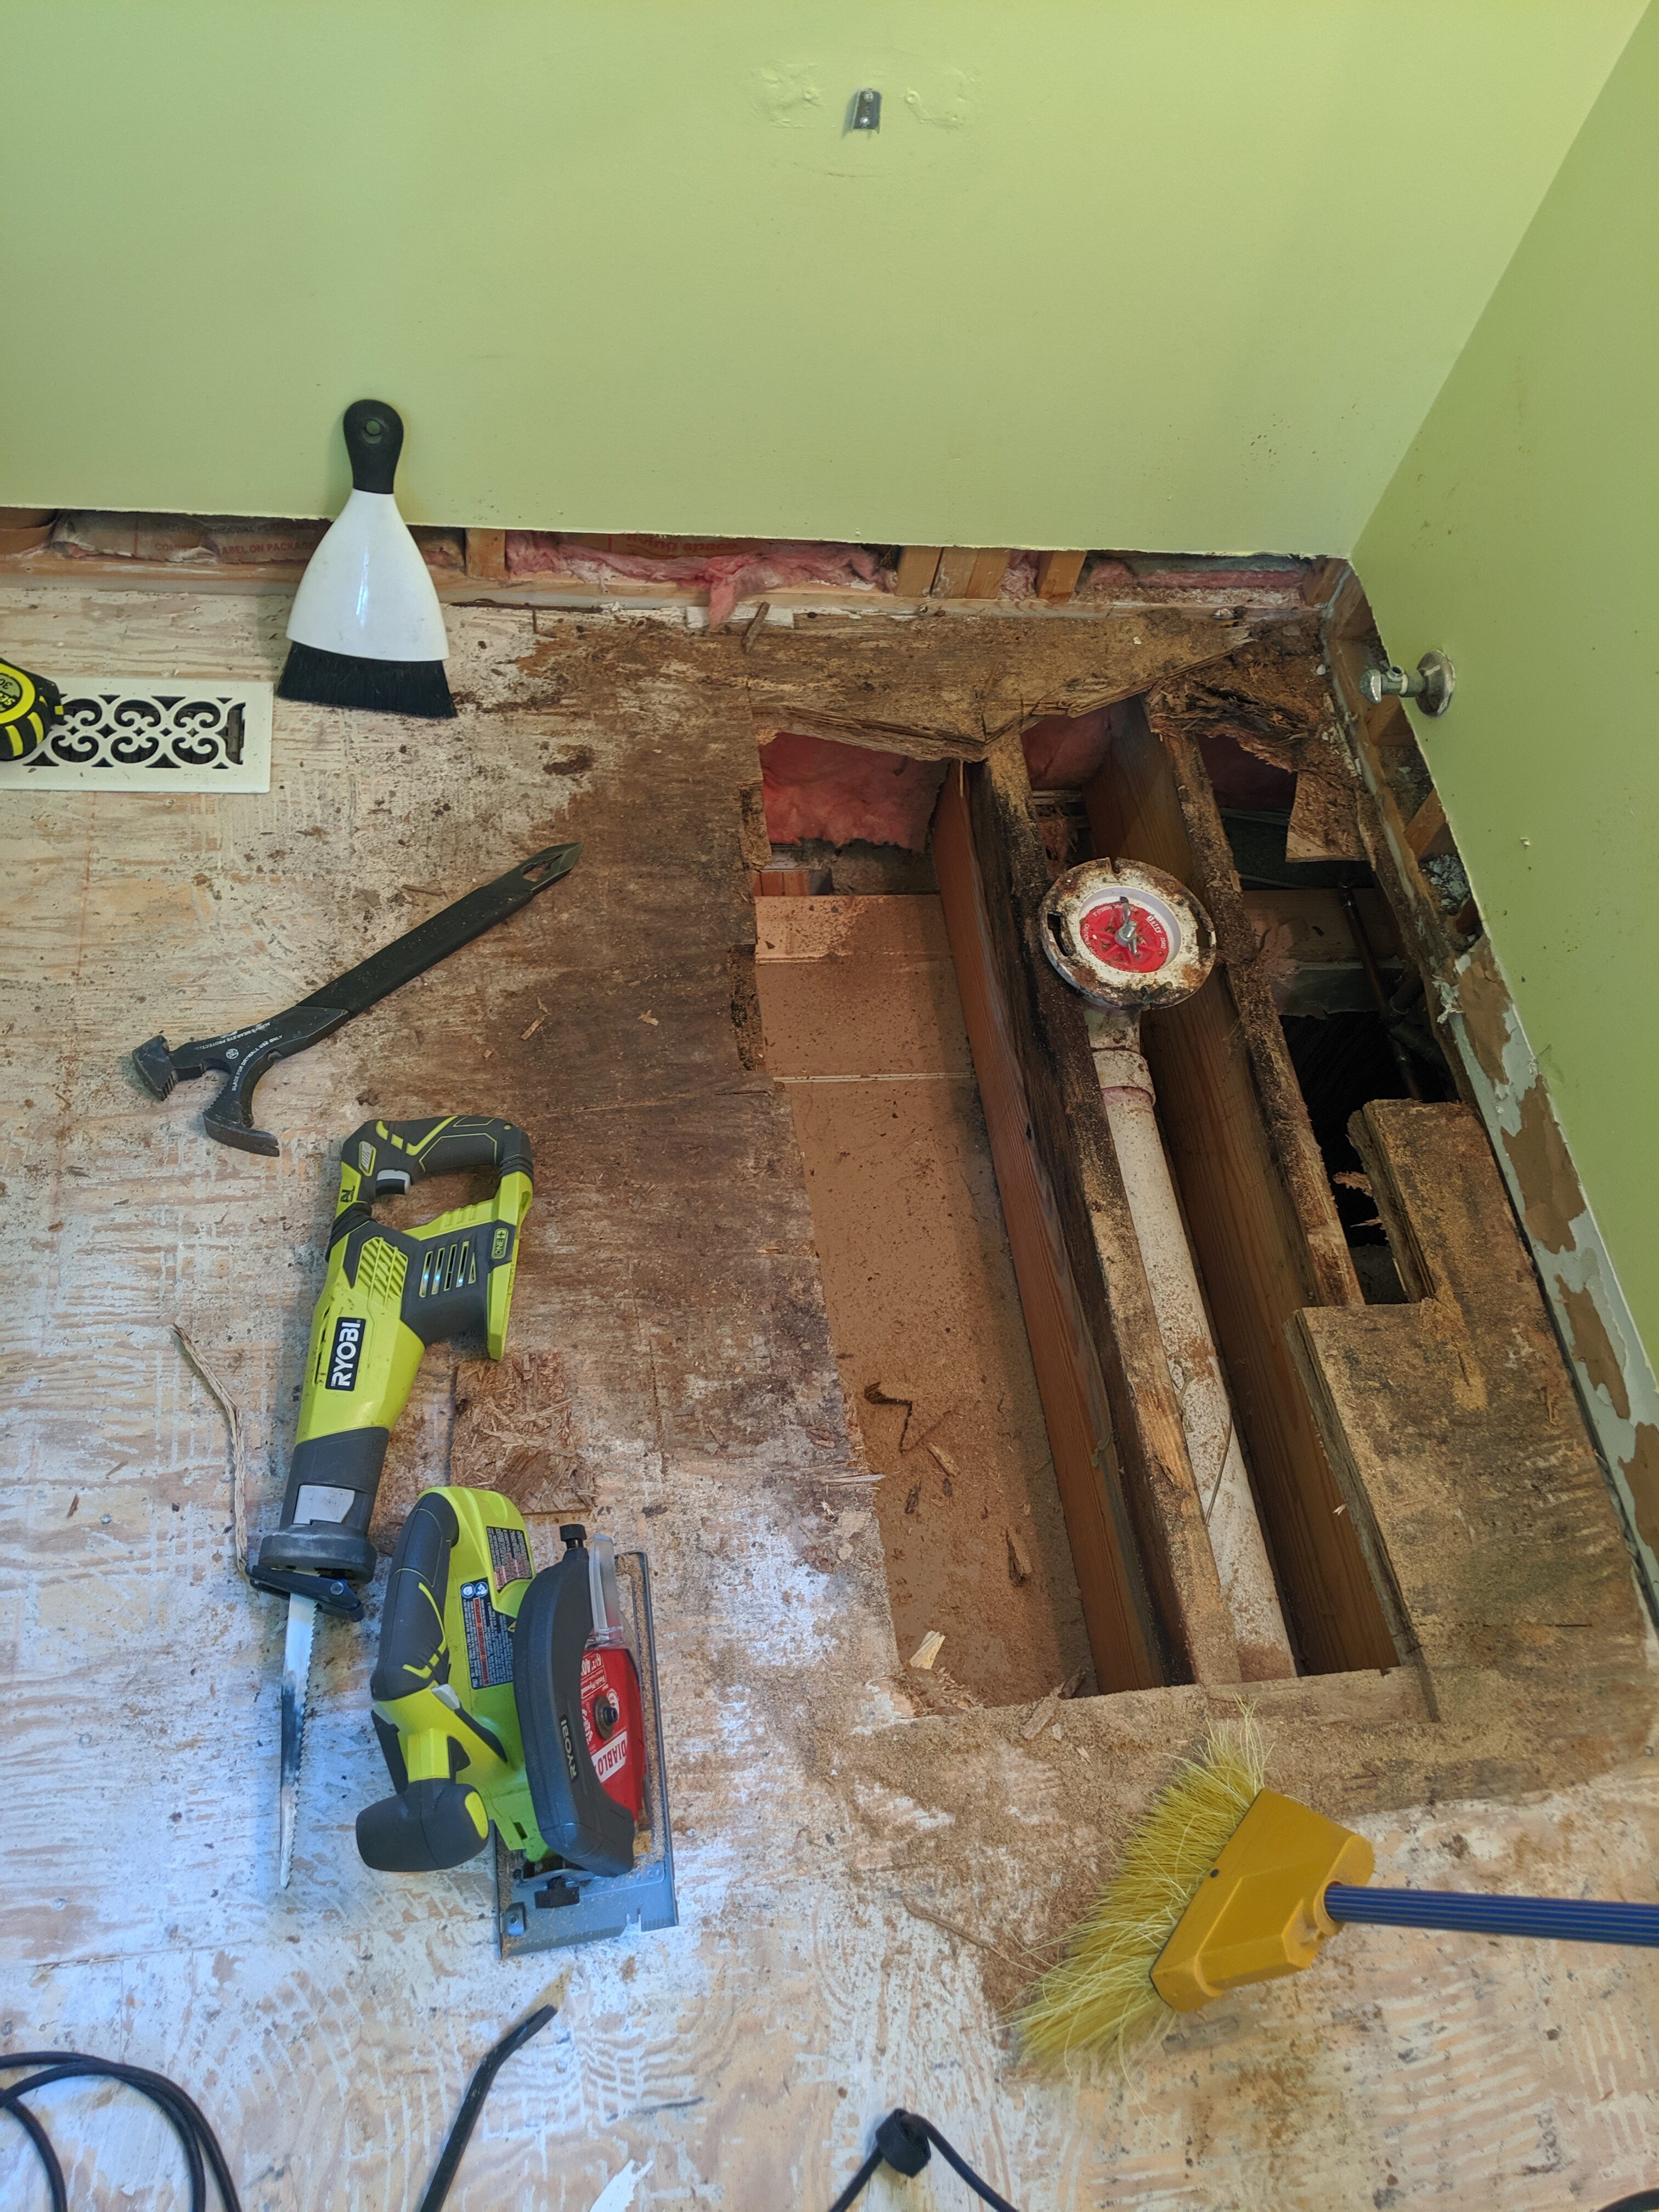
Cutting out the subfloor was a lot more difficult than I had anticipated. Because it was 2 layers glued and screwed, it makes it hard to know what you’re dealing with, and have to work in small chunks. Once I got towards the middle of the floor, it got somewhat easier. And then, what everyone fears when using a reciprocating saw in a floor or wall… I hit an electrical line! Pop! Darkness. There’s 2 things I don’t generally do, in wall electrical and in wall/floor plumbing. Spoiler alert, I’ve done both on this project.
I had Ivan helping me out again, so we lost an entire day dealing with the electrical stuff. I wanted to get the rest of the floor area around the wires cut out we’d have easier access, and could fully see what we were working with. So I finished cutting out that area, and cut a big hole in the wall. We really lucked out, because the electrical run wasn’t more than like 10 feet, and we were directly above the panel with a full view down to it. I was a bit intimidated to start, but it really turned out to be a simple task. It took longer to untangle the mess in the junction box and panel, then the actual act of running the cable and connecting it.
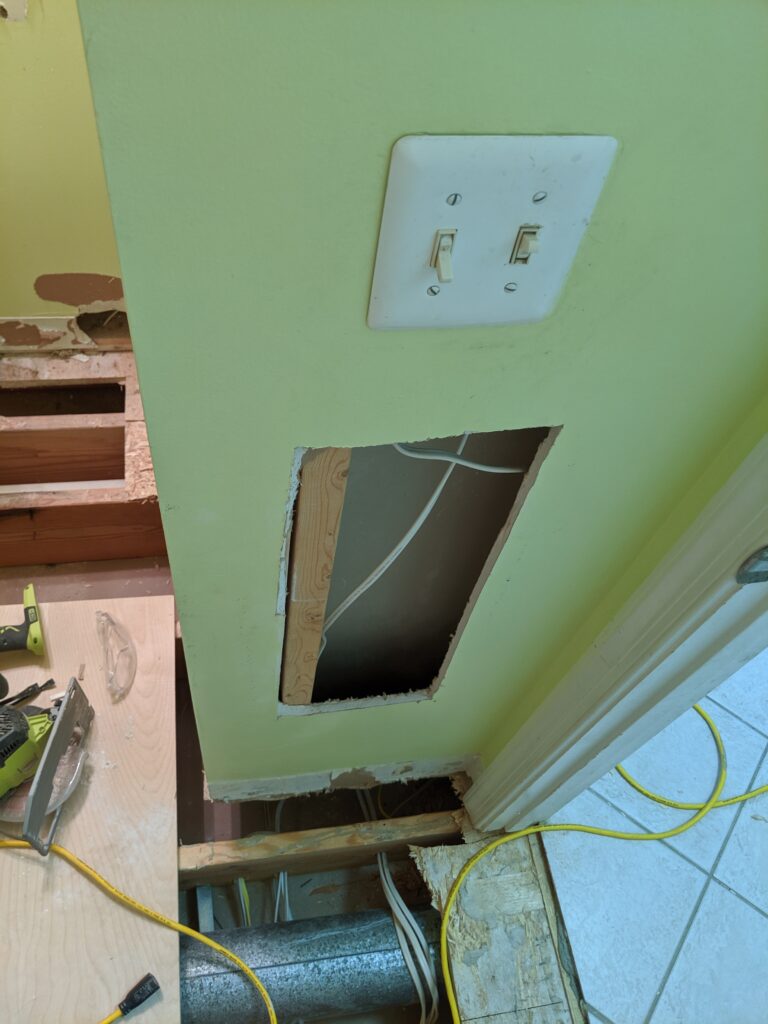
Nice big hole in the wall to work in. 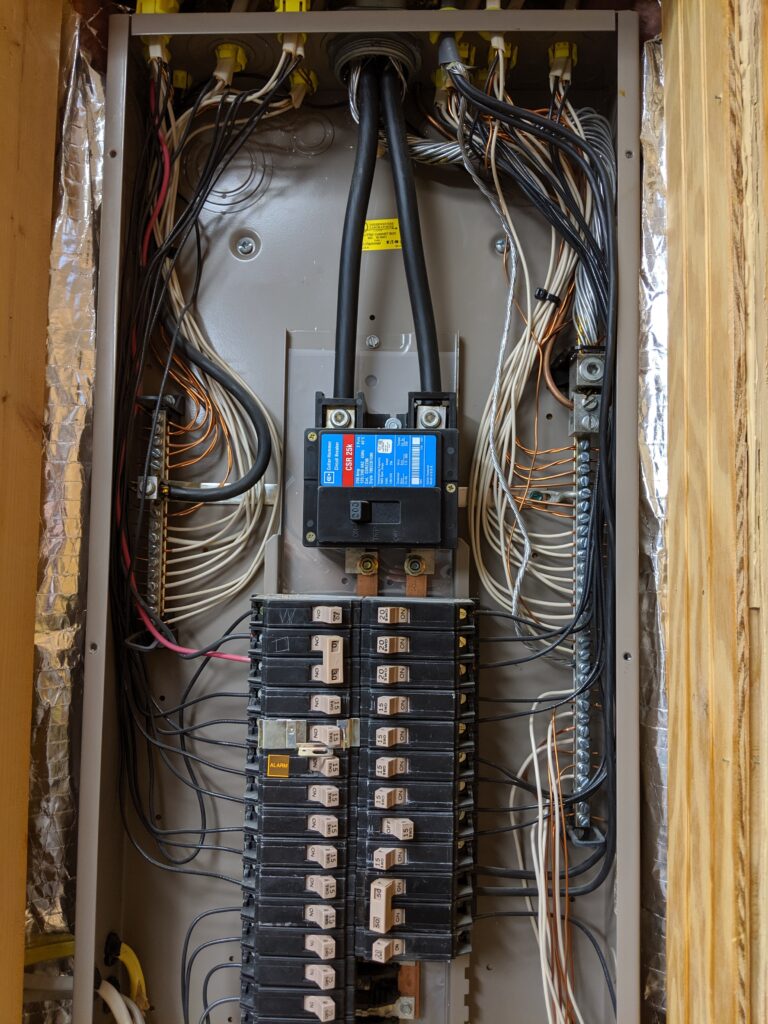
Electric panel with the cover removed. 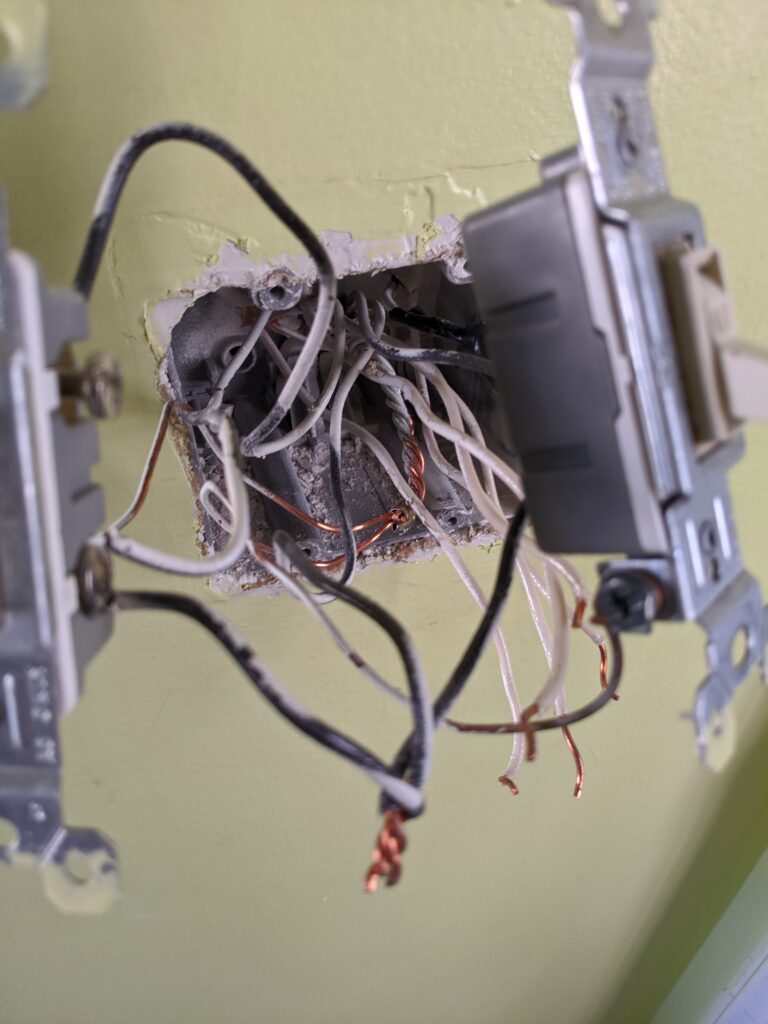
A lot going on in this junction box!
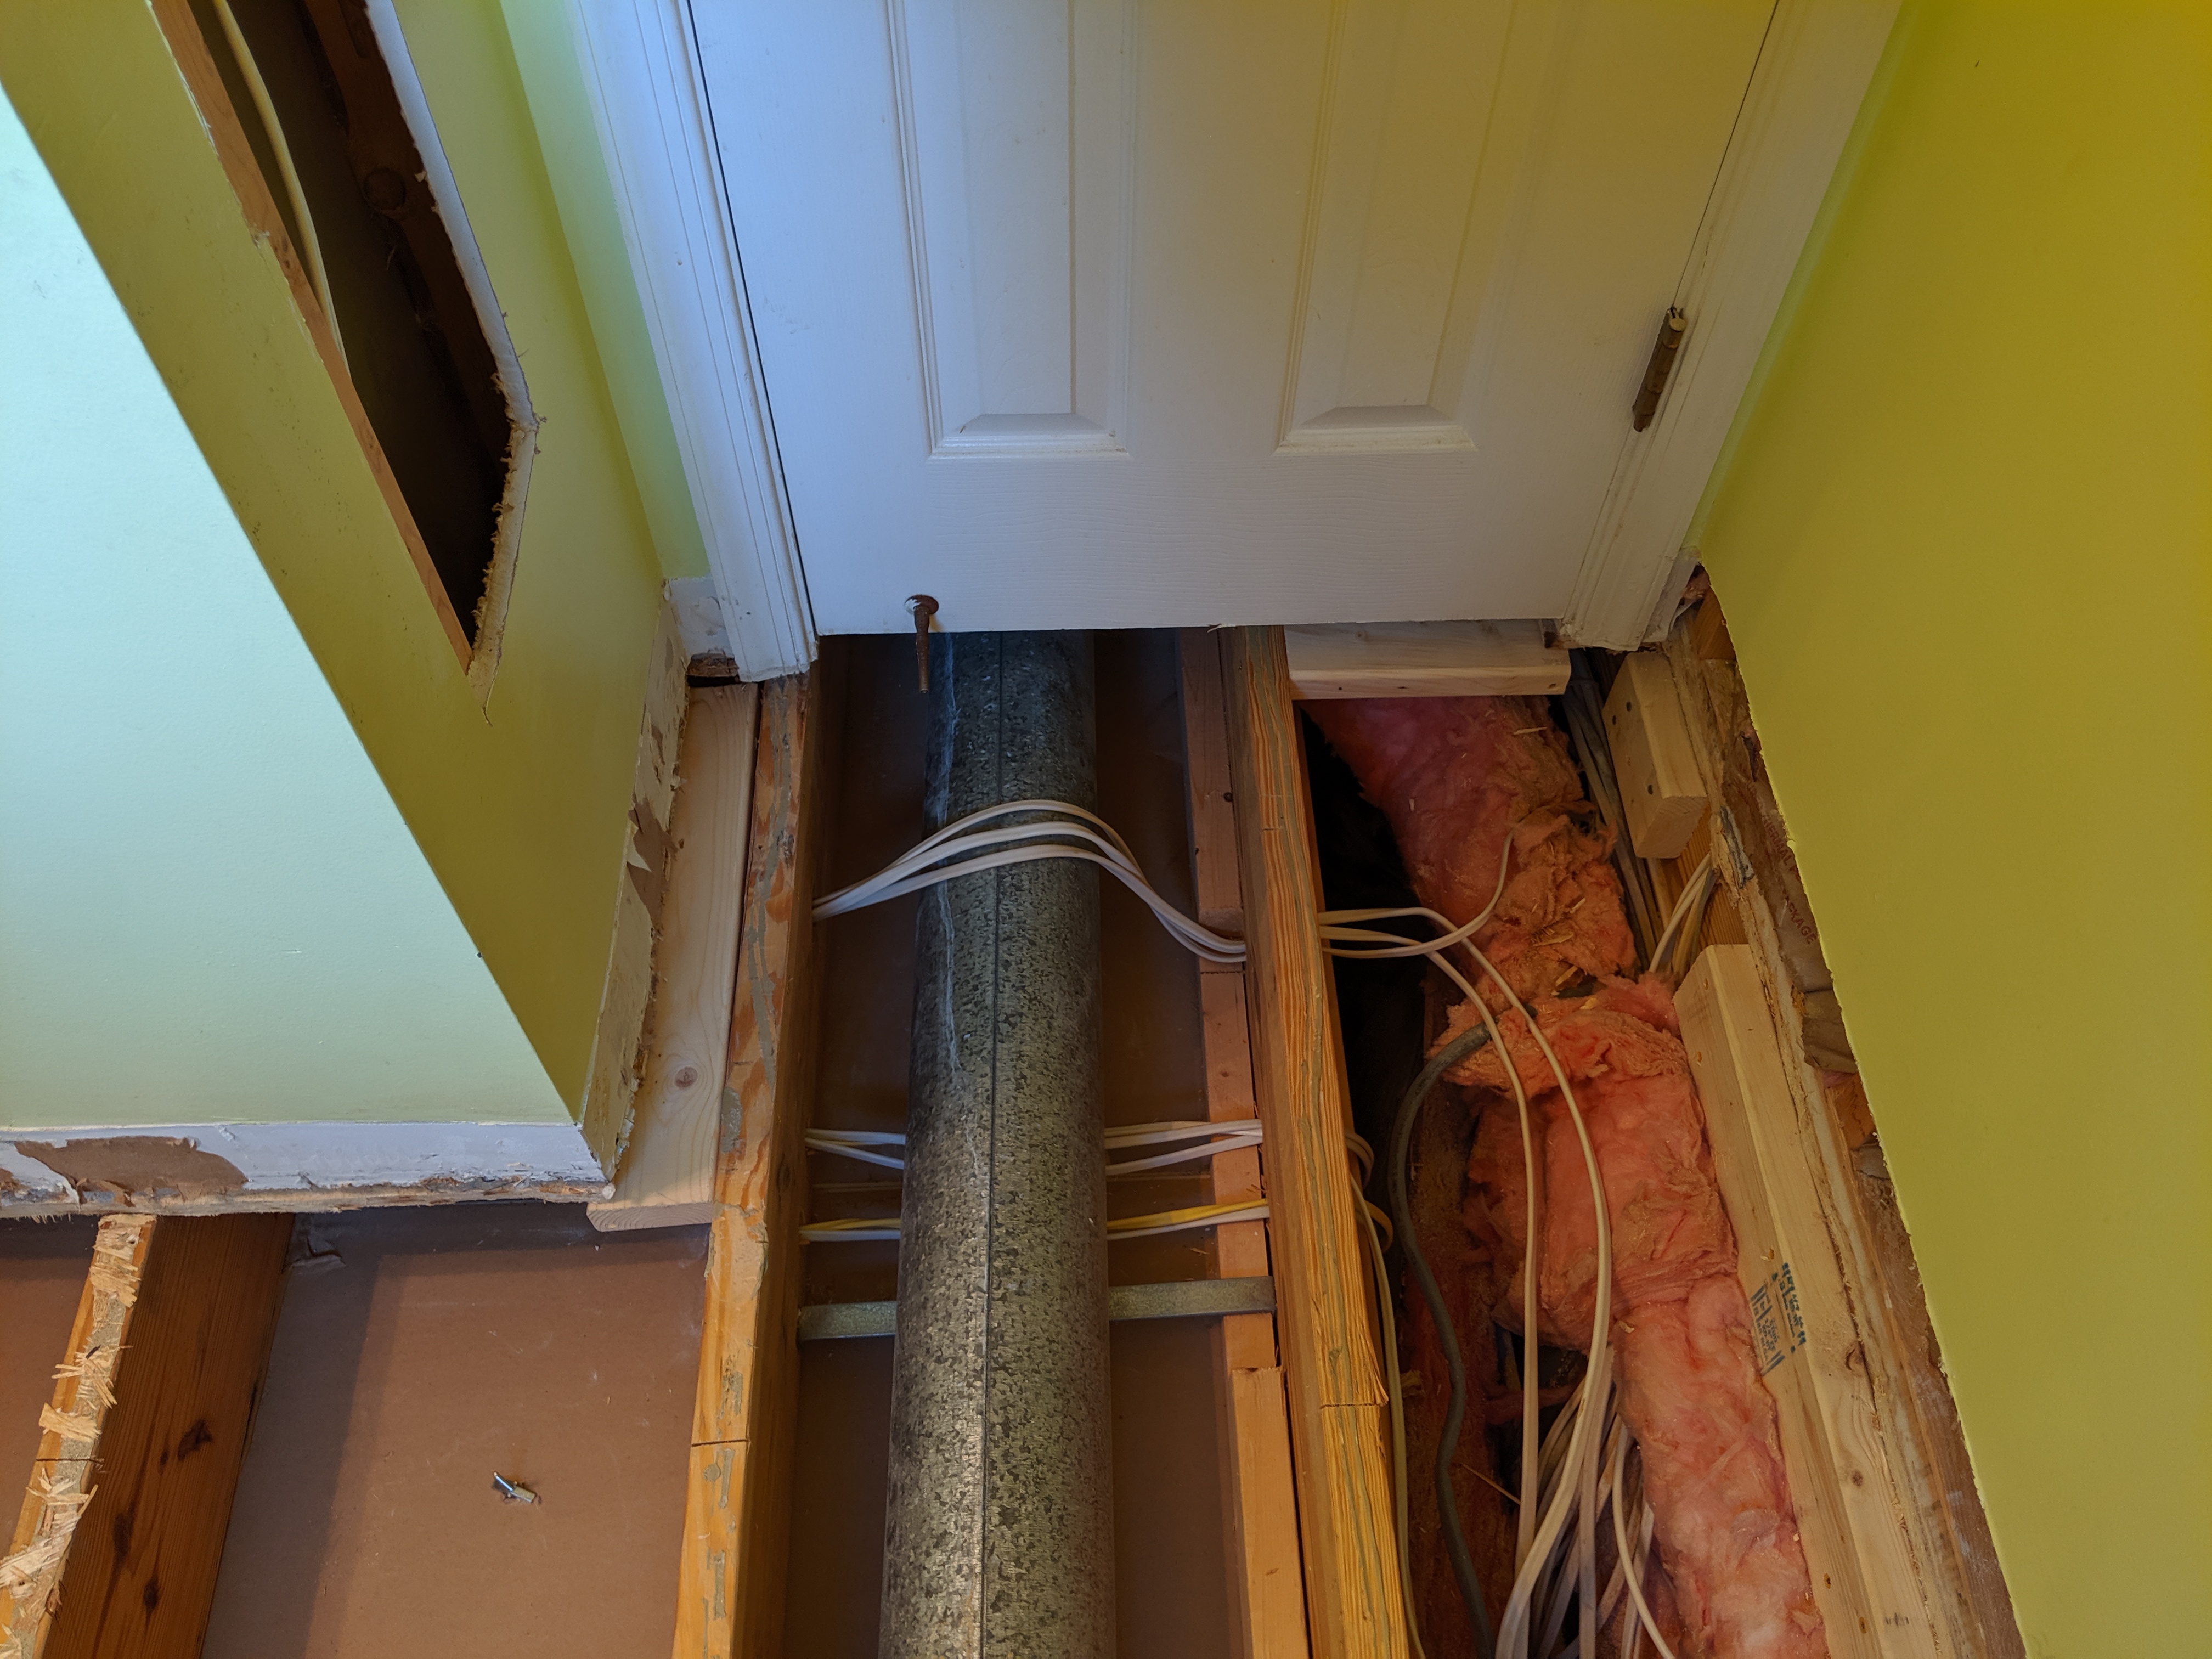
With that finally dealt with, I got back to cutting out the floor the next day. I got a toe kick saw, which made cutting around the edges A LOT easier, except for the fact that it can only go like 3/4″ deep. Which means, it’s only like half way through. But, it does get a pretty clean cut almost flush to the wall. So I could at least pry between the layers, and chip it away, then hit it again to get all the way through. There were a couple of sketchy spots where I couldn’t do a flush cut due to obstructions. The worst being that bundle of wires less than an inch below the floor line! I don’t know what those idiots were thinking, and there is no way that’s up to code. I kept at it all week as time permitted, and had it all cut out by the end of the following weekend.
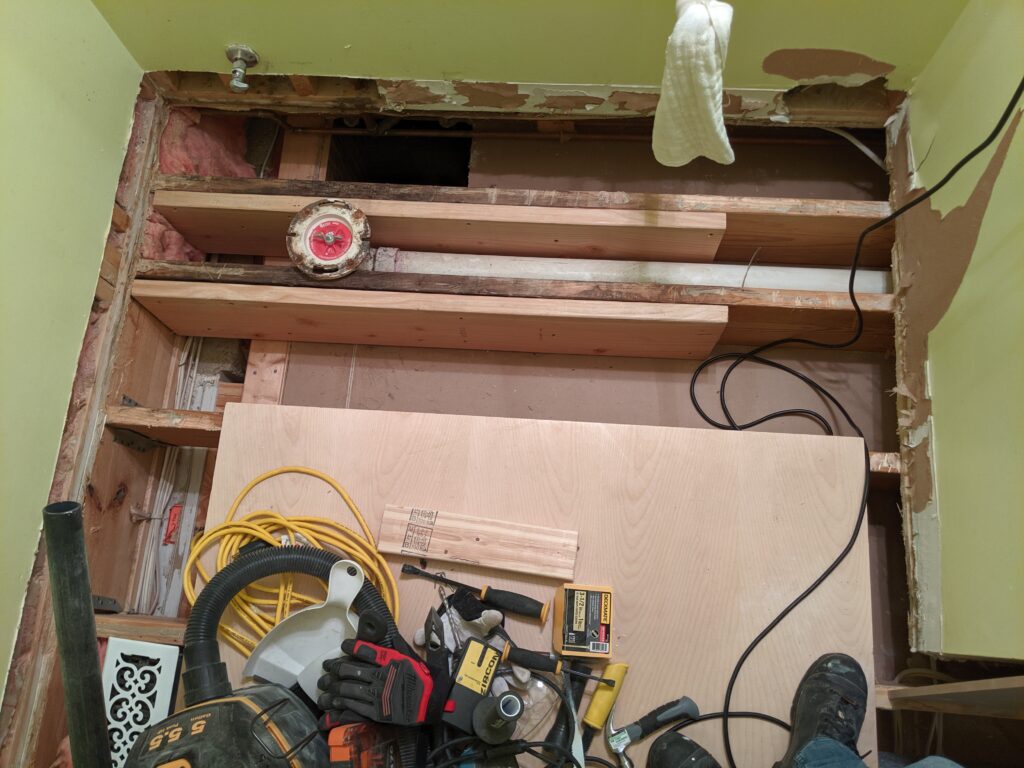
Subfloor removed and sistered joists. 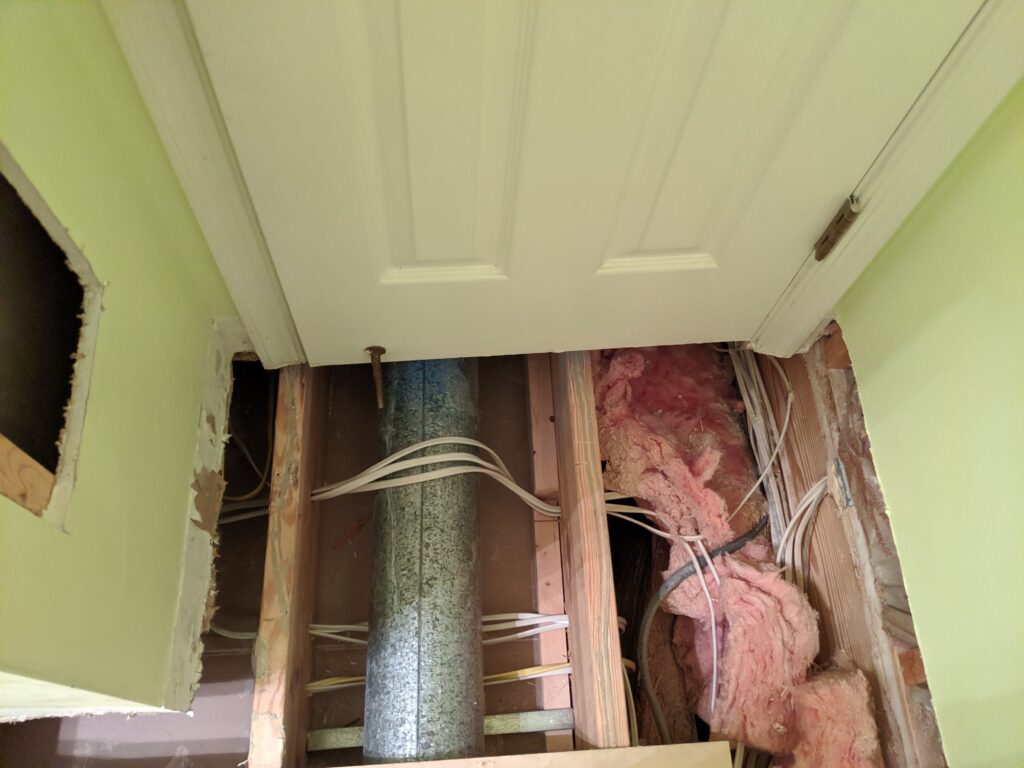
The door way and the fuckery of wiring that was waiting for me.
Once I got all the subfloor out, I treated the water damaged areas on the joists with a mold killer/ preventer, and gave it a couple of days to fully dry out. We were super lucky not to have any black mold down there. After it had time to dry, I sistered in a couple of boards to the joists that had water damage, as I didn’t fully trust their integrity. Unfortunately, due to the swelling of the joists, I couldn’t get them perfectly aligned, but it was easy enough to just plane them down to get them evened out.
Since I cut out the floor at the walls, there are no joists to attach the new floor to along the 3 walls that run in parallel to the joist direction. Since they really won’t carry load in those spots, the blocking was mostly just to give me something to attach the edges of the floor so they can’t move over time which would cause issues with the tile. So in most spots I just screwed pieces of 2×4 flat side under the wall/old floor. On the wall leading to the door I actually screwed in nice strips of 2×4 long ways against the joist most of the length of the wall. This side will definitely see more weight, so it was a bit more important to give it some stability.
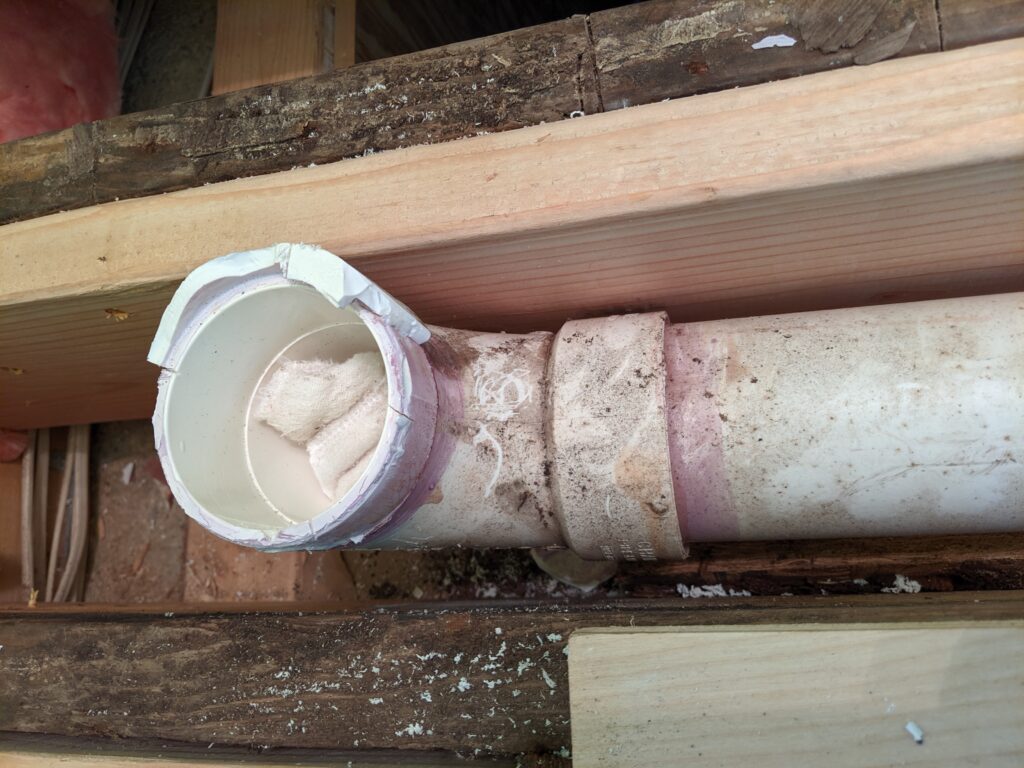
I wasn’t originally planning on replacing the toilet flange, because it was still in pretty good shape. However, on closer inspection, I realized that the mounting screws were completely rusted/corroded, and removing them with be very difficult without causing damage to the flange. So I decided to try and cut it out, rather than messing with the waste pipe/elbow. I hacked off the mounting plate and carefully cut a few lines around the hub with a hacksaw. Then I hit them fairly gently in between the hub and the elbow with a screwdriver/hammer. The first couple sections popped off pretty easy. The third one would not budge. I hit it a bit harder, and still nothing, until I cracked the elbow that is! So I freaked out a bit thinking it was gonna be a PITA to cut the waste pipe and couple in a new piece of 3″ pipe and a new elbow. Luckily, this was so much easier than I expected thanks to a Fernco Flexible Coupling. I was actually pissed at myself for wasting the time trying to pry out the old flange. It took me no time at all to cut out about 6″ of the waste pipe, cut a new piece to match, prime and cement the new piece to the new elbow, then attach to the waste line with the coupler.
Chipping away, going well. 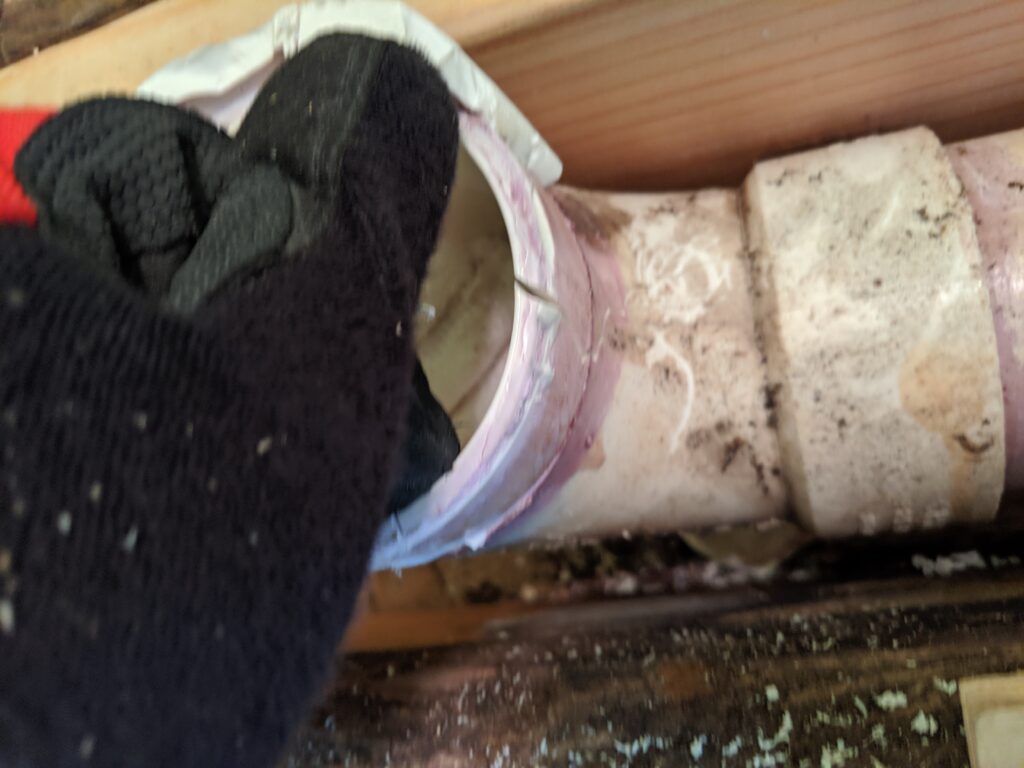
Oops! That’s a crack. 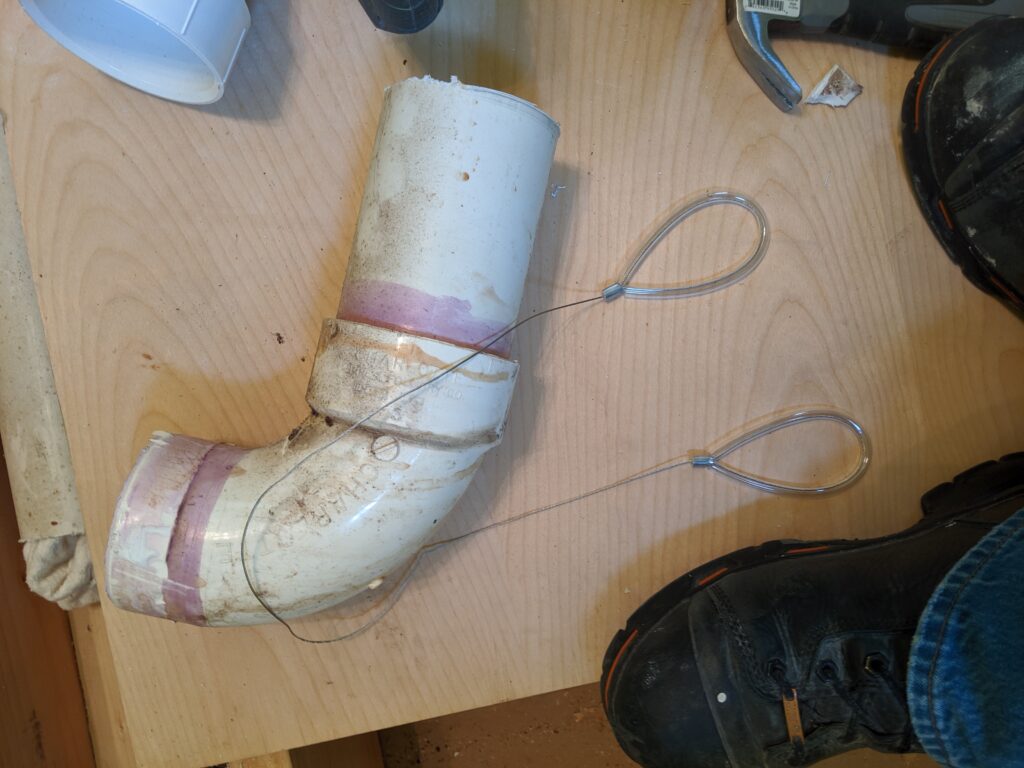
Bye Felicia! 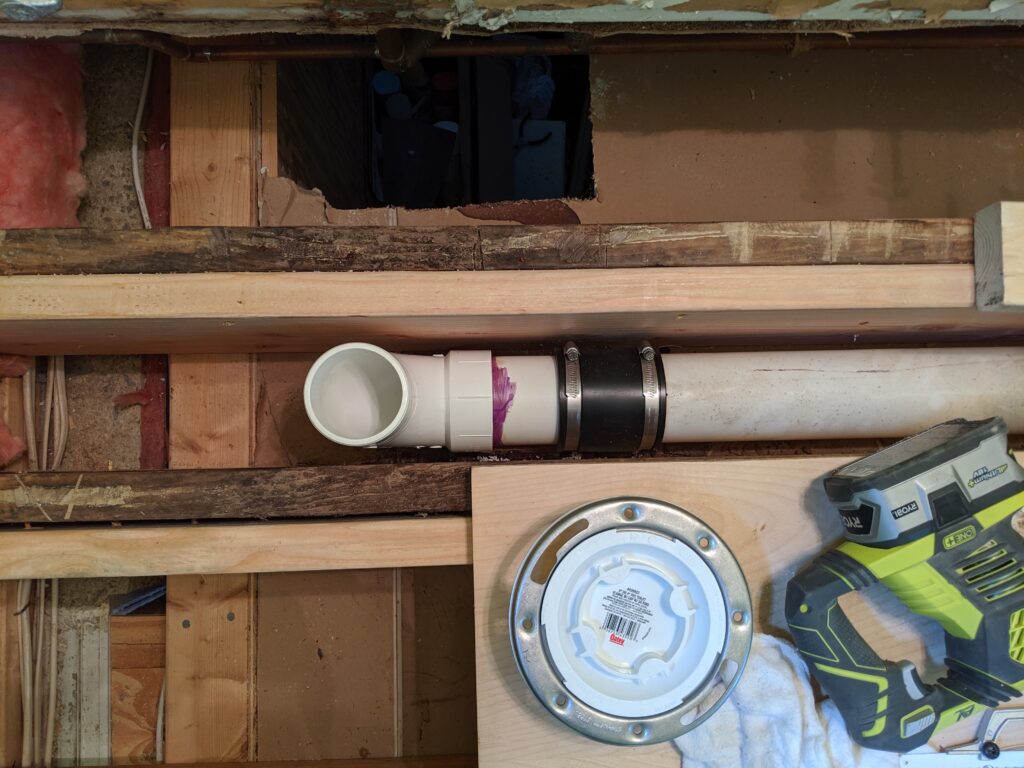
New poop shoot.
After the plumbing and blocking was completed, it was on to installing the new subfloor. This was pretty straightforward after I cleaned up the edges of the old floor and used a wood rasp to plane down any uneven joists. I used 3/4″ Sturdifloor, threw down some liquid nails on the joists/blocking and screwed the boards down. The only spot that was at all difficult was at the door since there was no way to make a straight cut there and still get the new floor all the way to the threshold. So I had to cut that piece to fit under and around the door frame, and it wasn’t exactly even. My first cut ended up being about an inch short, so I recut it and all was good.

New subfloor going in. 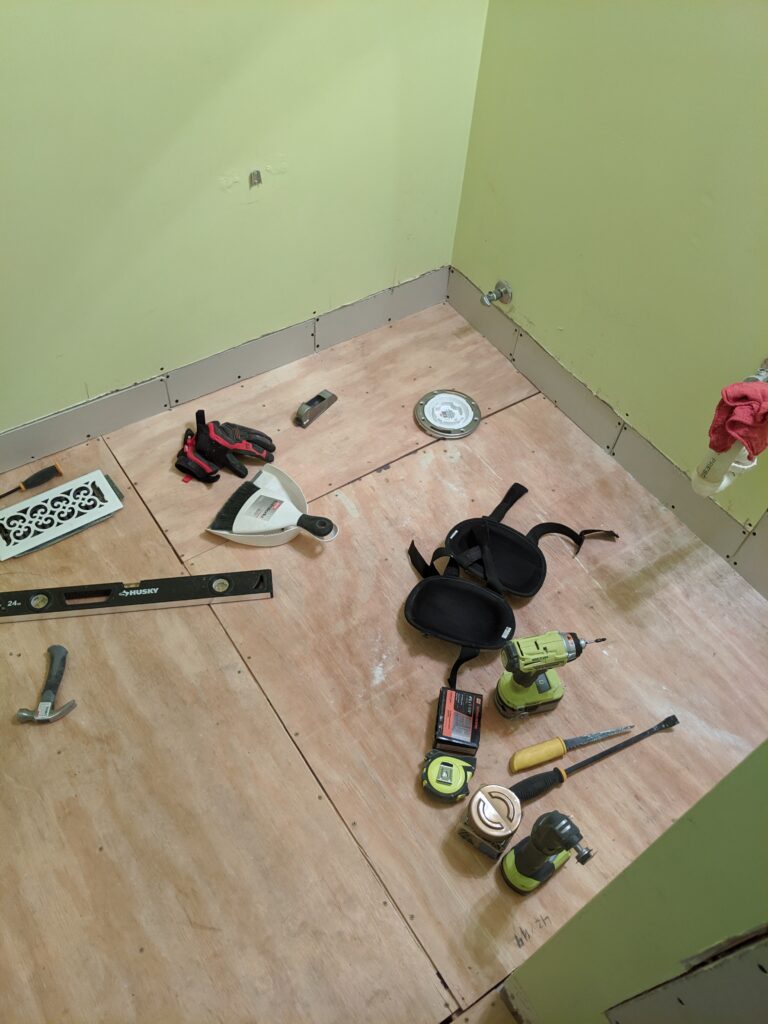
Drywall repair from where I cut out the old baseboards. 
Drywall repair from the electric mishap.
Once the subfloor was in, I replaced all the drywall that I had cutout around the floor and in the wall for the electric stuff. Luckily this is all going to be hidden behind the bead board wainscoting I’ll be installing later, so my terrible mudding skills never have to be seen! Once that was squared away, it was on to the cement boards. The dimensions of this room made for a pretty simple install. The main part of the room is 5′ x 6′. The boards are 3′ x 5′. So it’s one full board and a thin rip off the length of the other to leave room for expansion. Then there’s the piece for the doorway. It wasn’t until I went to measure this piece that I realized I was about to make a big mistake. The joints for the subfloor were going to be lined up with the cement boards on this side. This would almost definitely cause issues with the floor down the road, as it allow shifting/expansion of both boards, and therefore the tile above. So I just cut about a foot into the board in front of it so I’d overlap that joint.
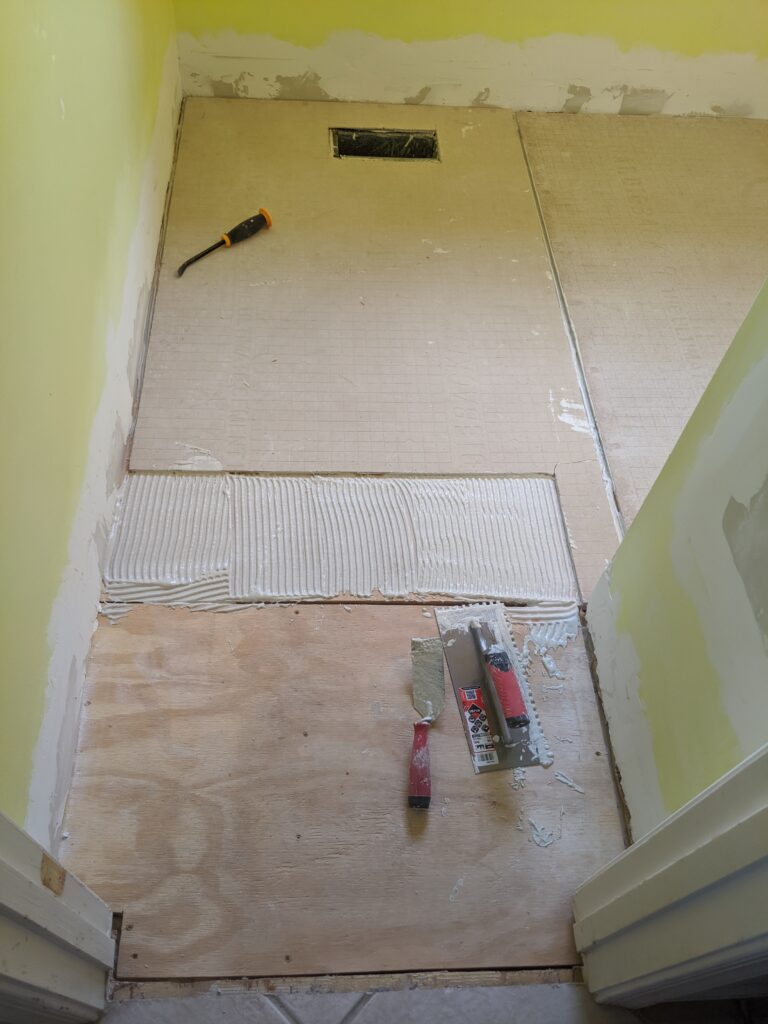
Oops! Ran out of mortar with only 1 1/2′ to go. 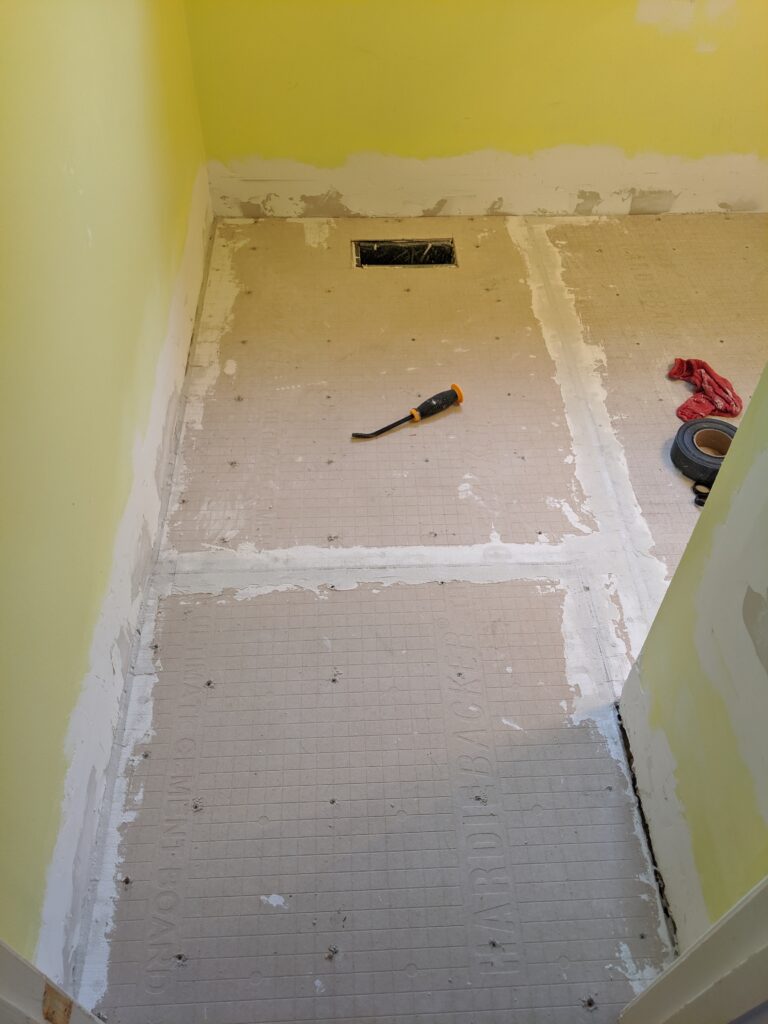
All mortared, screwed and taped. 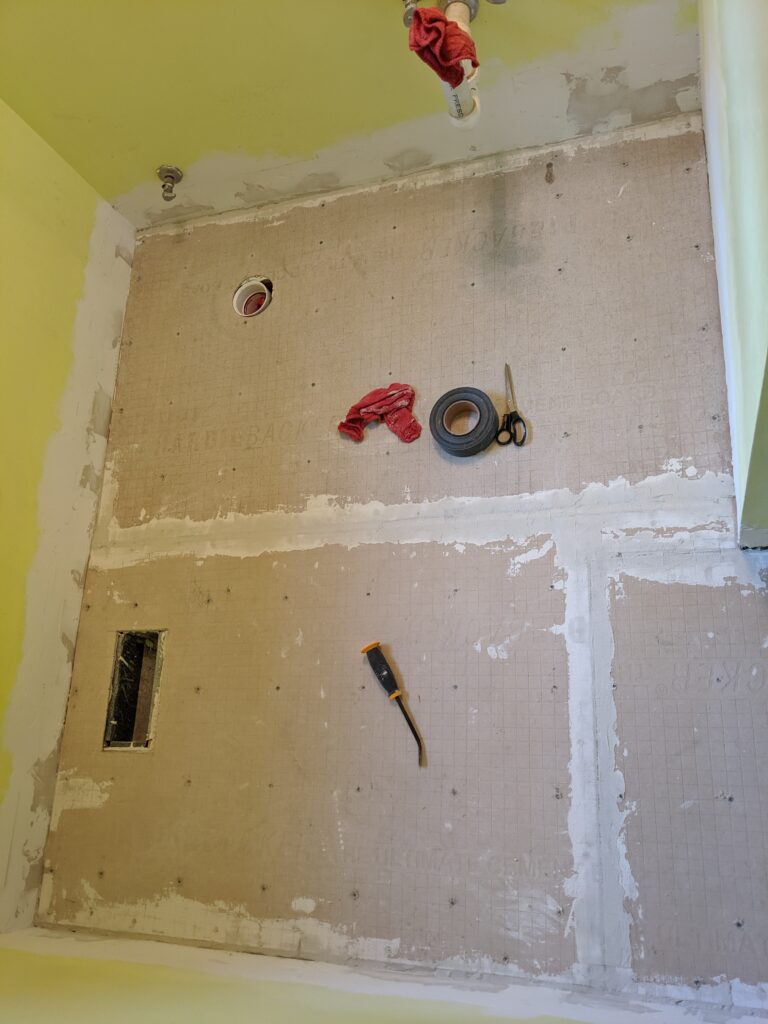
All mortared, screwed and taped.
I started the dry-fitting of tiles yesterday, and need only a few more cuts with the wet saw to be ready to start setting it. So this seems like a good place to wrap up this post. Stay tuned for the next episode.
You must be logged in to post a comment.