I can’t believe that it’s already been another 2 weeks since my last update (which I forgot to post to social media). Work has really put a damper on my free time during the week to get things done. But, the finish line is (very) near! I left the last update having just finished painting the walls. While the yellow paint didn’t bother me before, I really hated it by the time I was ready to redo this bathroom. We chose a blueish green to go with our beachy theme. It’s amazing how much of a difference it makes to the appearance of the floor. Next up was the trim, wainscoting, and chair rail.
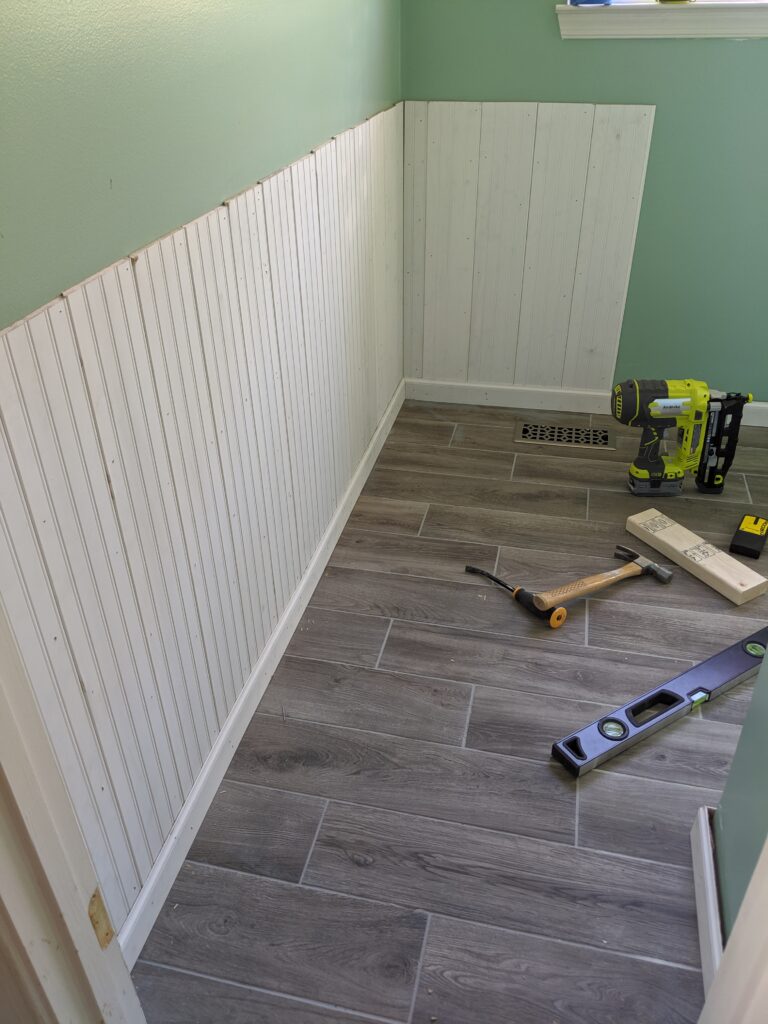
The wainscoting materials I got come as a kit of 8′ boards, trim, and chair rail moulding. The 8′ trim and moulding are great, because they require minimal cuts. I simply had to do the 45° cuts for inner and outer corners, and a few straight cuts. Since there were so few cuts, I didn’t bother renting a miter saw, and I just did them with my circular saw, which has pretty decent guides for it. The cuts came out pretty good all things considered, and any small gaps (mostly due to unsquare walls) are easy enough to fill with caulk. I had to join in two spots, due to a lack of excess boards. This is annoying, because it’s really difficult to make them disappear totally, but it’s not terrible. At any rate, the trim went up real quick with a finishing nailer.
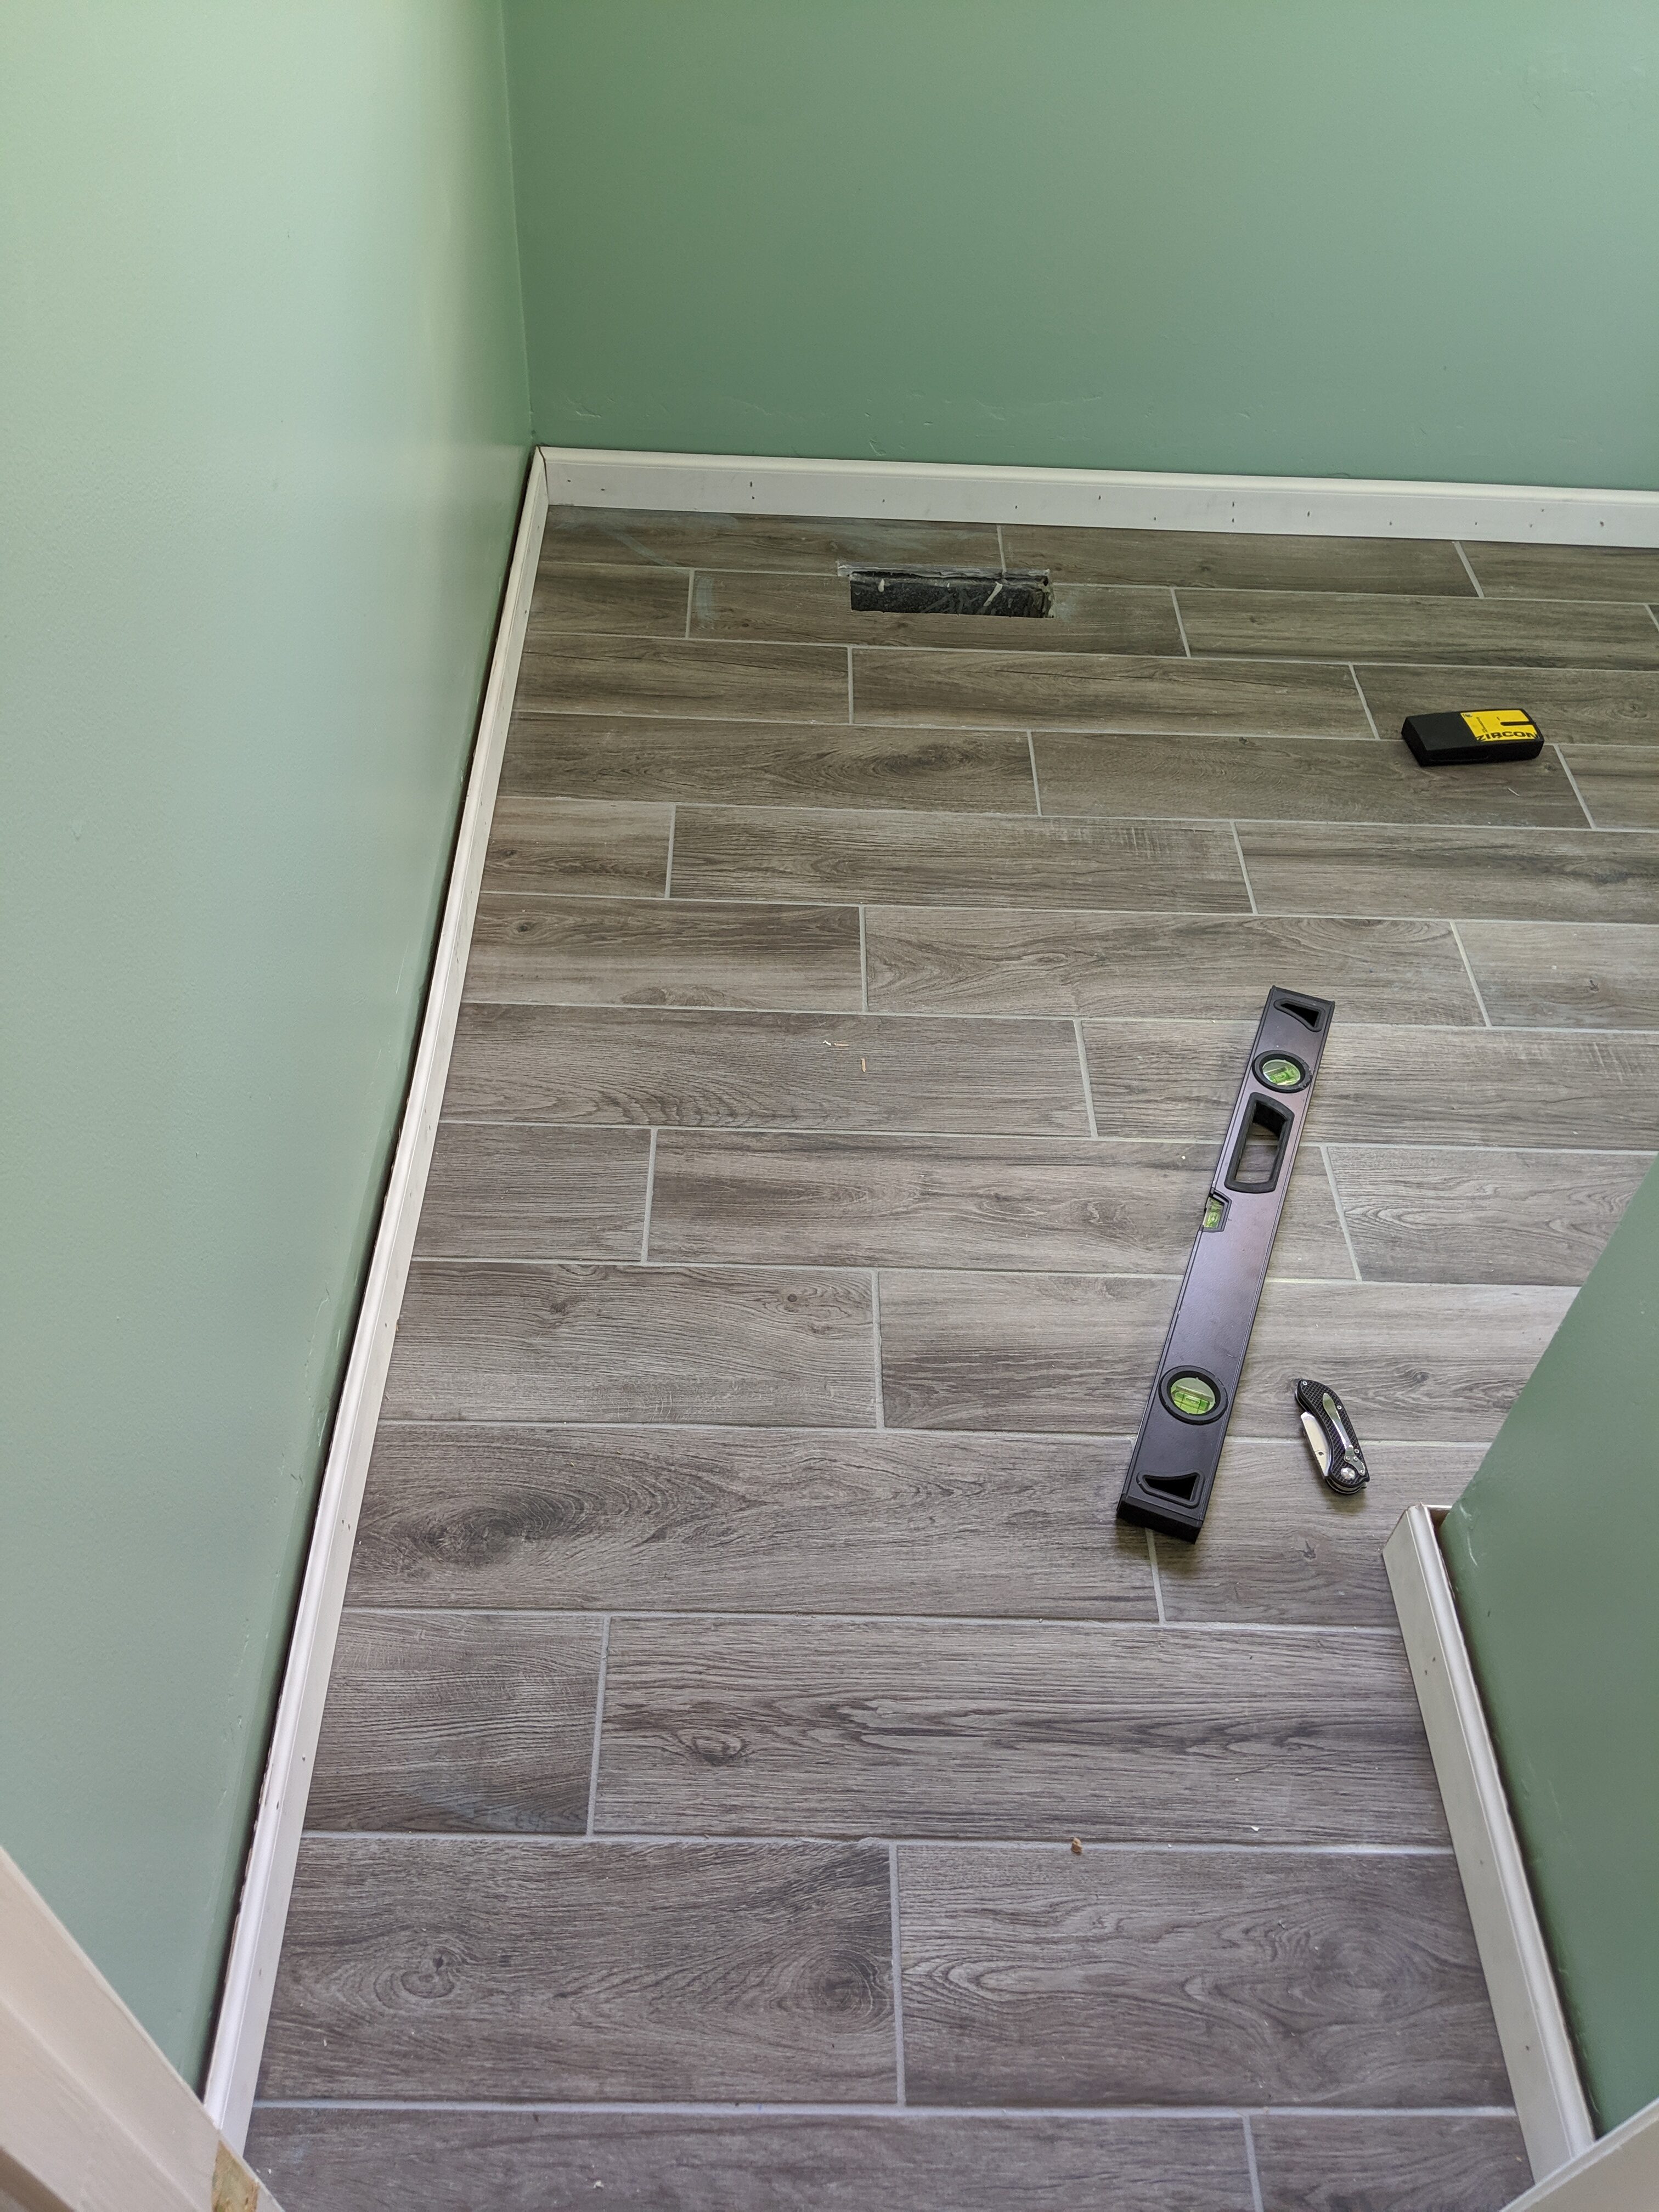
First set of boards in. 
Complete with chair rail.

I don’t know what I was thinking when I ordered, but I completely screwed up my numbers and WAY under ordered the boards. So I ordered the 30 more I needed to complete the job, I quickly ran through what I had. The kit is really easy to work with, as there’s a slot in both the trim and moulding that the boards slide into. This gives you a lot more flexibility with uneven boards and/or uneven floors wall to wall. Since my walls were in pretty good condition, I simply used the finish nailer to attach them to the walls, and the same for the moulding.

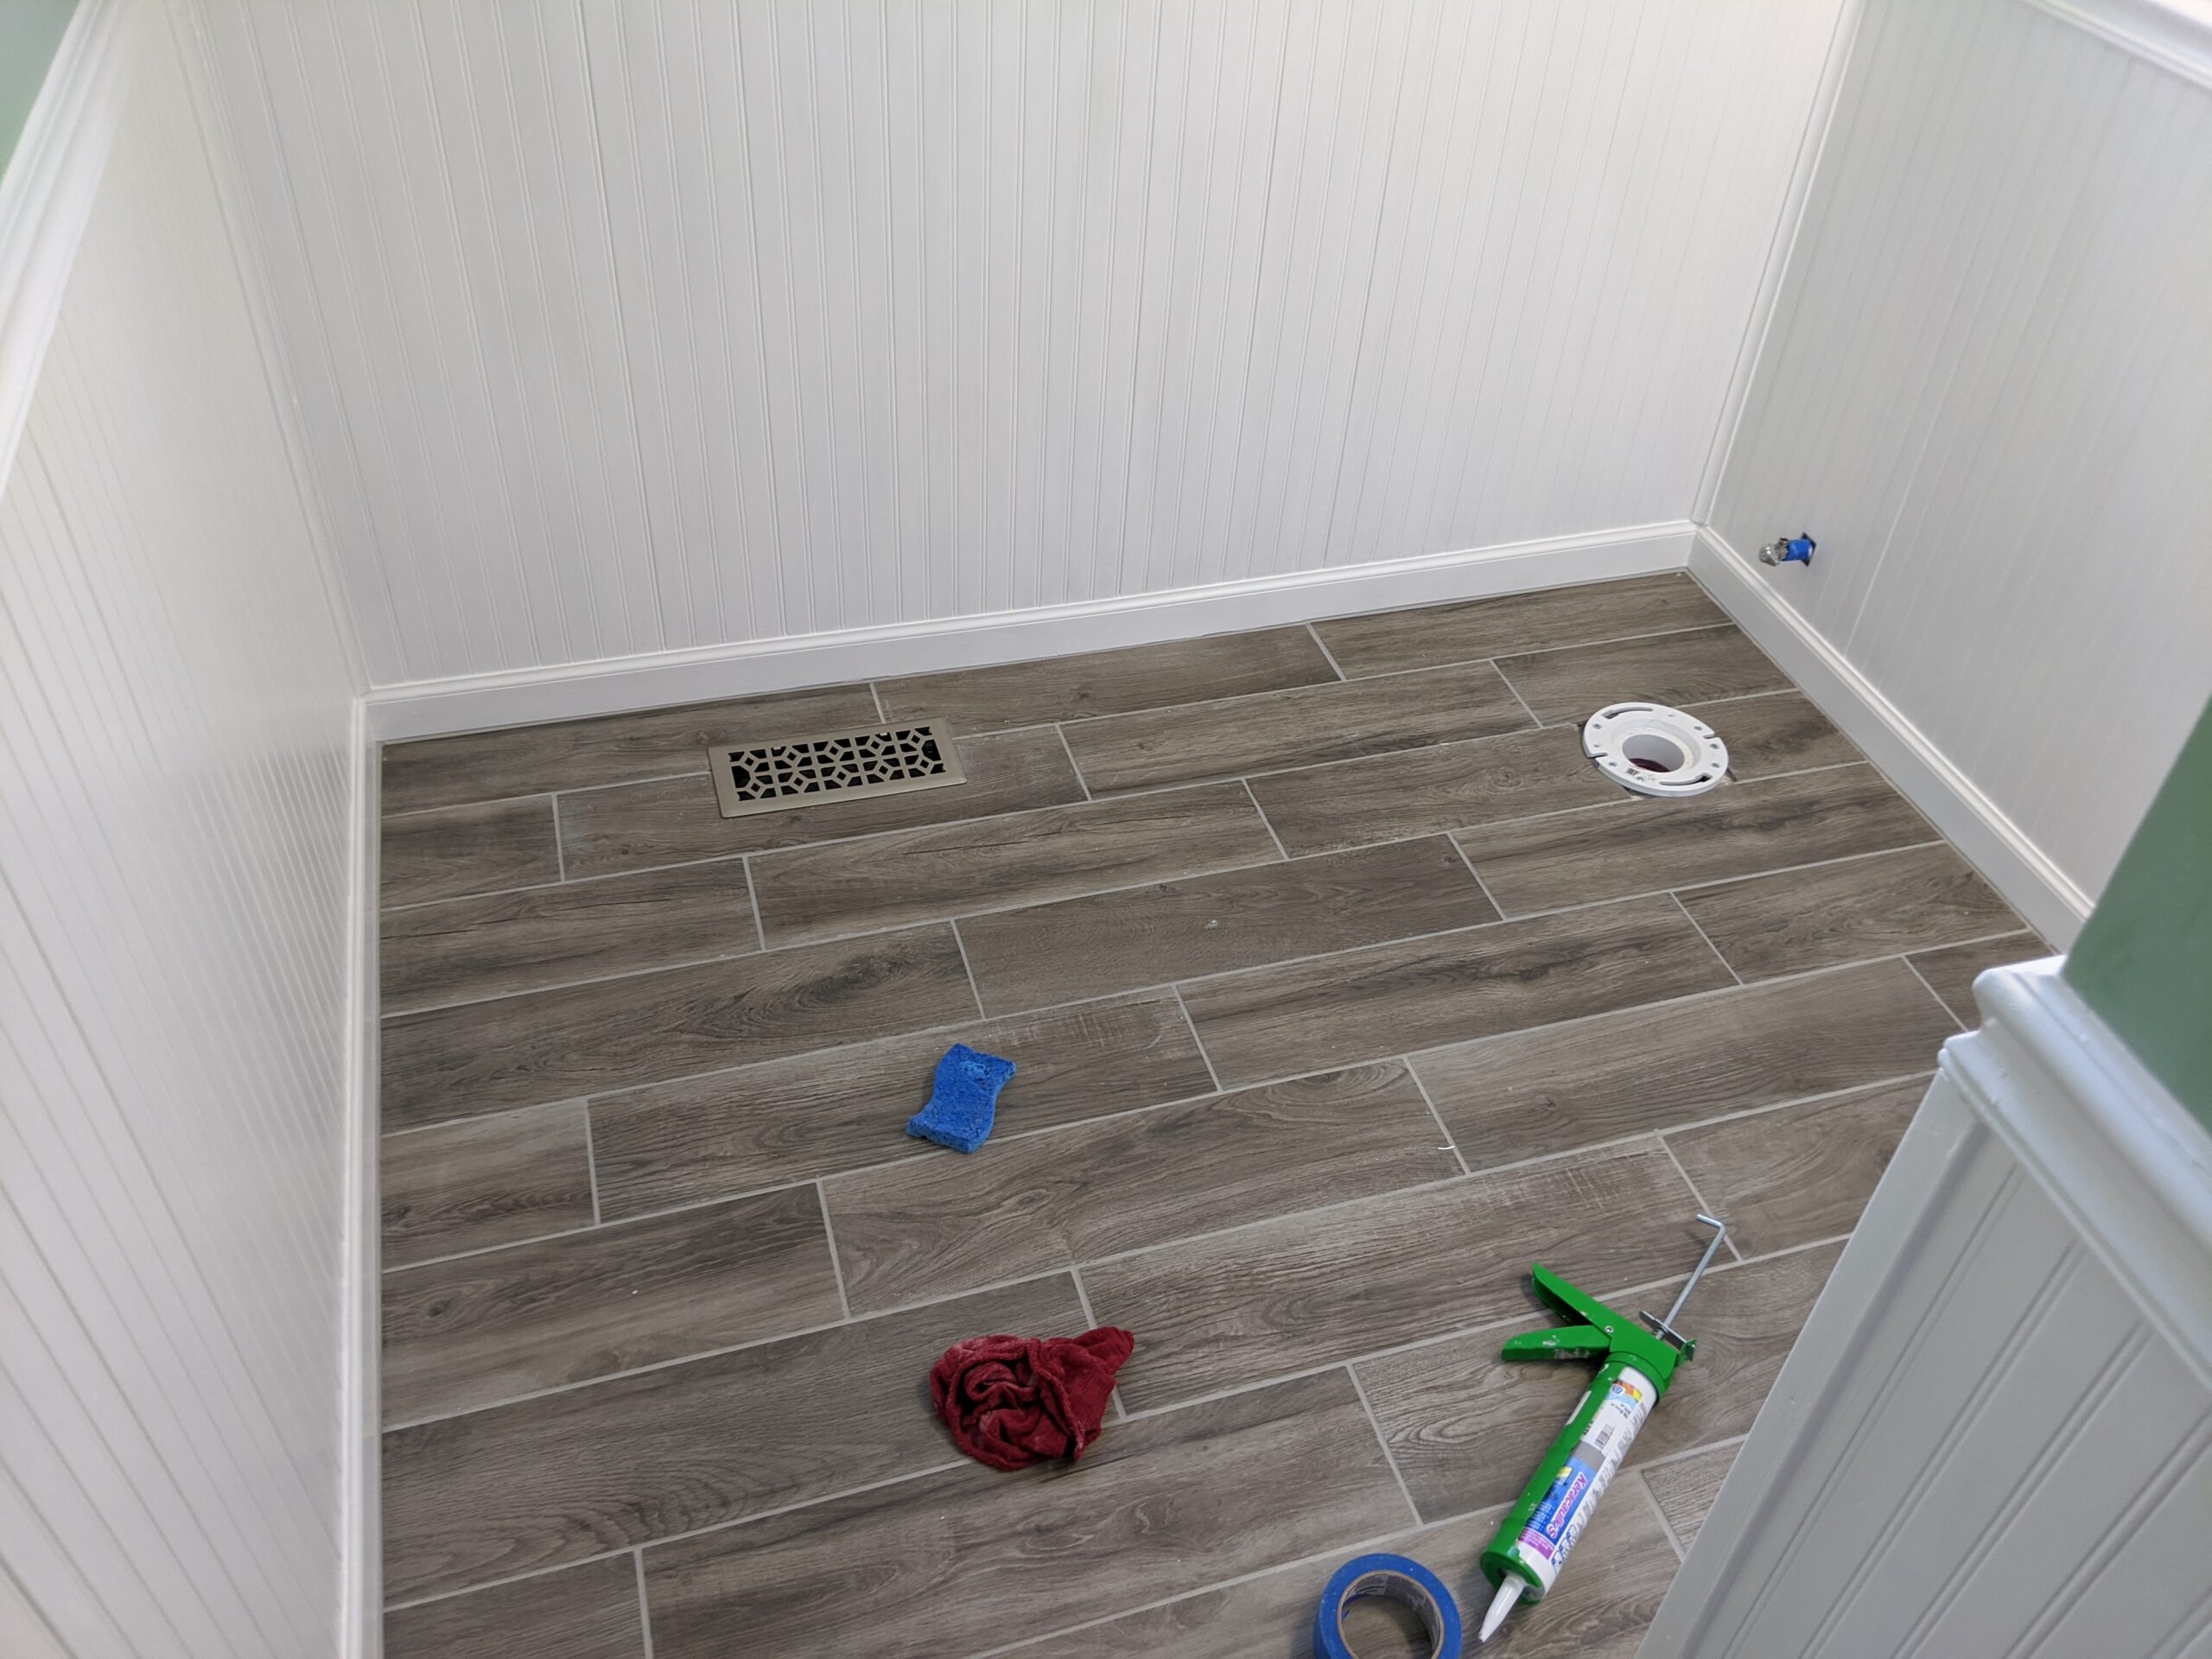
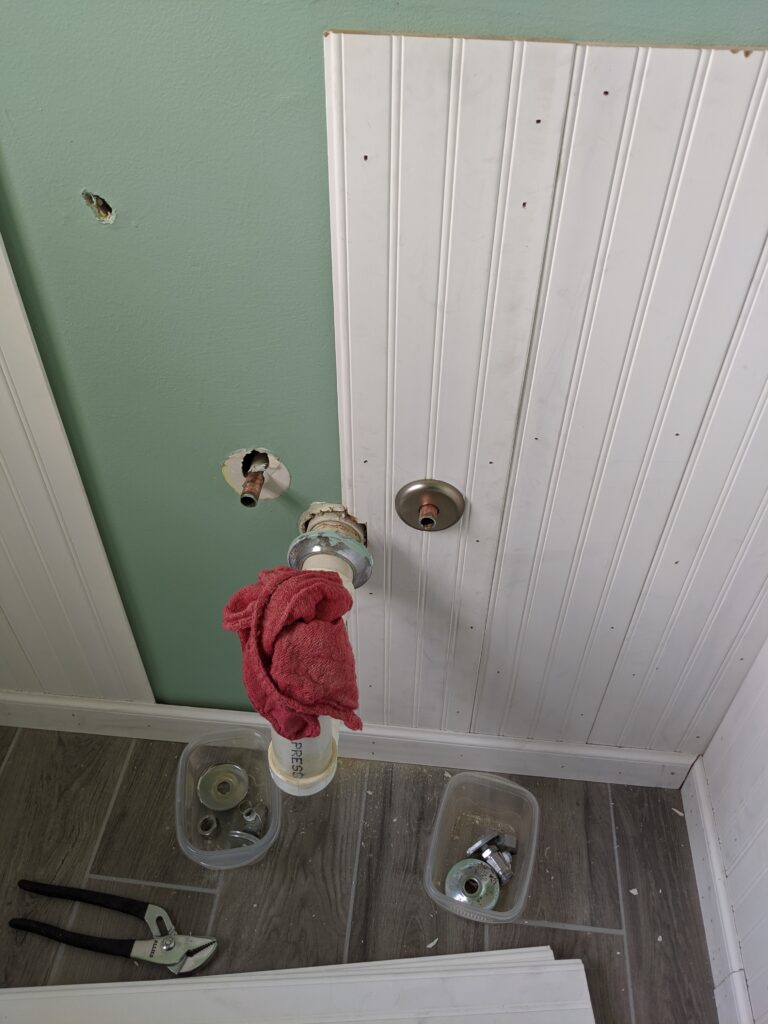
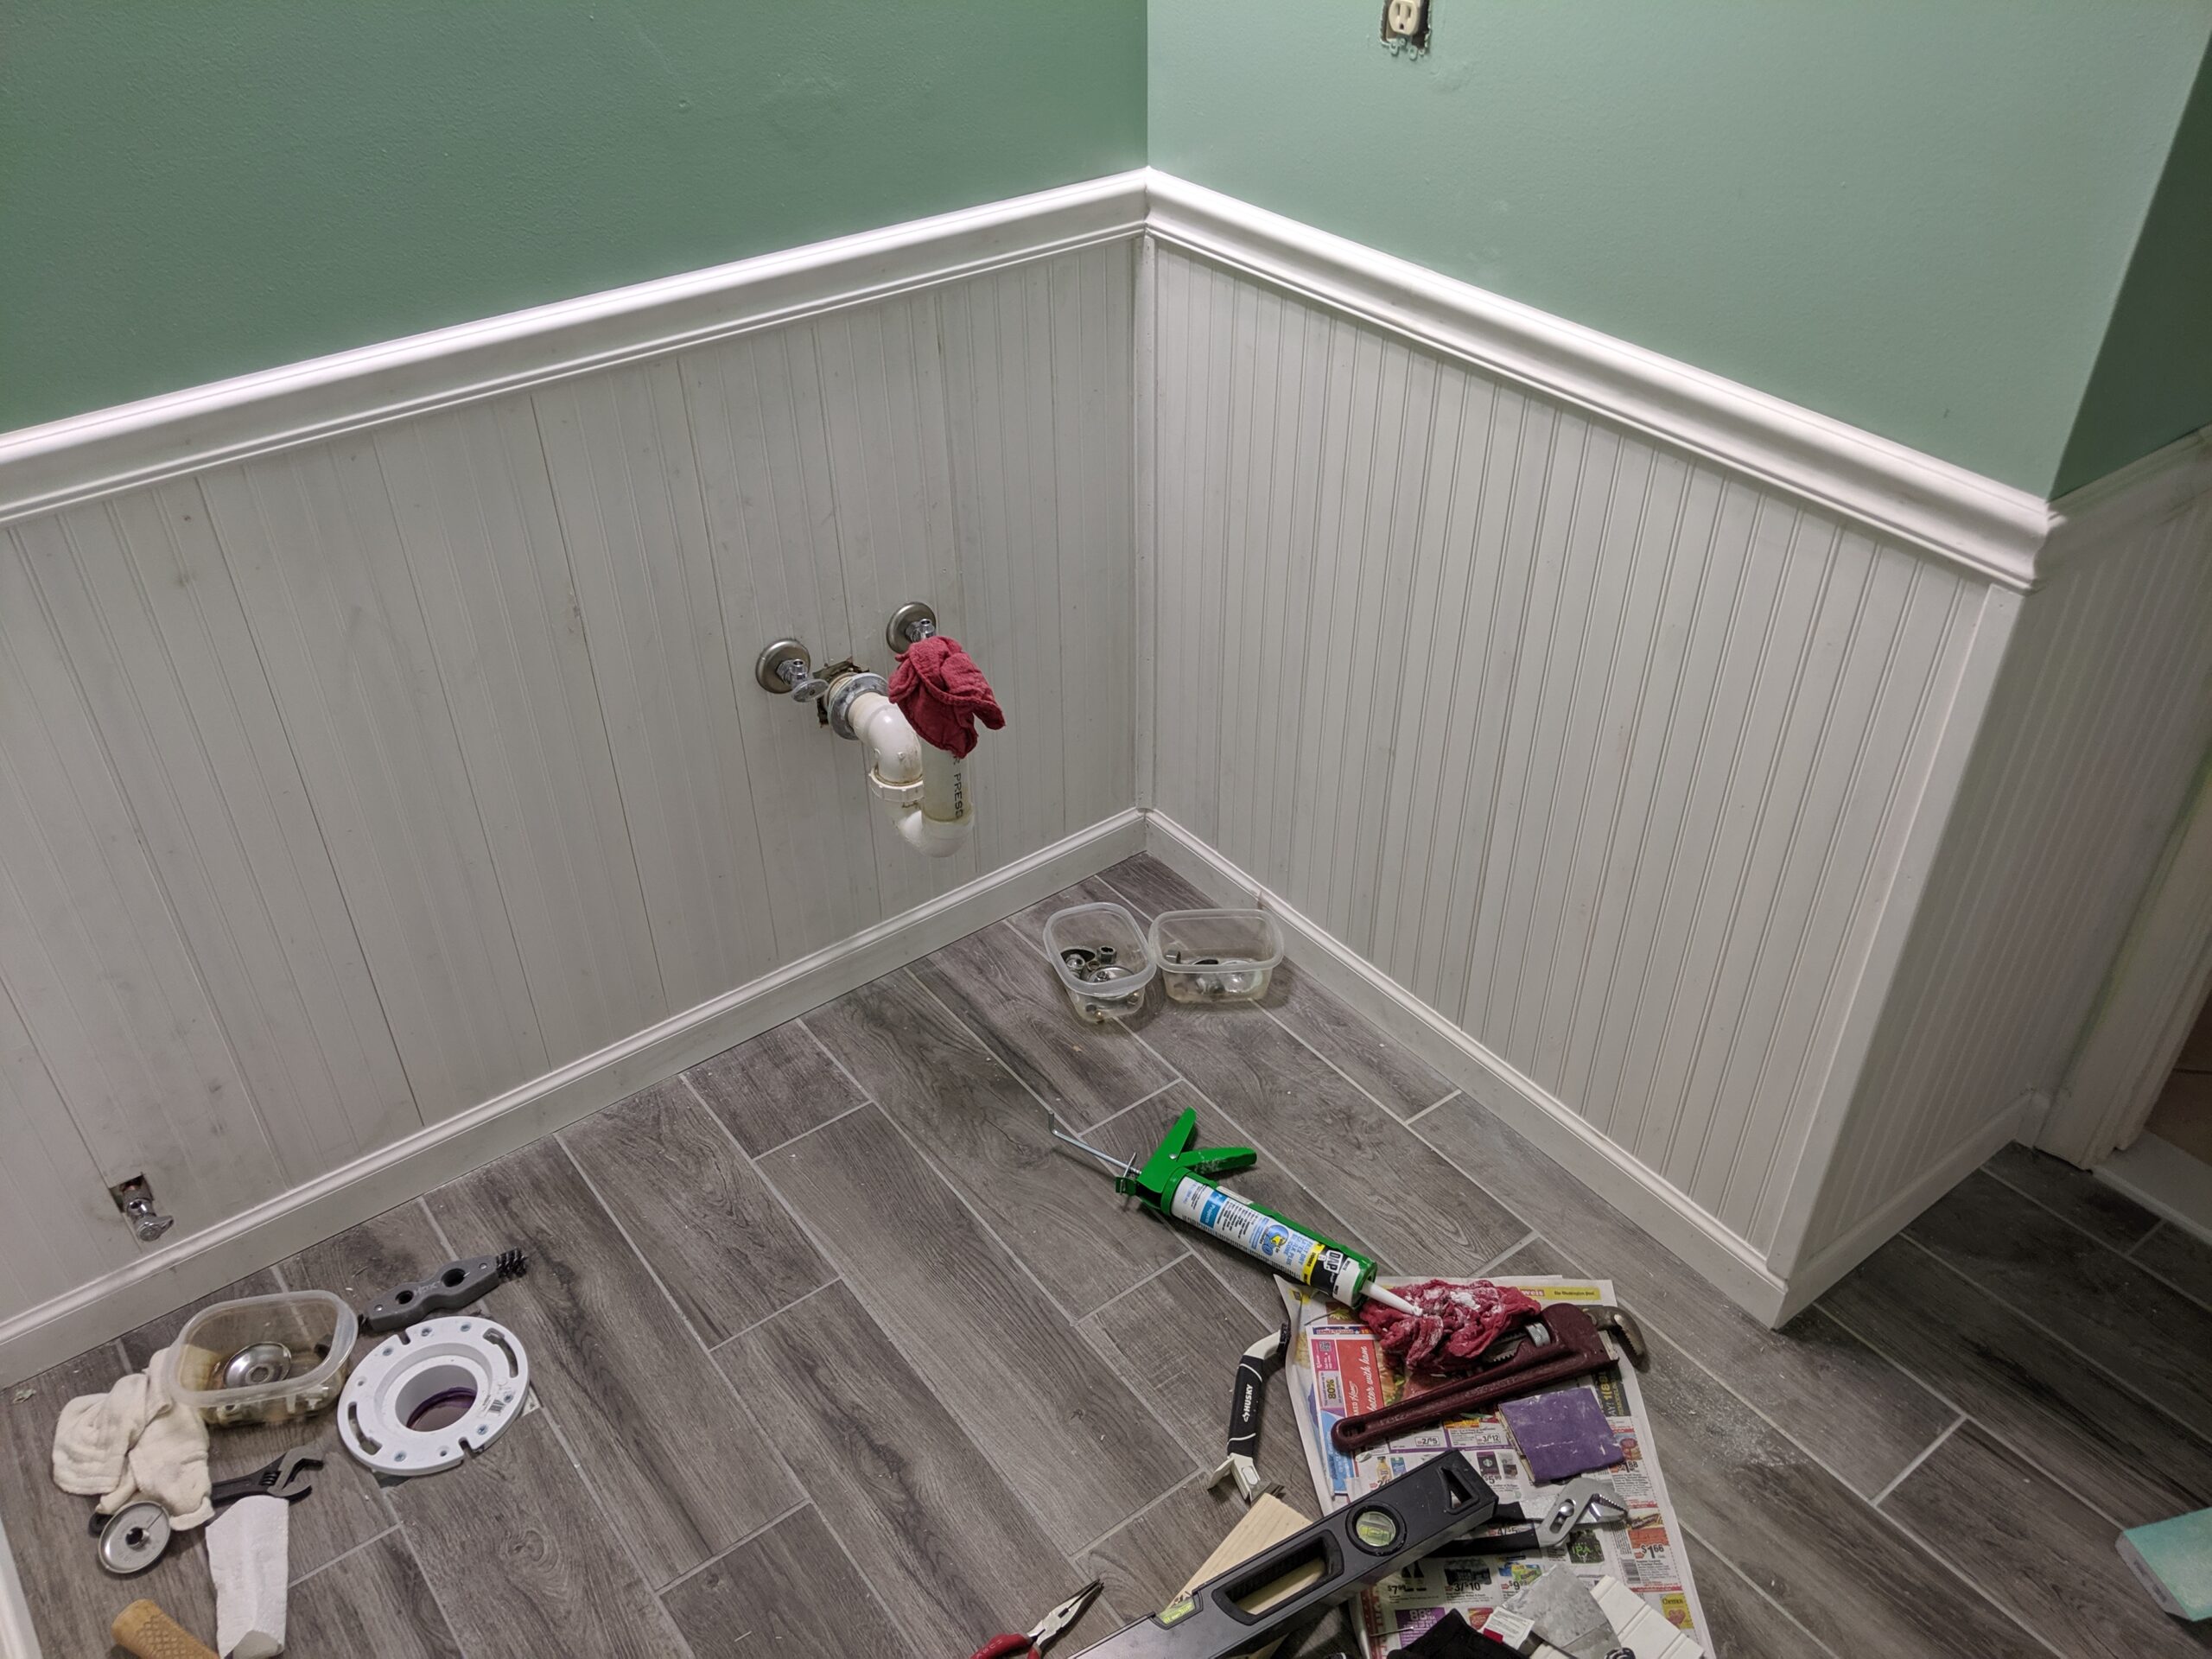
Once the new boards arrived I quickly got the window wall finished then had to go through the process of dry fitting the remaining boards to figure out where I was going to have to make my rips. Obviously the plumbing wall is the main problem, but this also affects the corners of both of the other remaining walls. The biggest issue here was the waste pipe, which I did not want to have to replace. This meant aligning the boards in a way that I’d be able to cut into the side rather than through the middle. I was already planning to replace the shutoffs, so those would be easy enough to just drill a hole for… with one big caveat. The boards slide down into the trim about 3/4″. This means there’s not a lot of wiggle room, which the pipe flange has to be able to cover.
First cuts done! 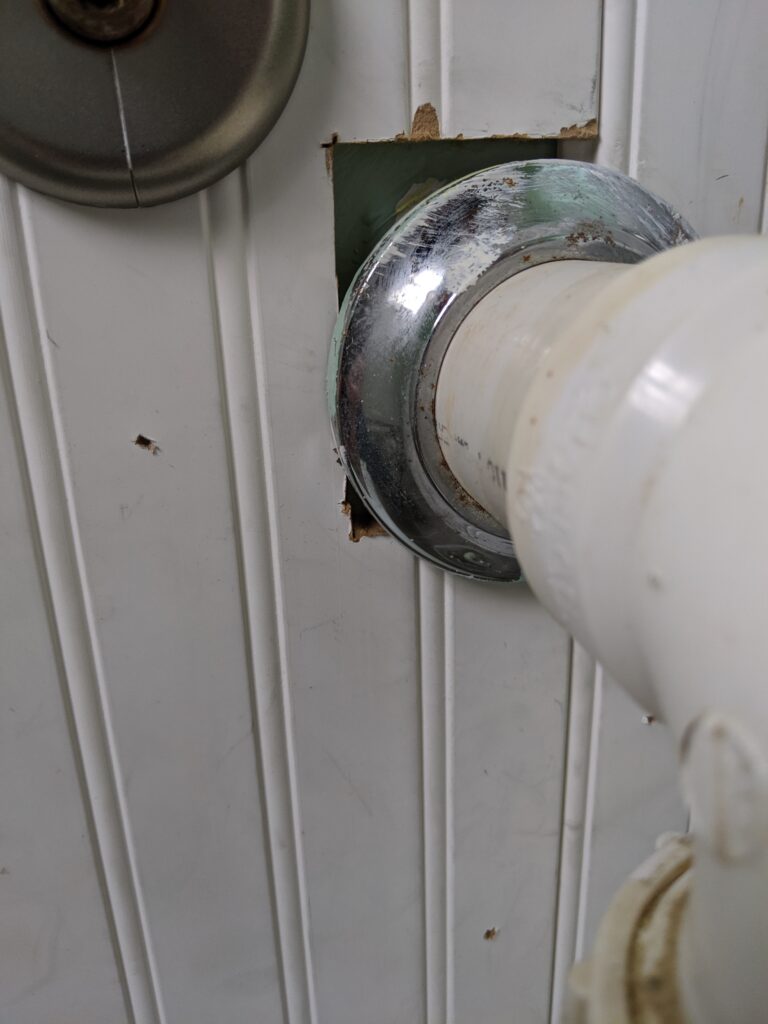
Ugh! Bad cut! 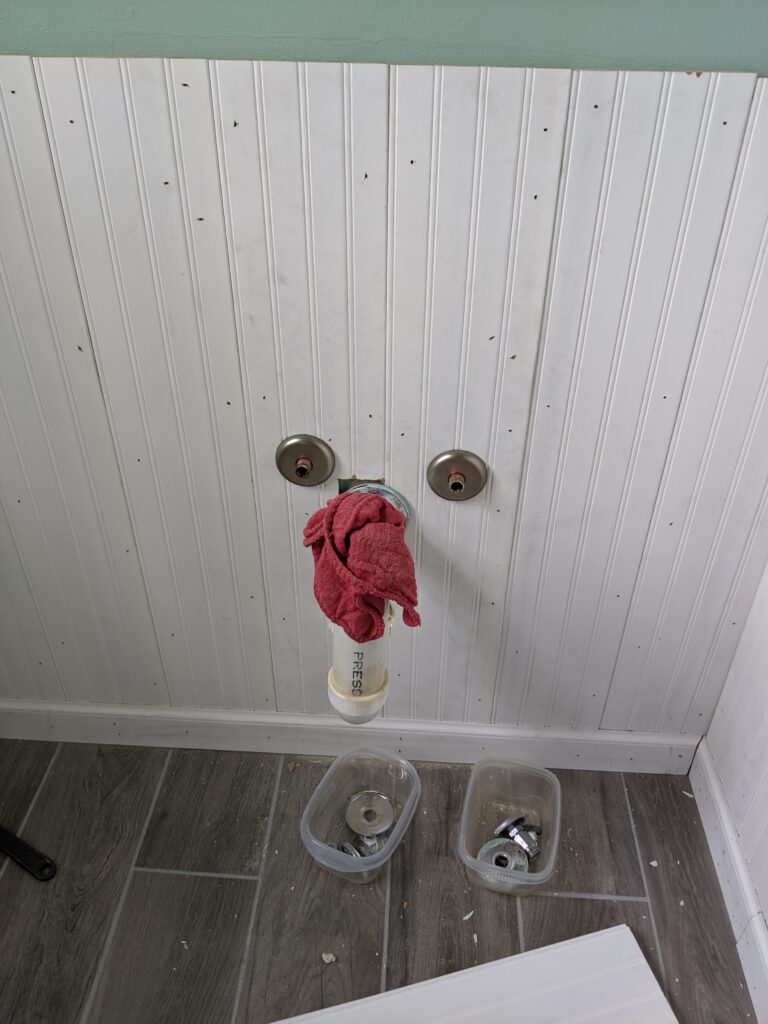
Could be worse. 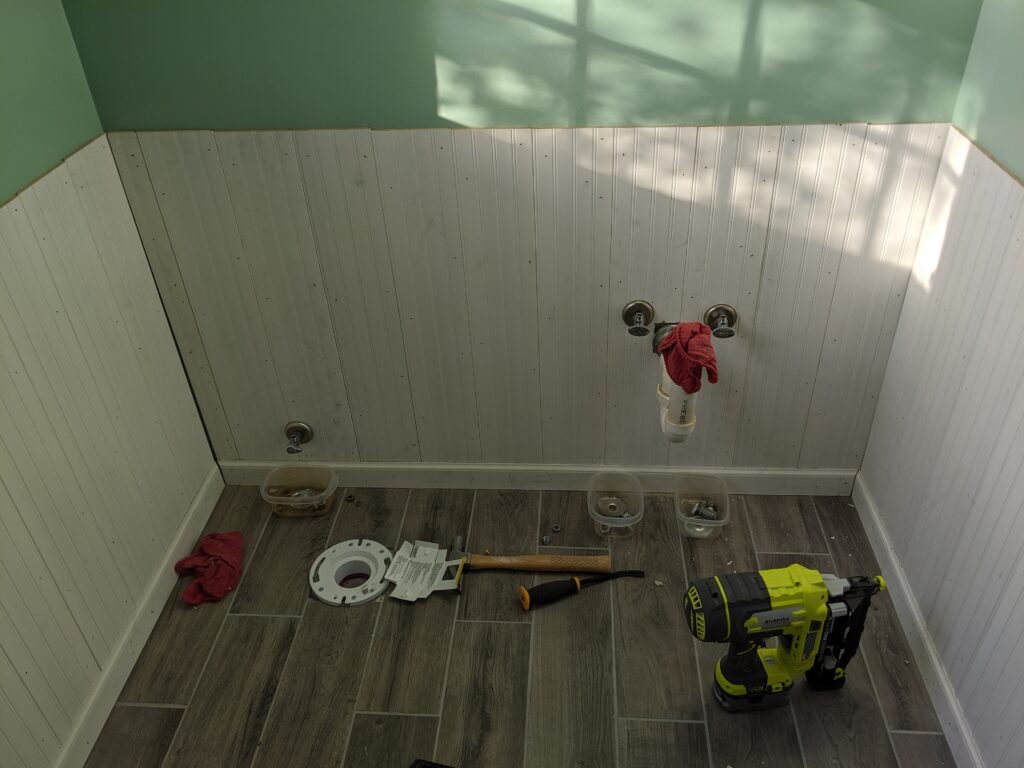
Done with boards and new shutoffs!


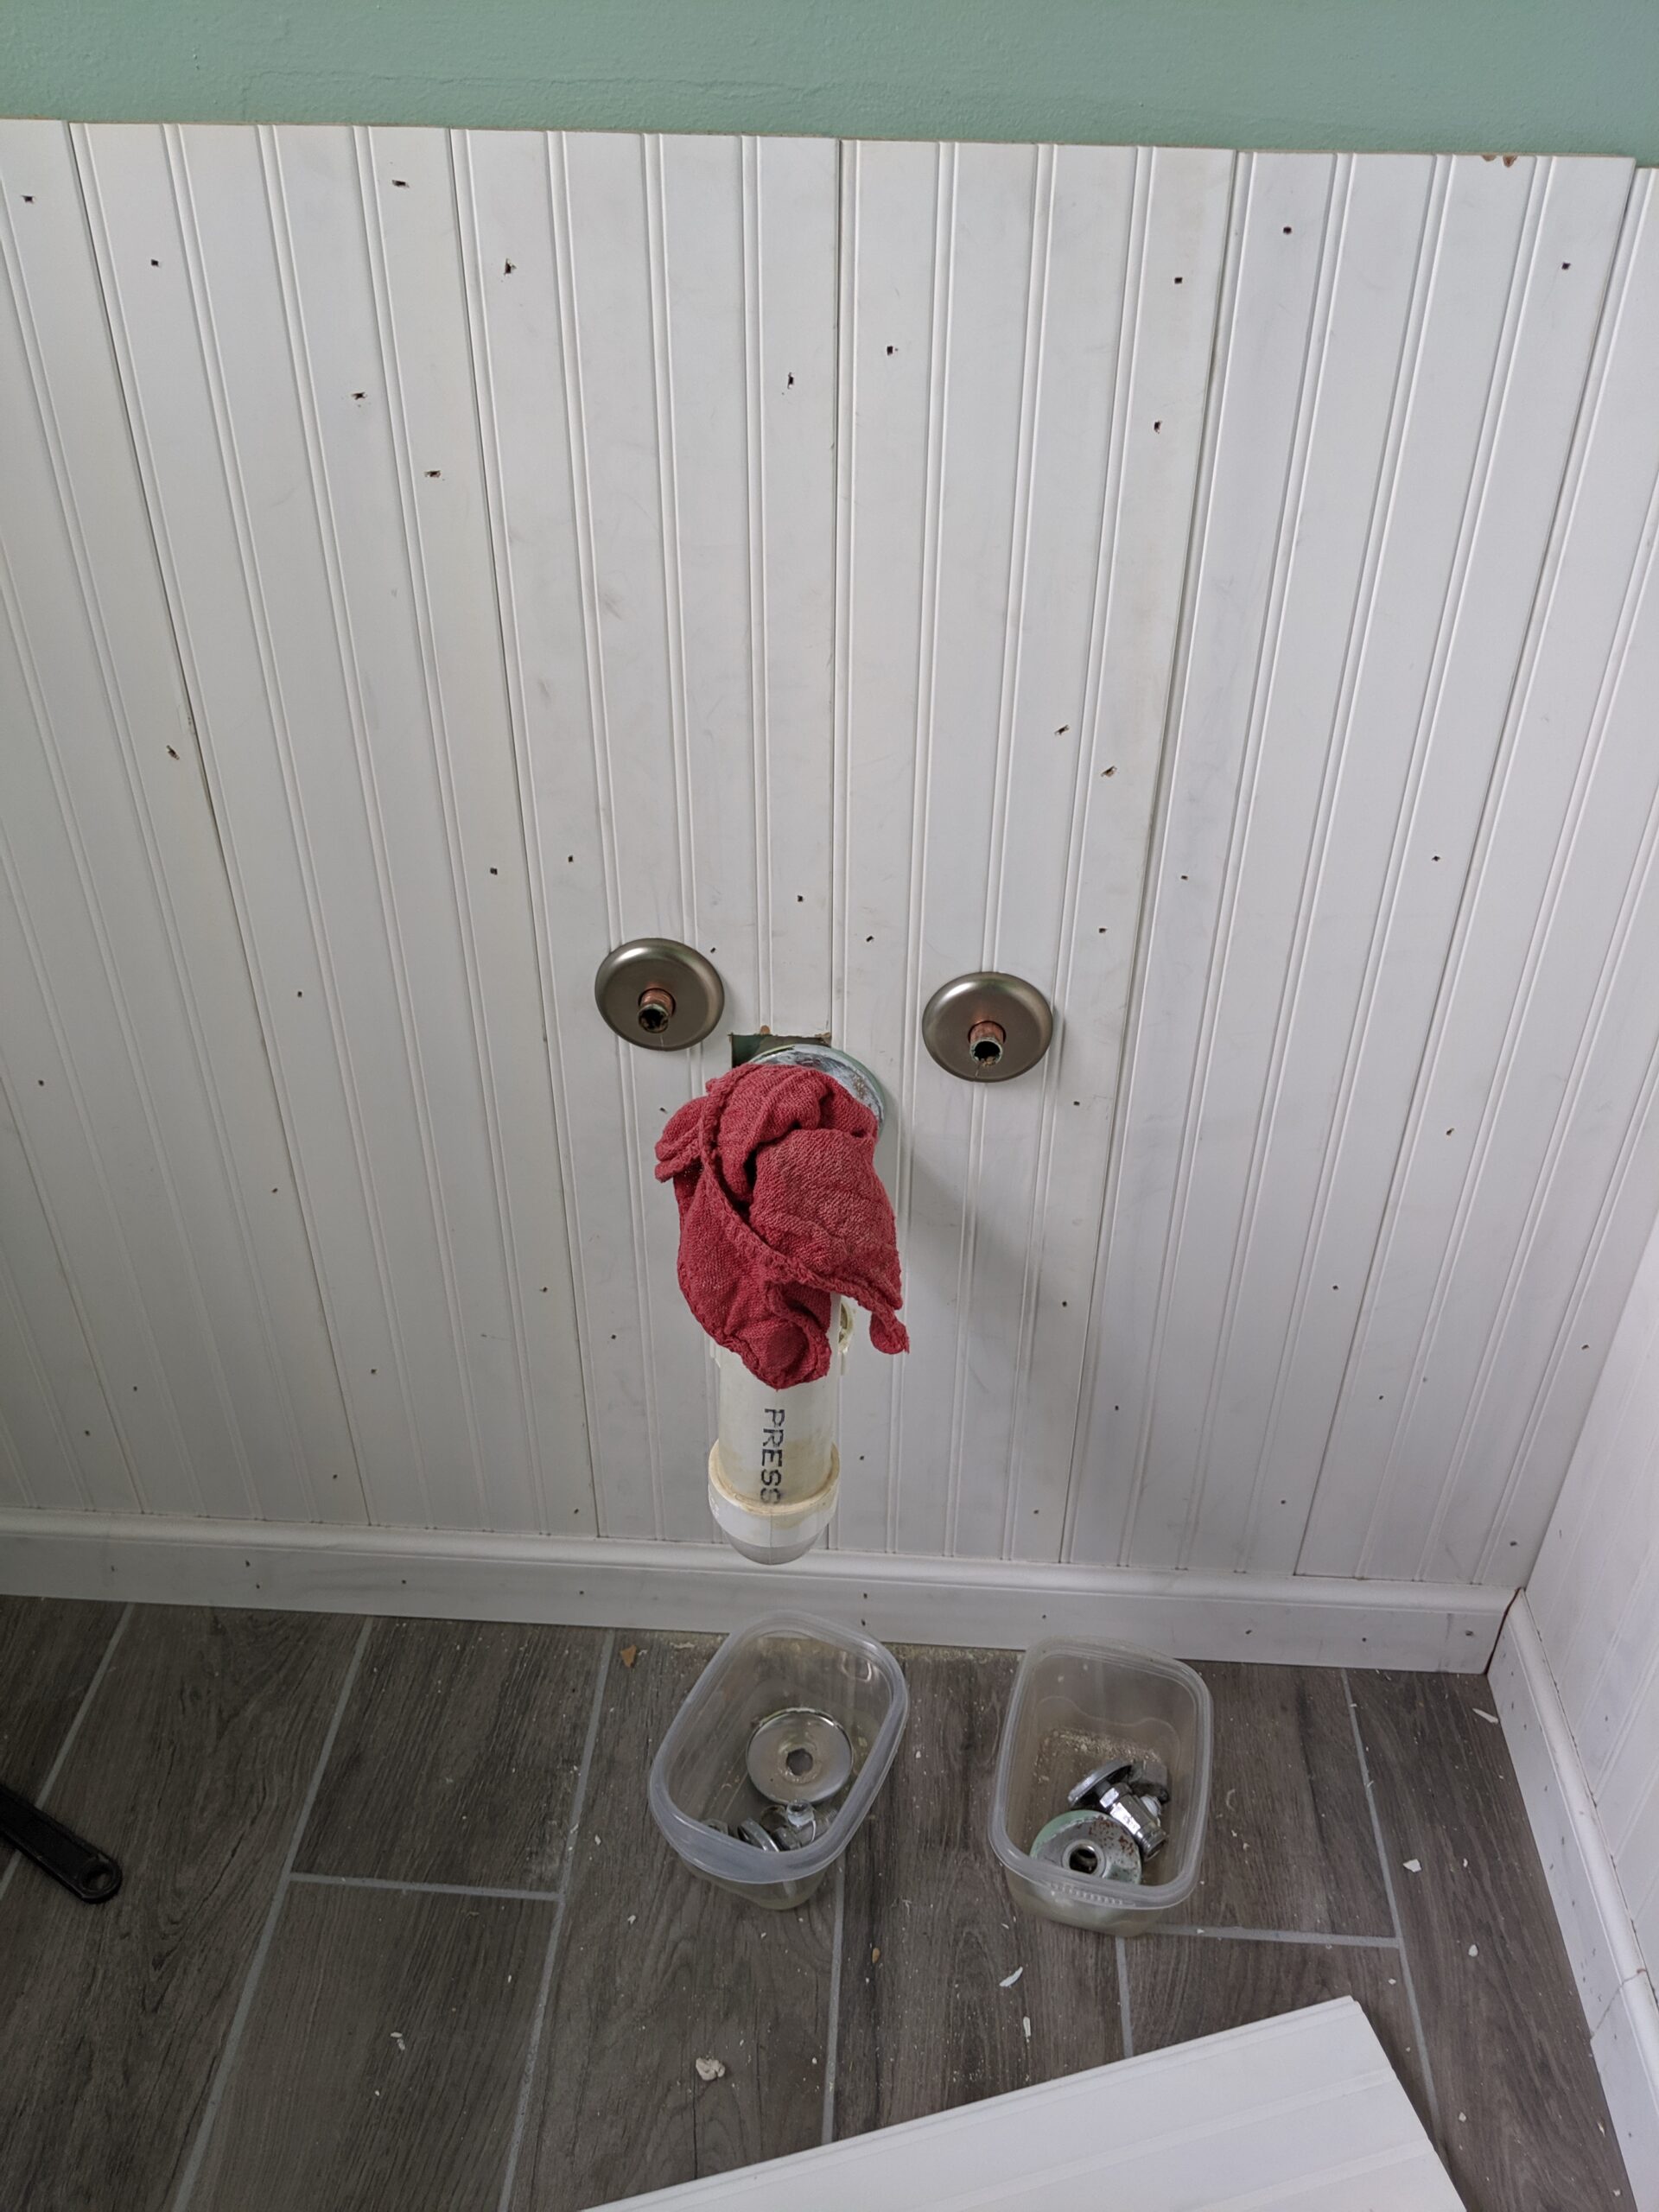

Once I figured out the best way to align the boards for the plumbing, I shut off the water, removed the old shutoffs and got to cutting. The first board was simple enough. The second one, turned out to be a lot more difficult. I underestimated how much extra wiggle room I’d need to get over the shutoff pipe and under the waste pipe while diagonally inserting the board into the trim. I had to keep trimming it out more and more until I was finally able to get it in. The end result was about 1/2″ an inch of extra cut, of which the corner will be visible past the flange. ?????
Overall, I’m pretty happy with the result. The exposed cut will be hard to see, as the pedestal for the sink will block the view of it head on. If it really bothers me, I’ll rig something up in there to make it less noticeable. I also ran into a slight problem with the plumbing, in that I had a very slow leak appearing from the new toilet shutoff valve. Tightening down the compression fitting further did not fix it, so back to the hardware store I went for another new one.
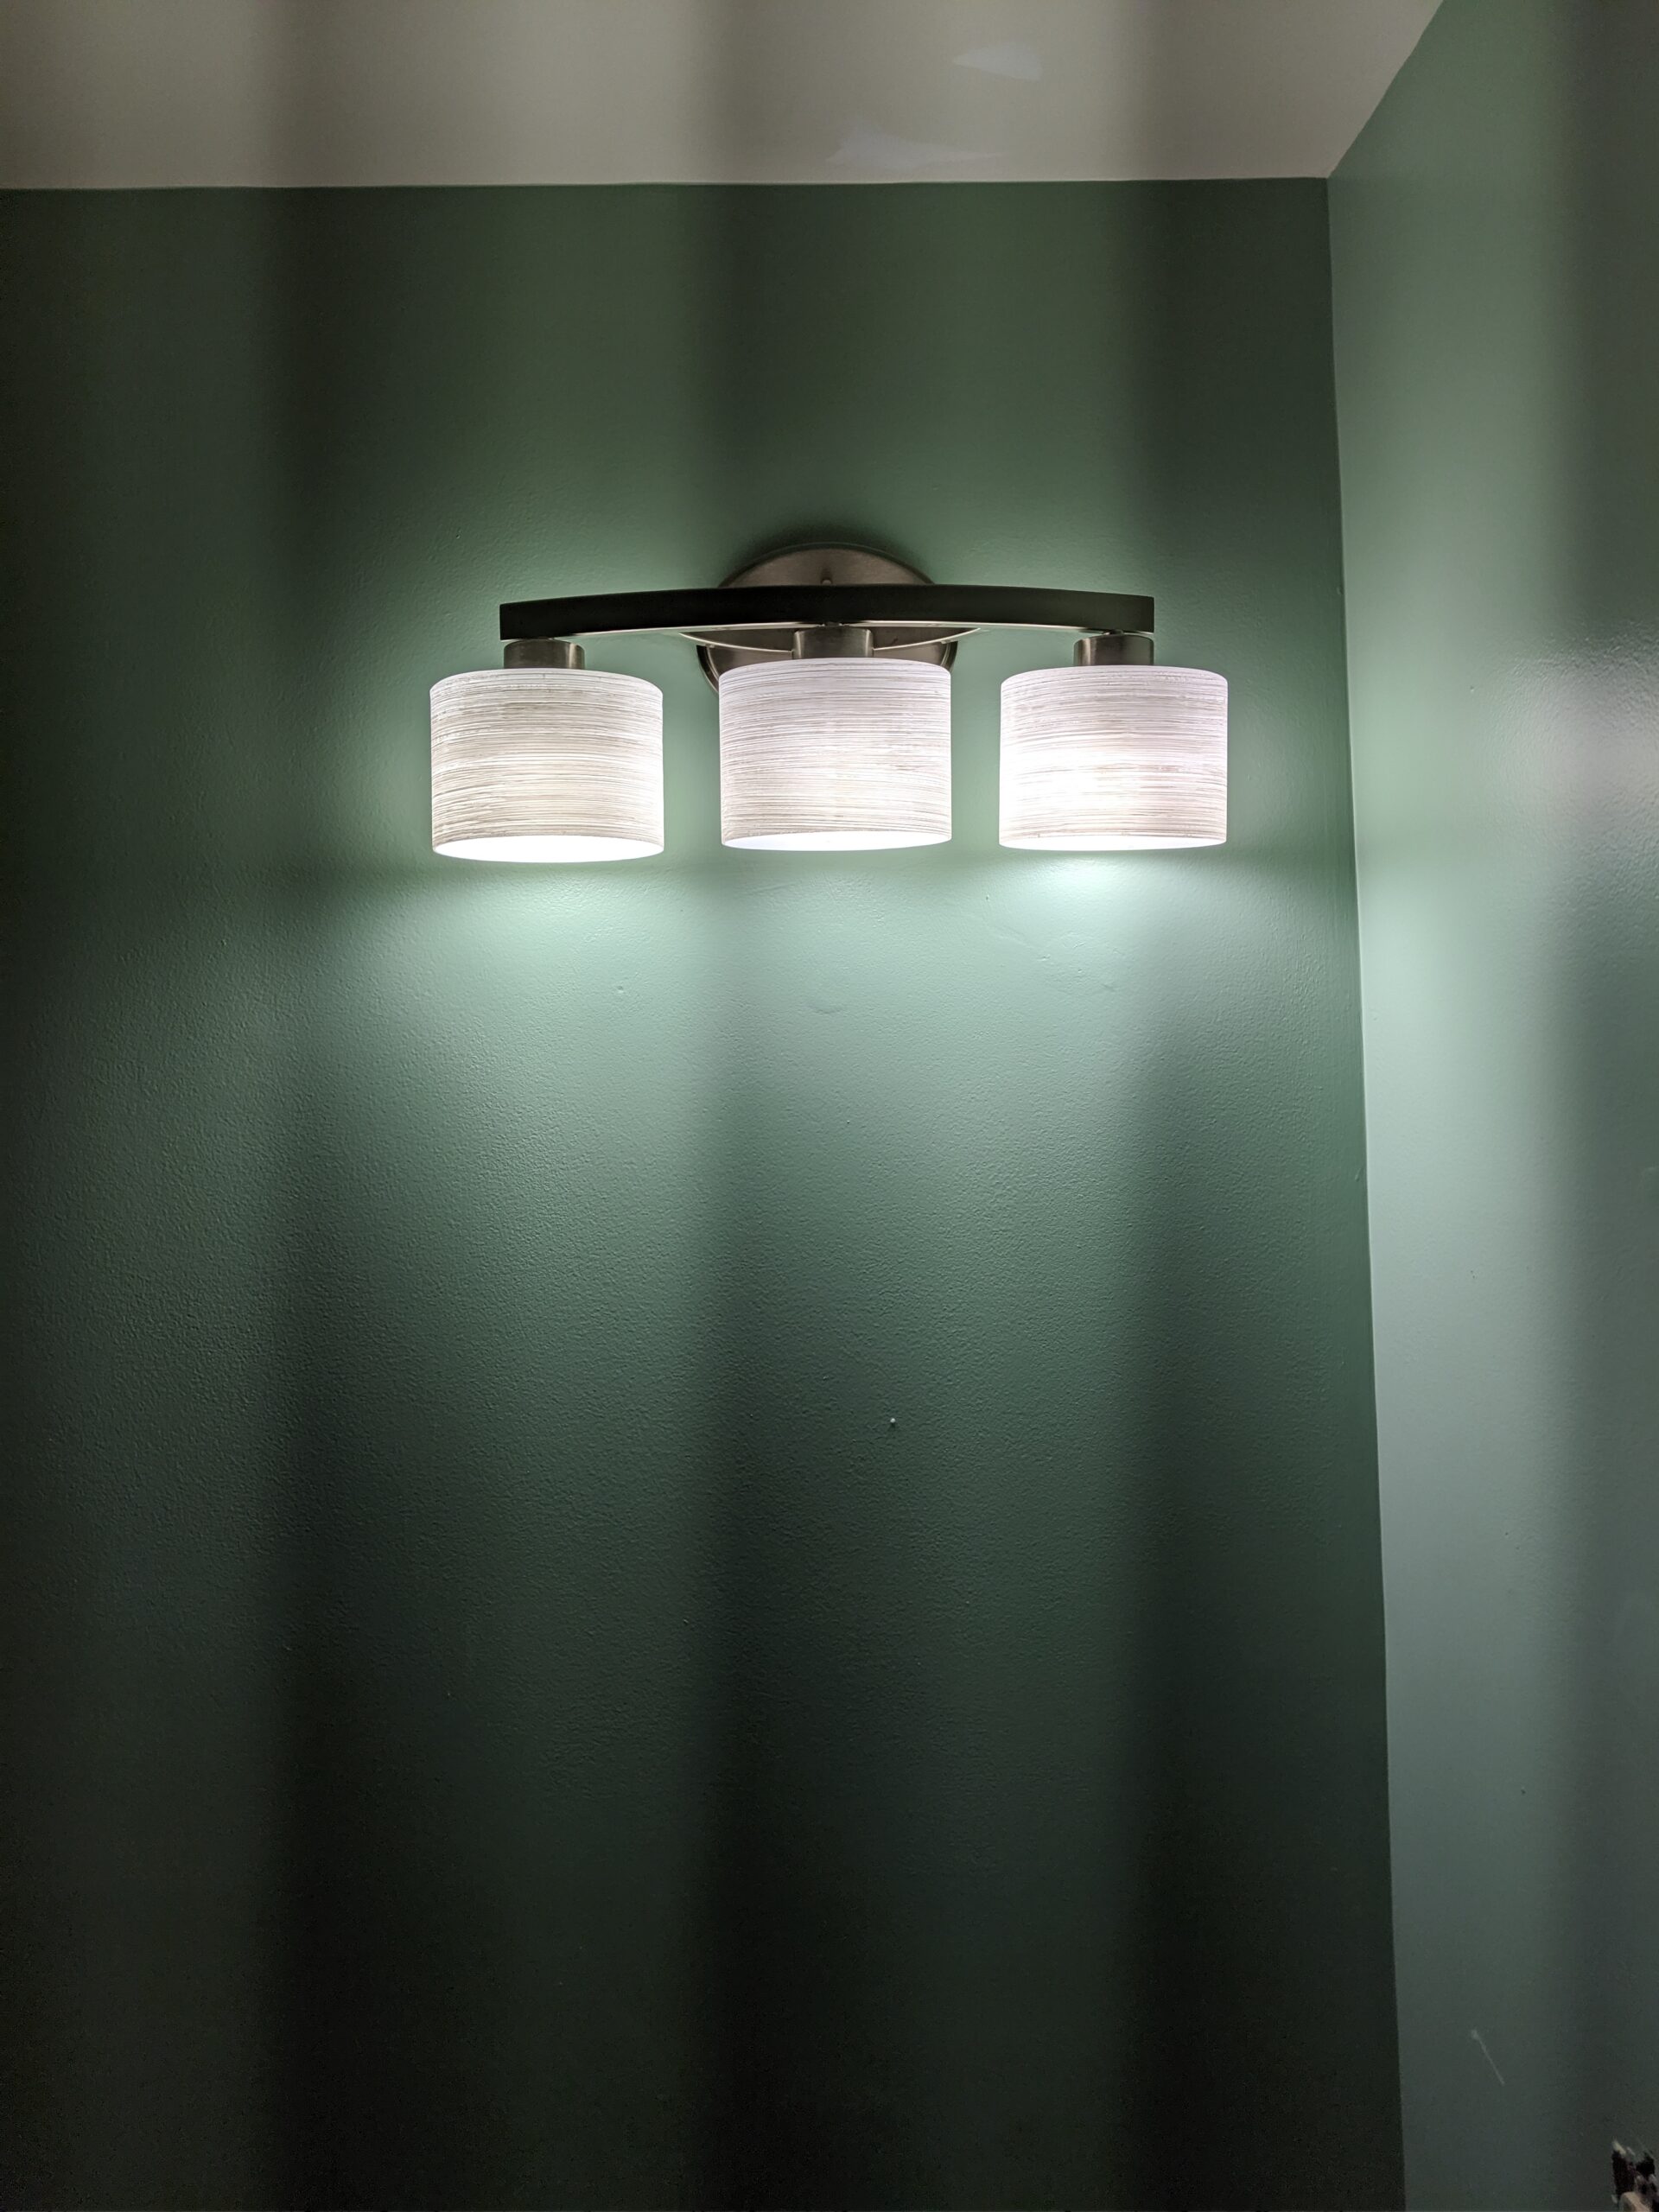
Next up (or maybe it was in between), I put the new light fixture in. This should have been uneventful, but of course, there’s always something. The mounting bracket of the light and the electrical box both had their screws in the same position. There was not enough slack in the electric wire for me to be able to turn the existing box, so I had to run to the hardware store to get a new box to mount up. As it was already like 4pm, I raced there and back and got it mounted up and the power back on just as it was getting dark out.
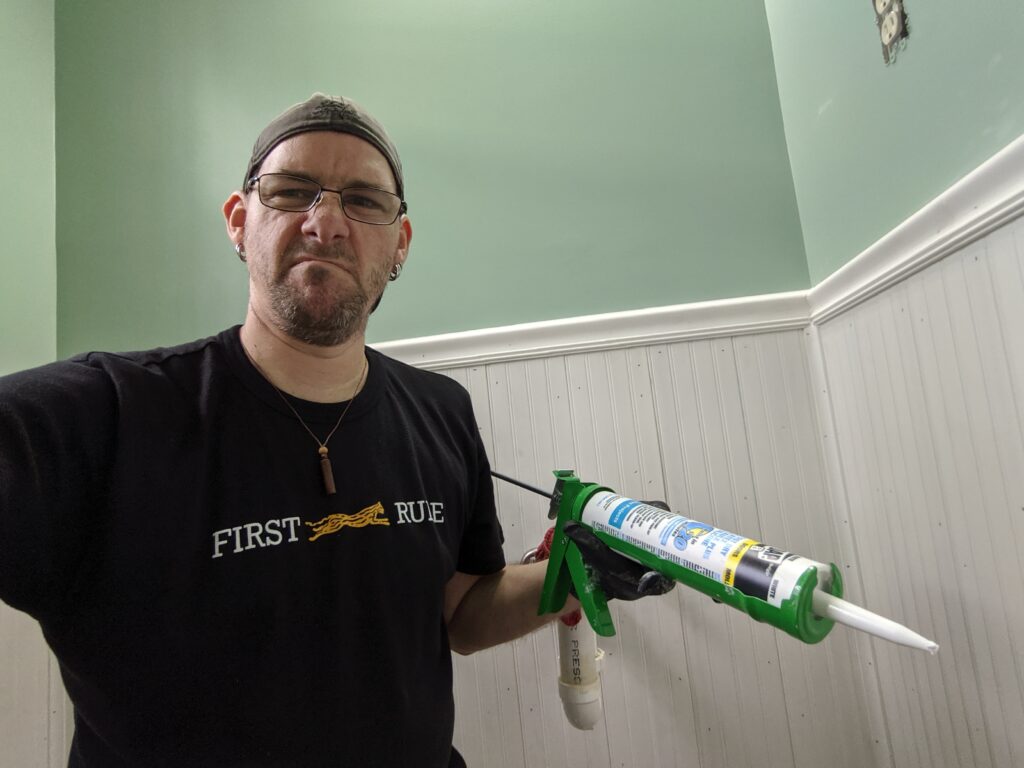
I hate caulking! 
So many holes filled with caulk 😉 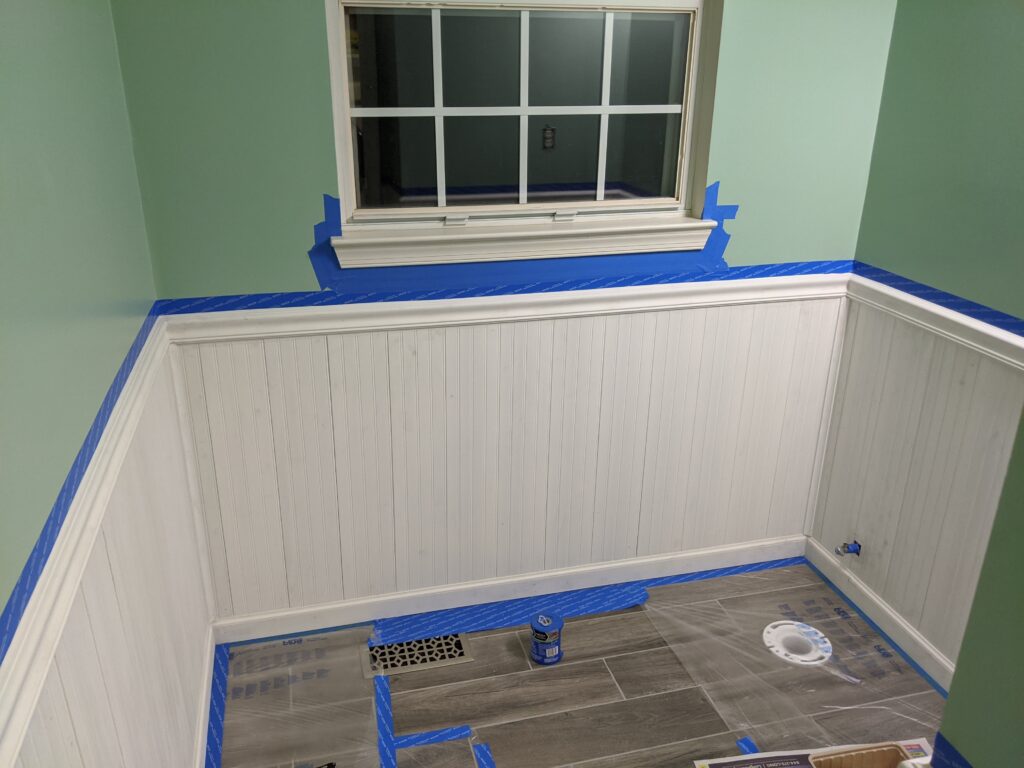
All caulked and taped off for painting.


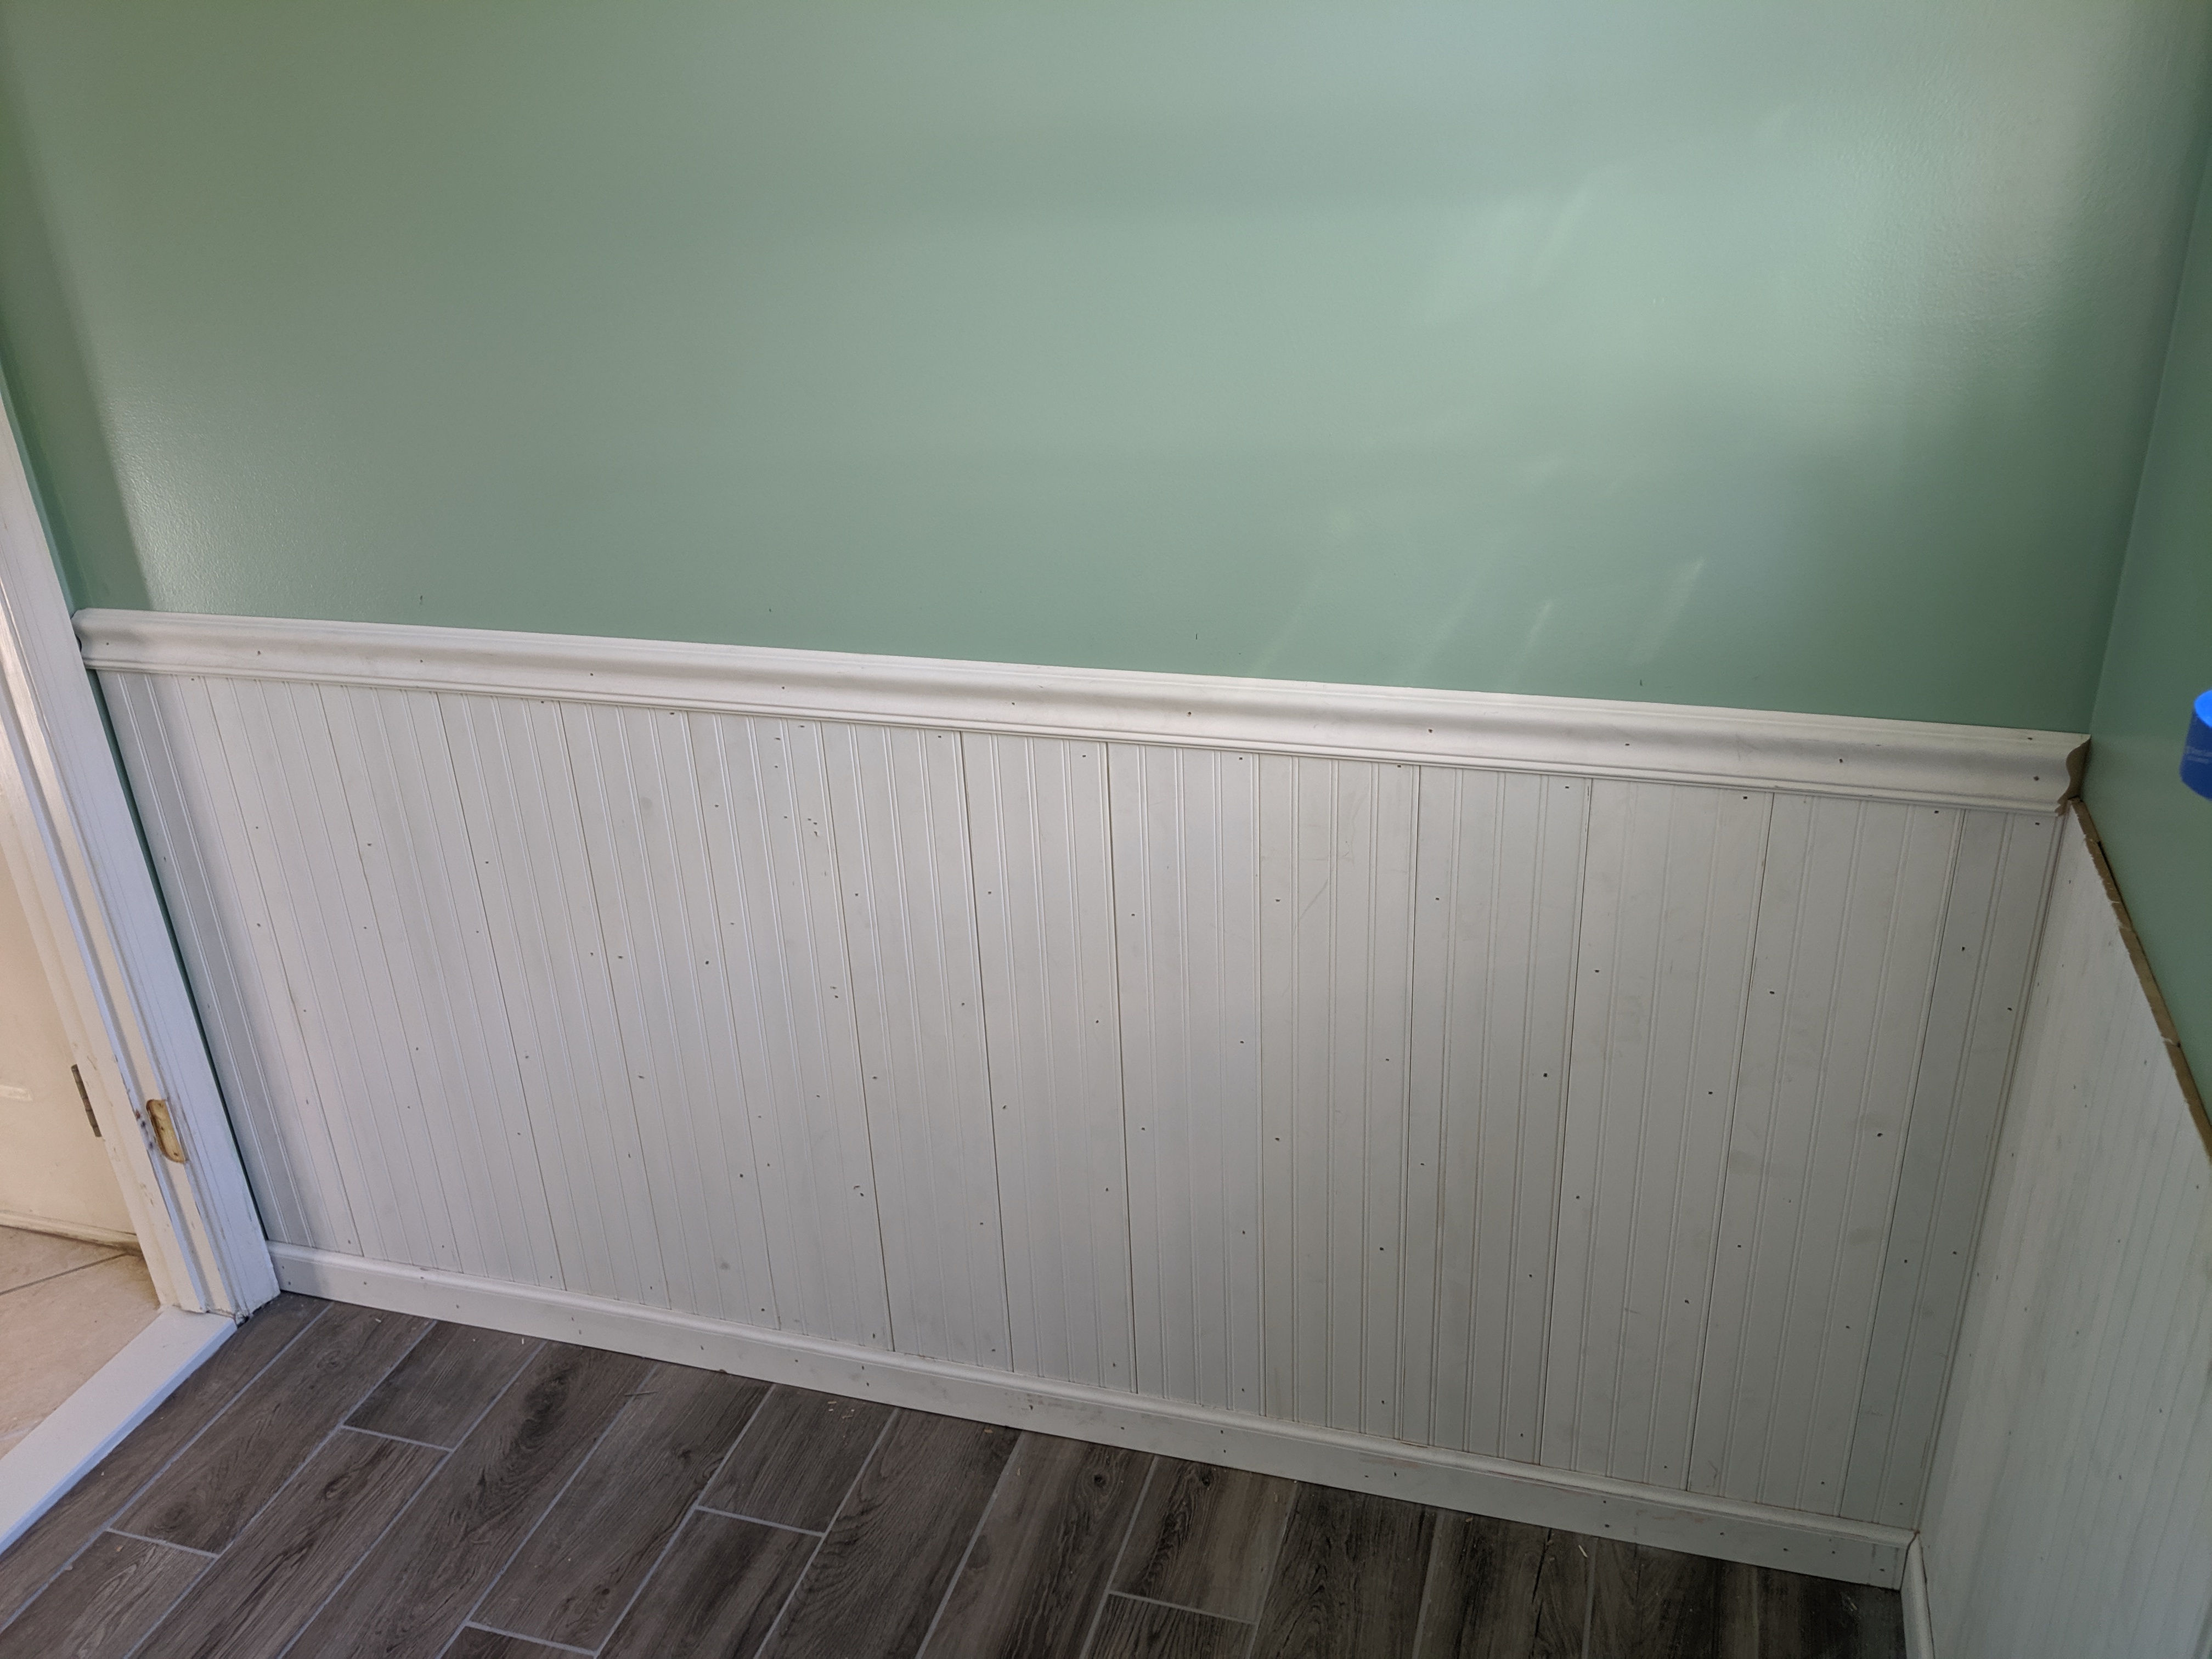
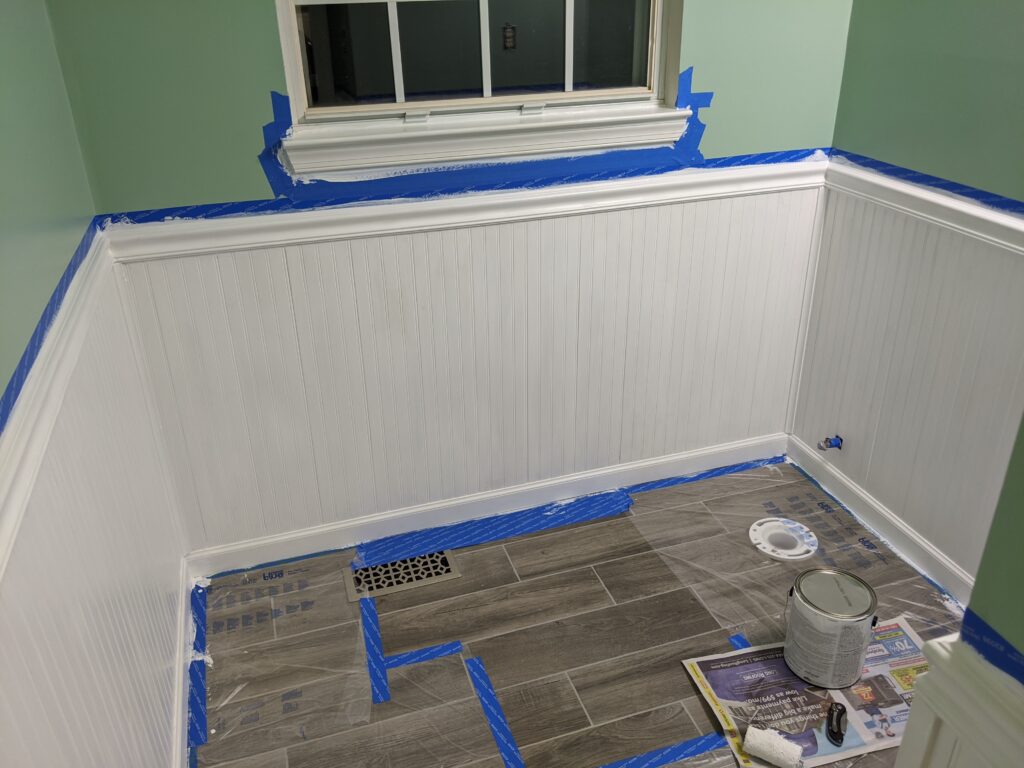
Next up was to caulk and paint the wainscoting. This may seem like a quick and easy task, but let me assure you, it took hours. Each of the ~50 boards has no less than 5 nail holes, then all the nails in the trim and moulding, plus filling gaps and imperfections, and finally the transitions between the boards and the trim/moulding. This doesn’t even include the caulk at the transition from moulding to the wall, which I wanted to tape first, and the transition to the floor, which is different caulk to match the grout, and couldn’t be done until after painting!
First coat of paint. 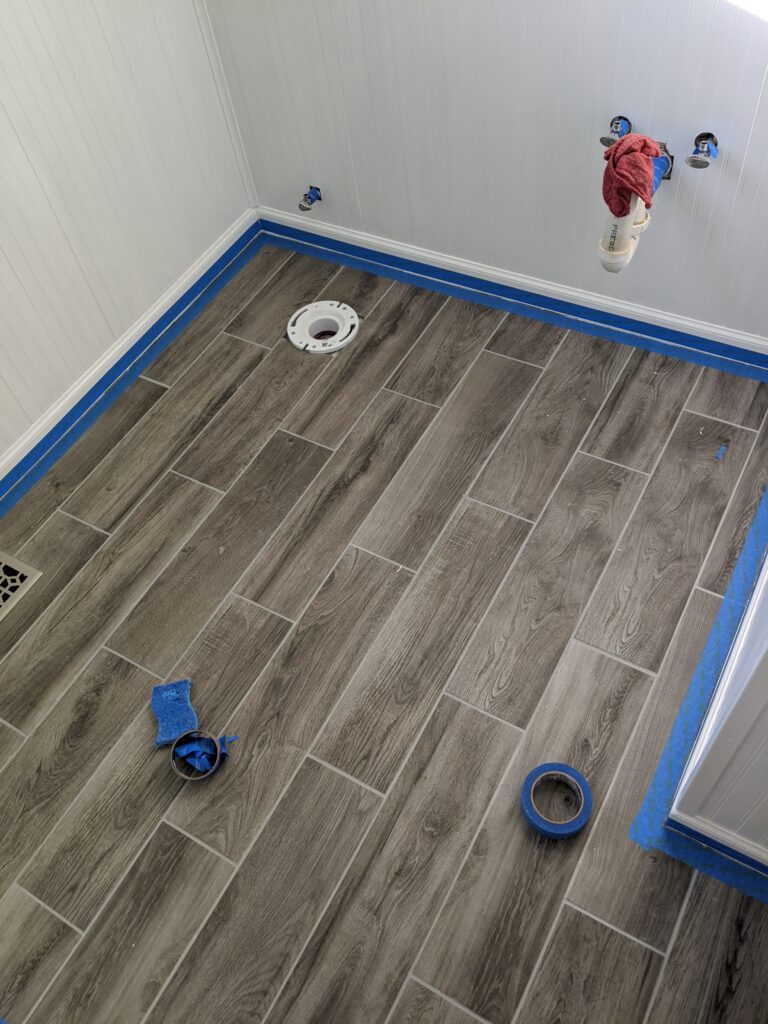
Painted and ready to caulk the floor. 
Not terrible, finished.


I didn’t do the cleanest job on the caulk, and it shows after painting. You can still see a lot of dimples where the nail holes were, and there are some rough patches where I didn’t smooth it out enough. I learned from my mistakes upstairs, and taped both sides when doing the transitions between the wall and the floor. This worked out pretty well, aside from the fact that my lines weren’t perfect. Overall though, I’m content with the results. It looks way better than the upstairs bathroom, and there was much less stress doing it.
I intended to finish this bathroom on Sunday, but ran into some issues that cost me half the day. I’ll save that for the final post though. I should be able to finish up in a few hours of work time. So hopefully, that will be tomorrow. ?
You must be logged in to post a comment.