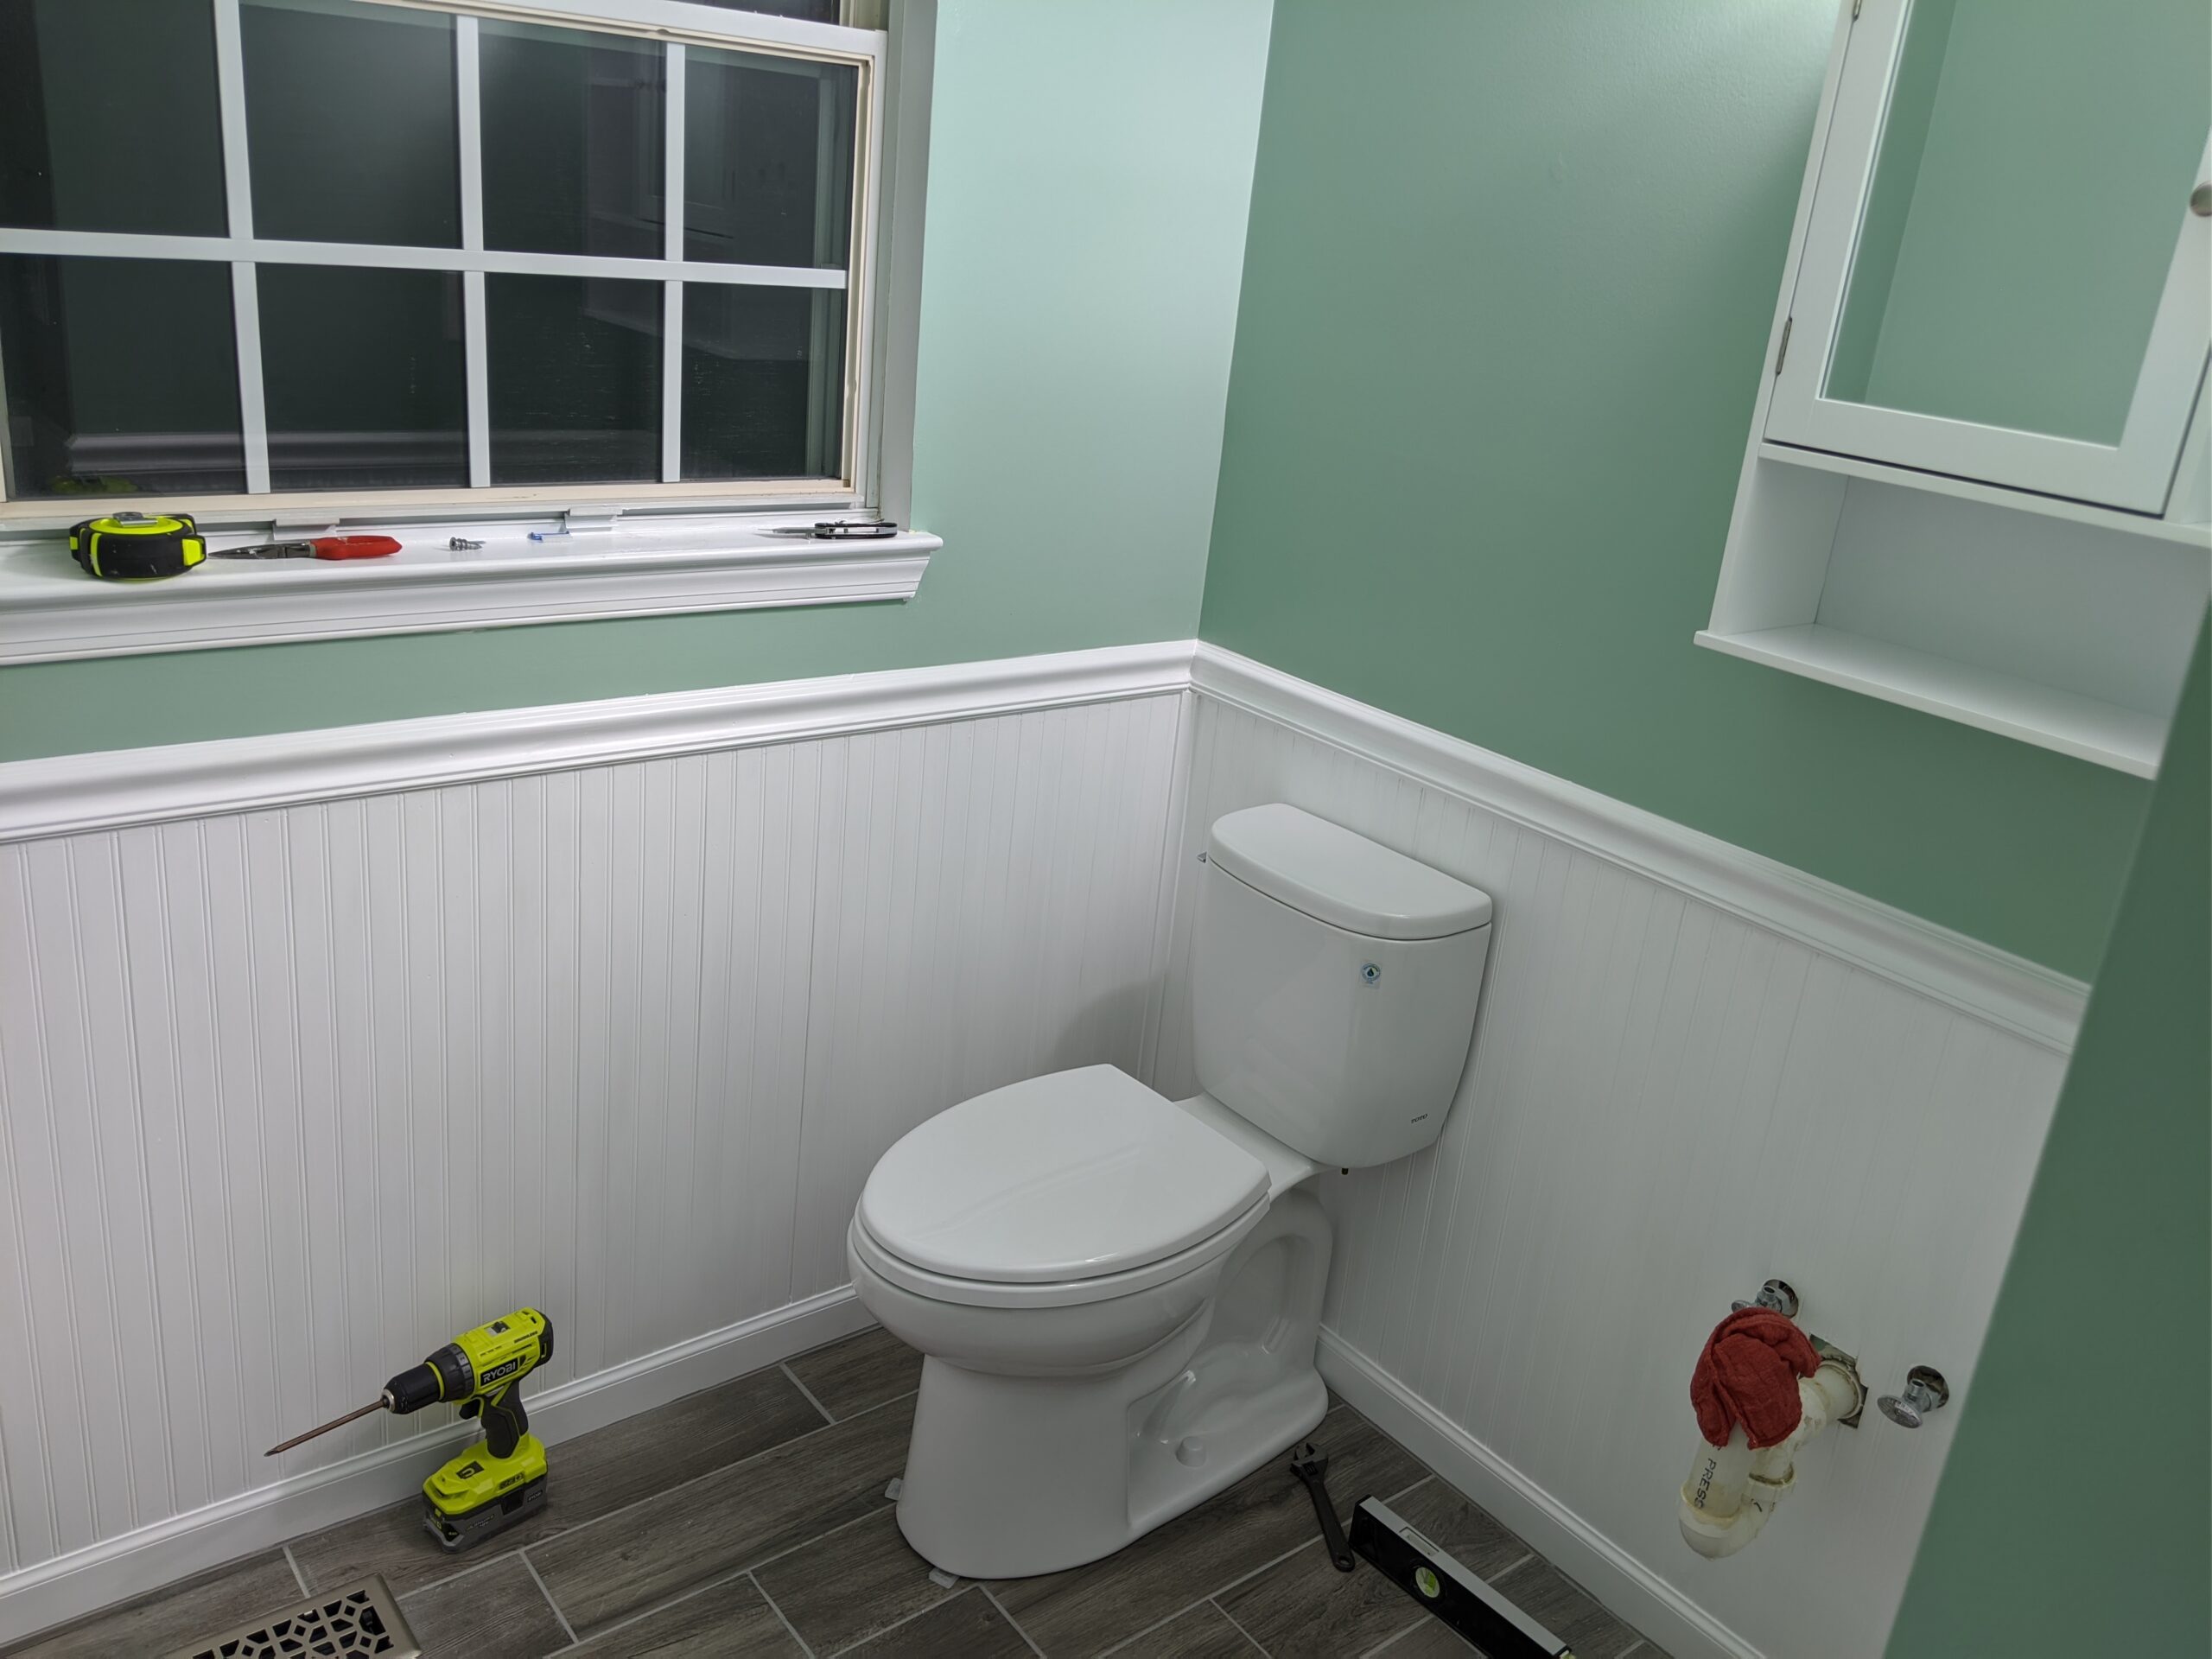
Well I finally finished all of the major work in the bathroom over the holiday week. All that’s left to be done are little things like hanging pictures and such. Overall, I’m pretty happy with the way things turned out. I left things at the end of the last post having just finished the wainscoting. I had actually already installed the toilet as well, so let’s start there.
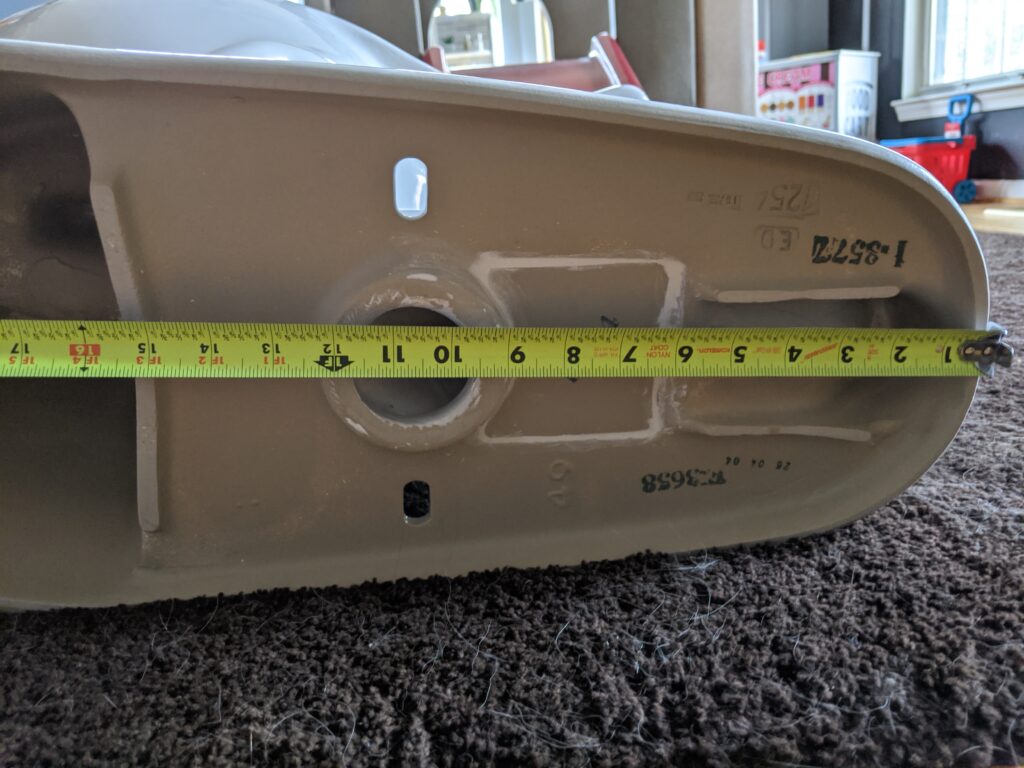
Checking measurements. 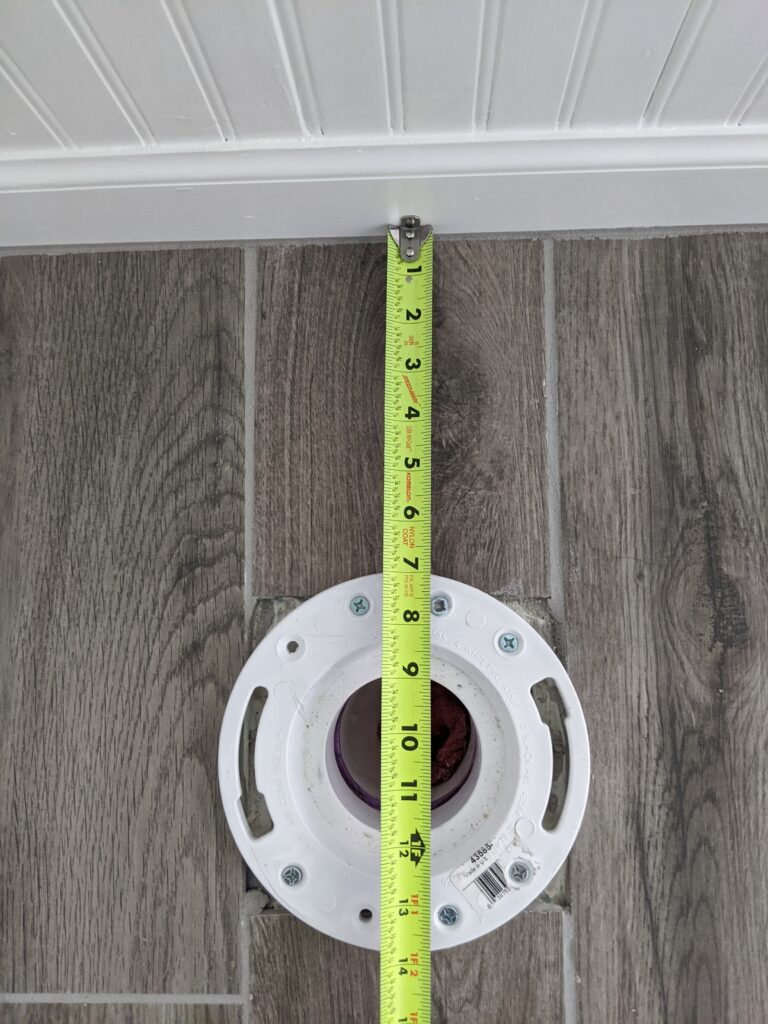
This is gonna be a tight fit! 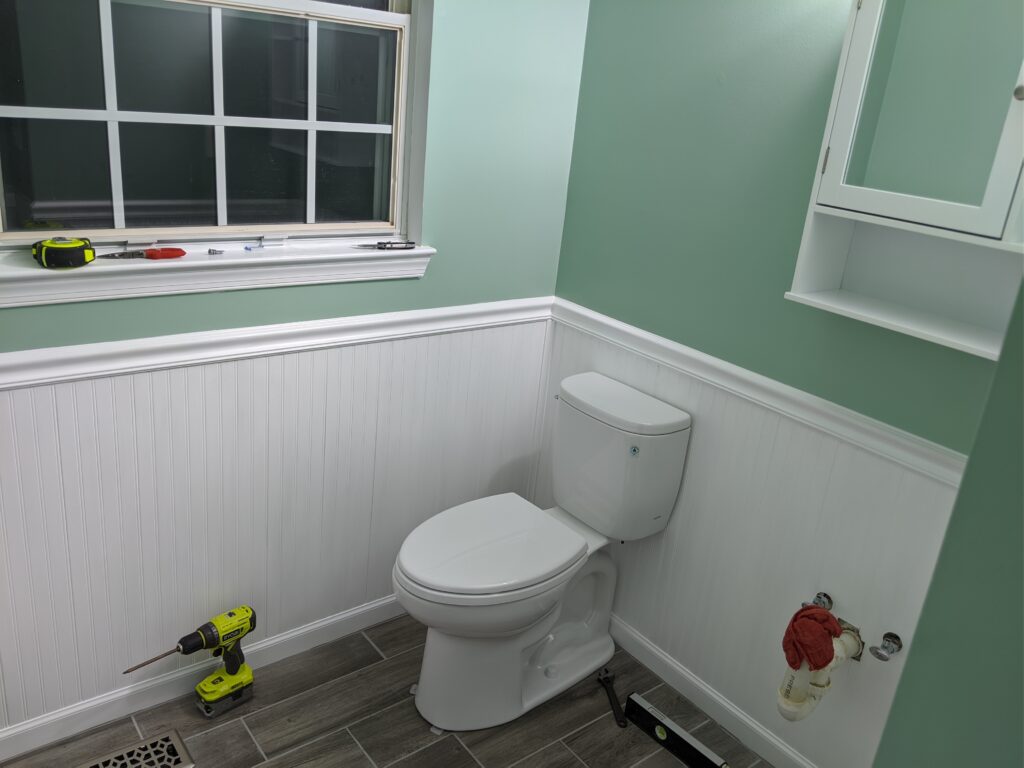
We’re in! 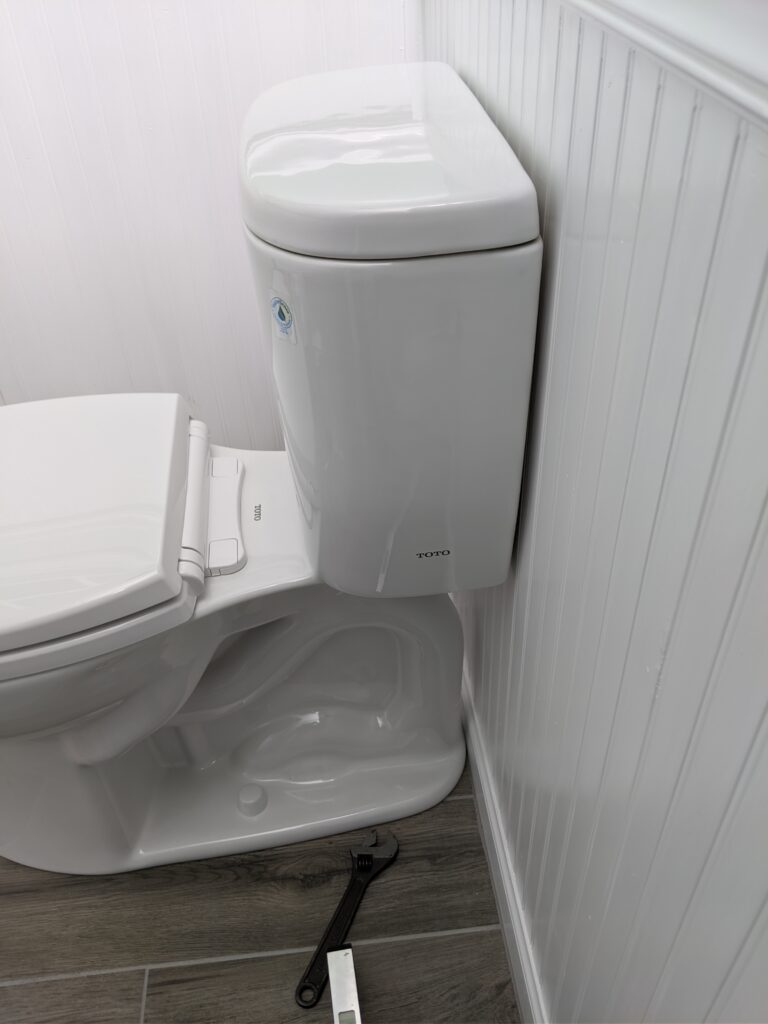
Doesn’t get much closer than that!
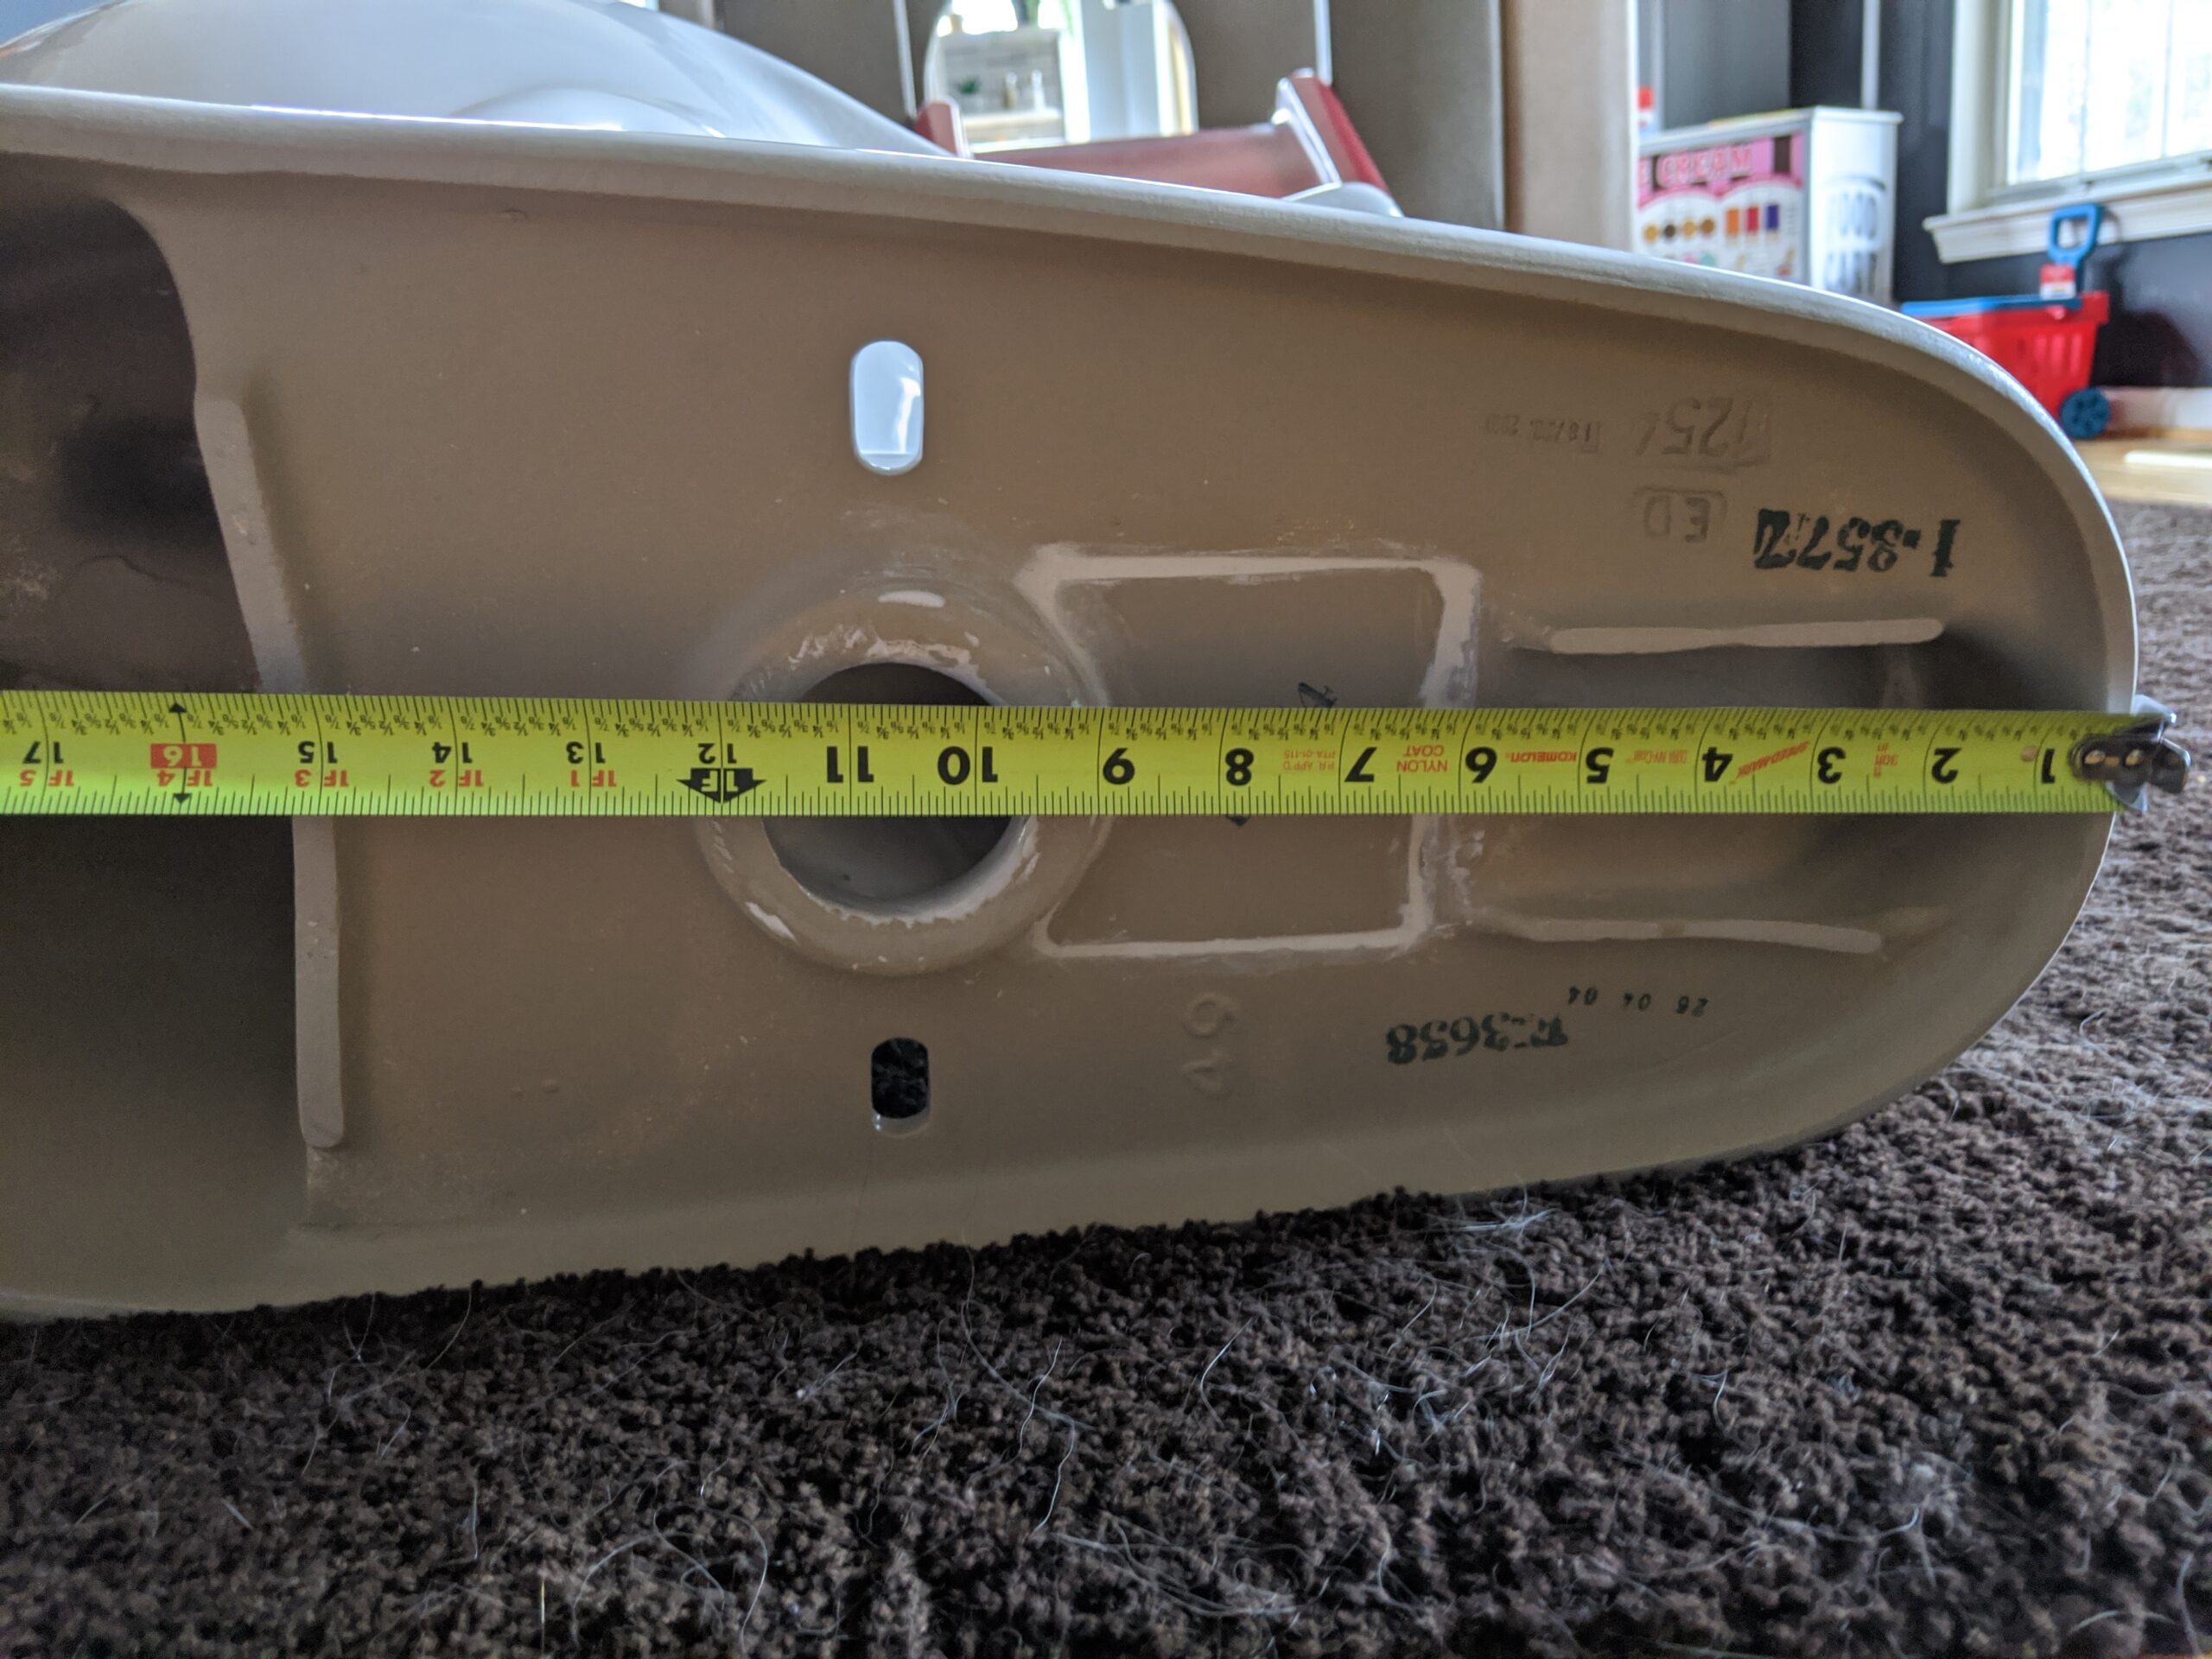
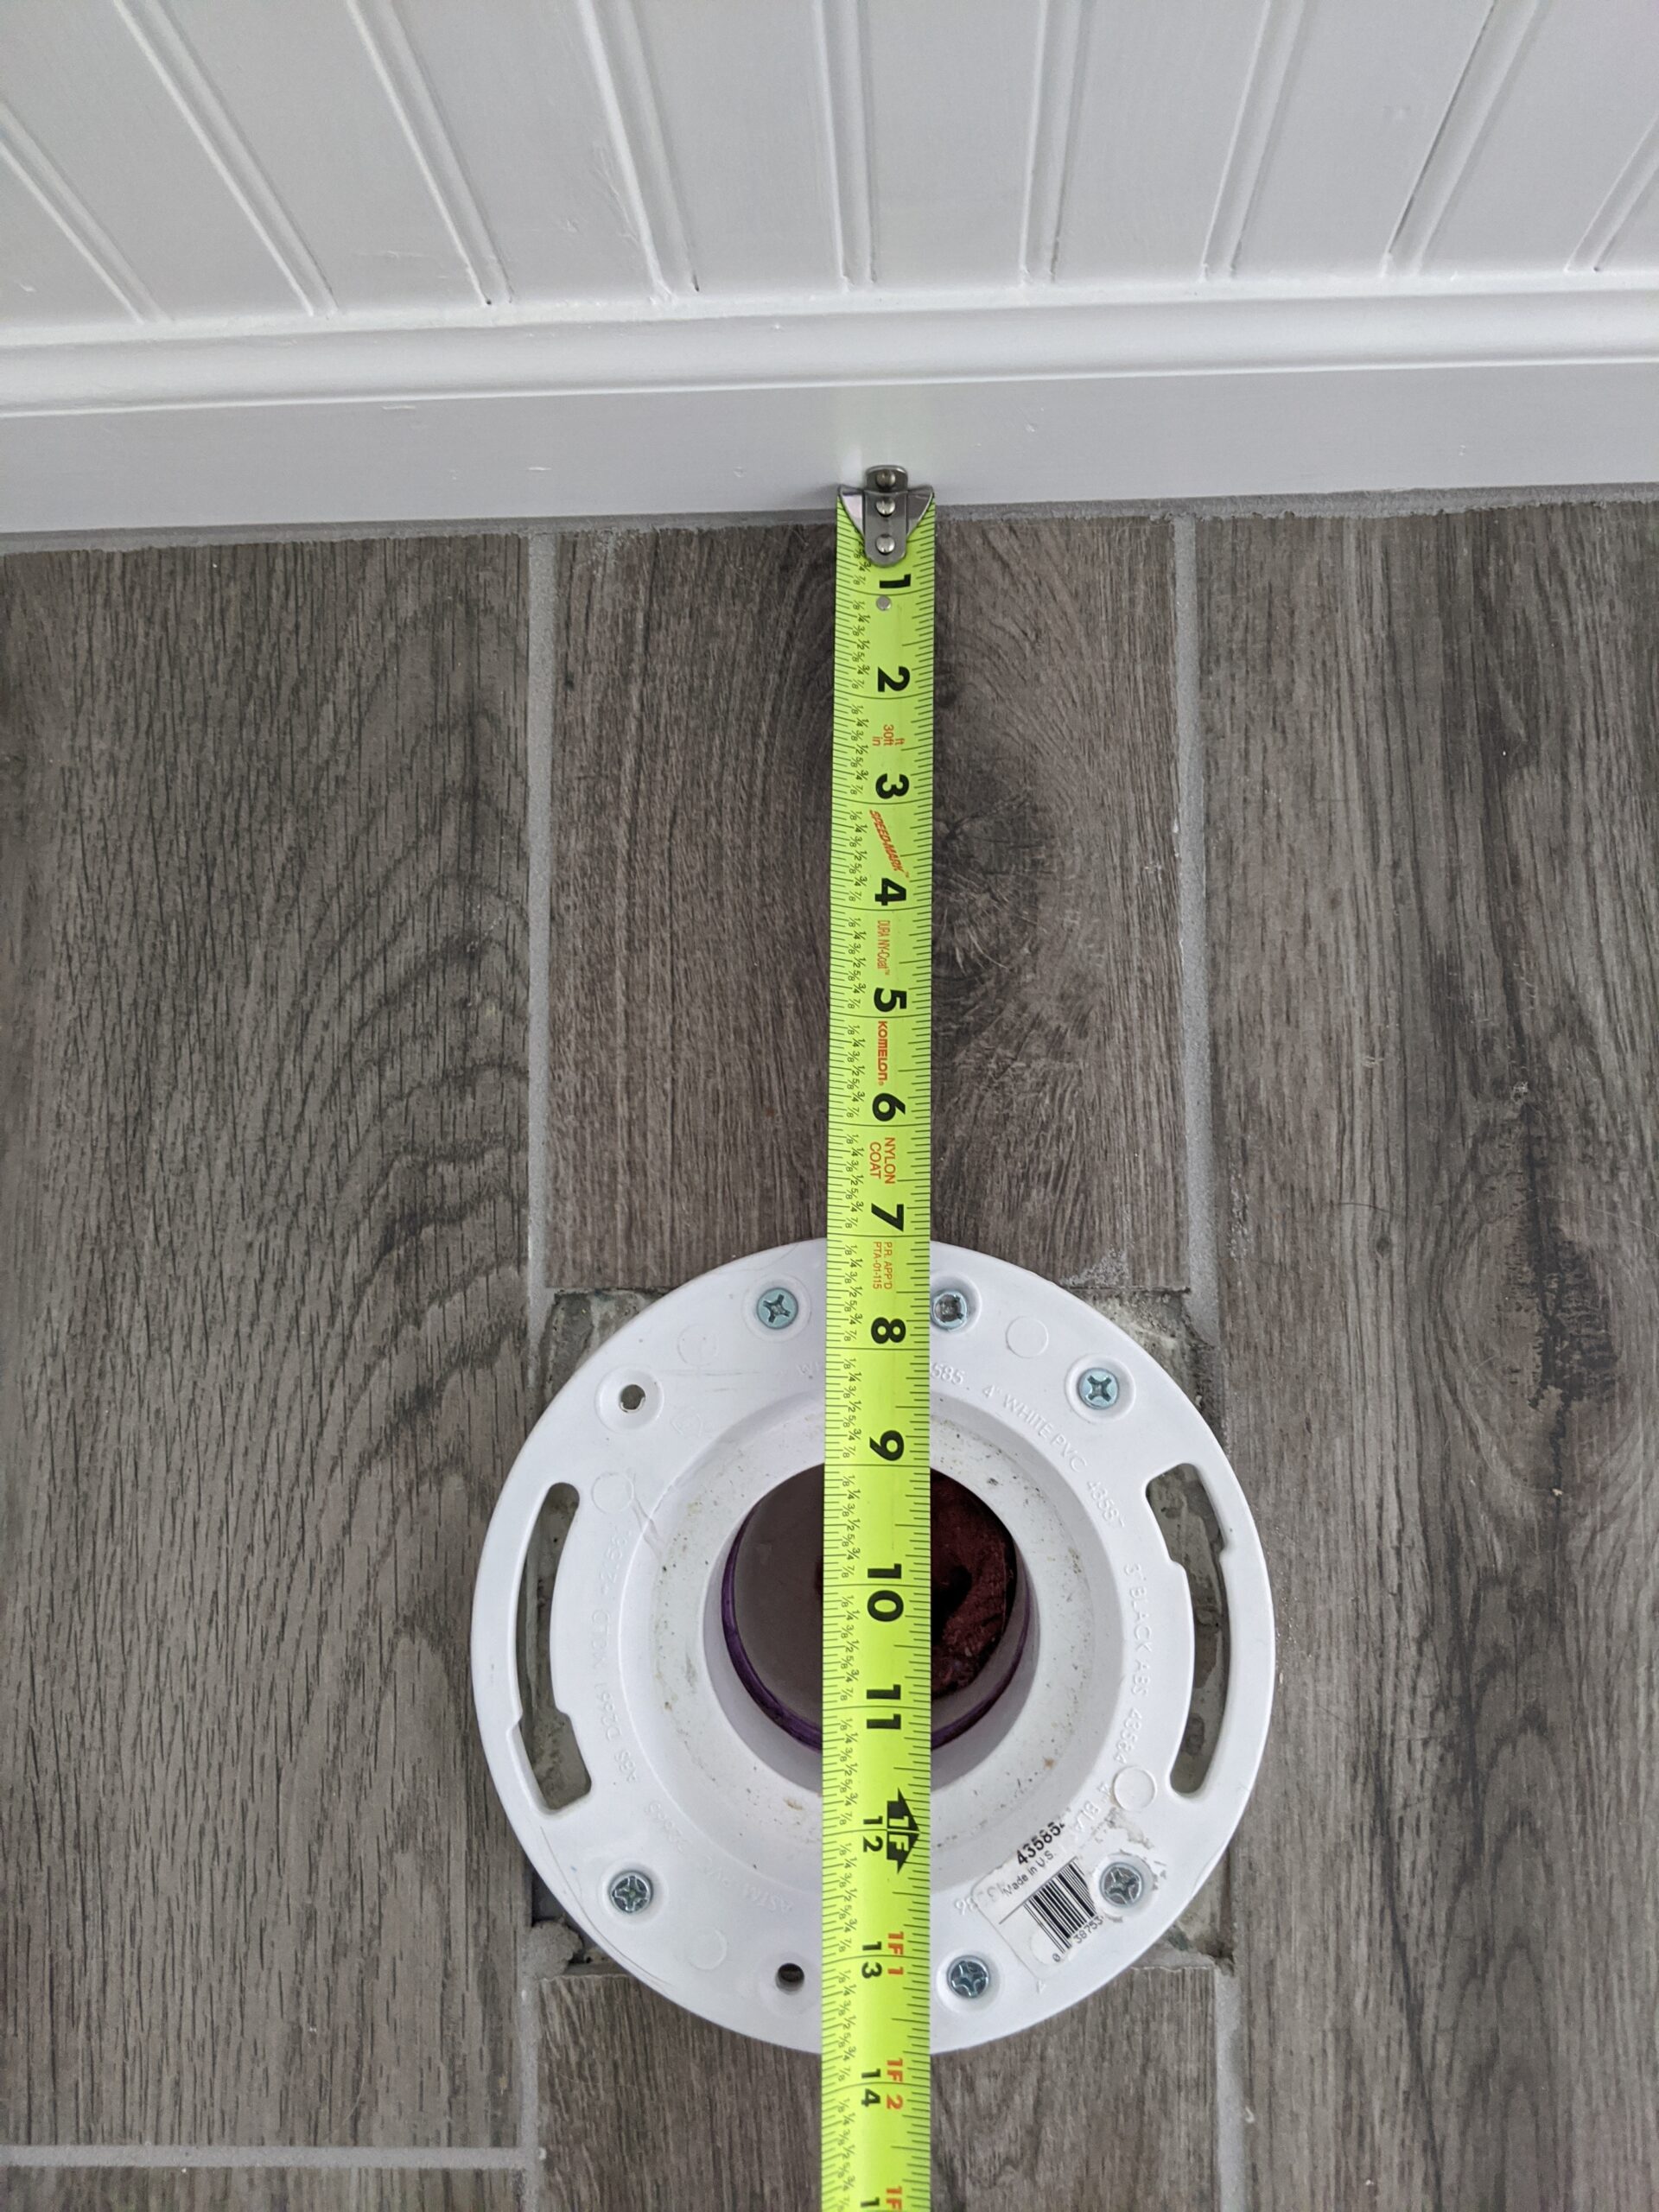
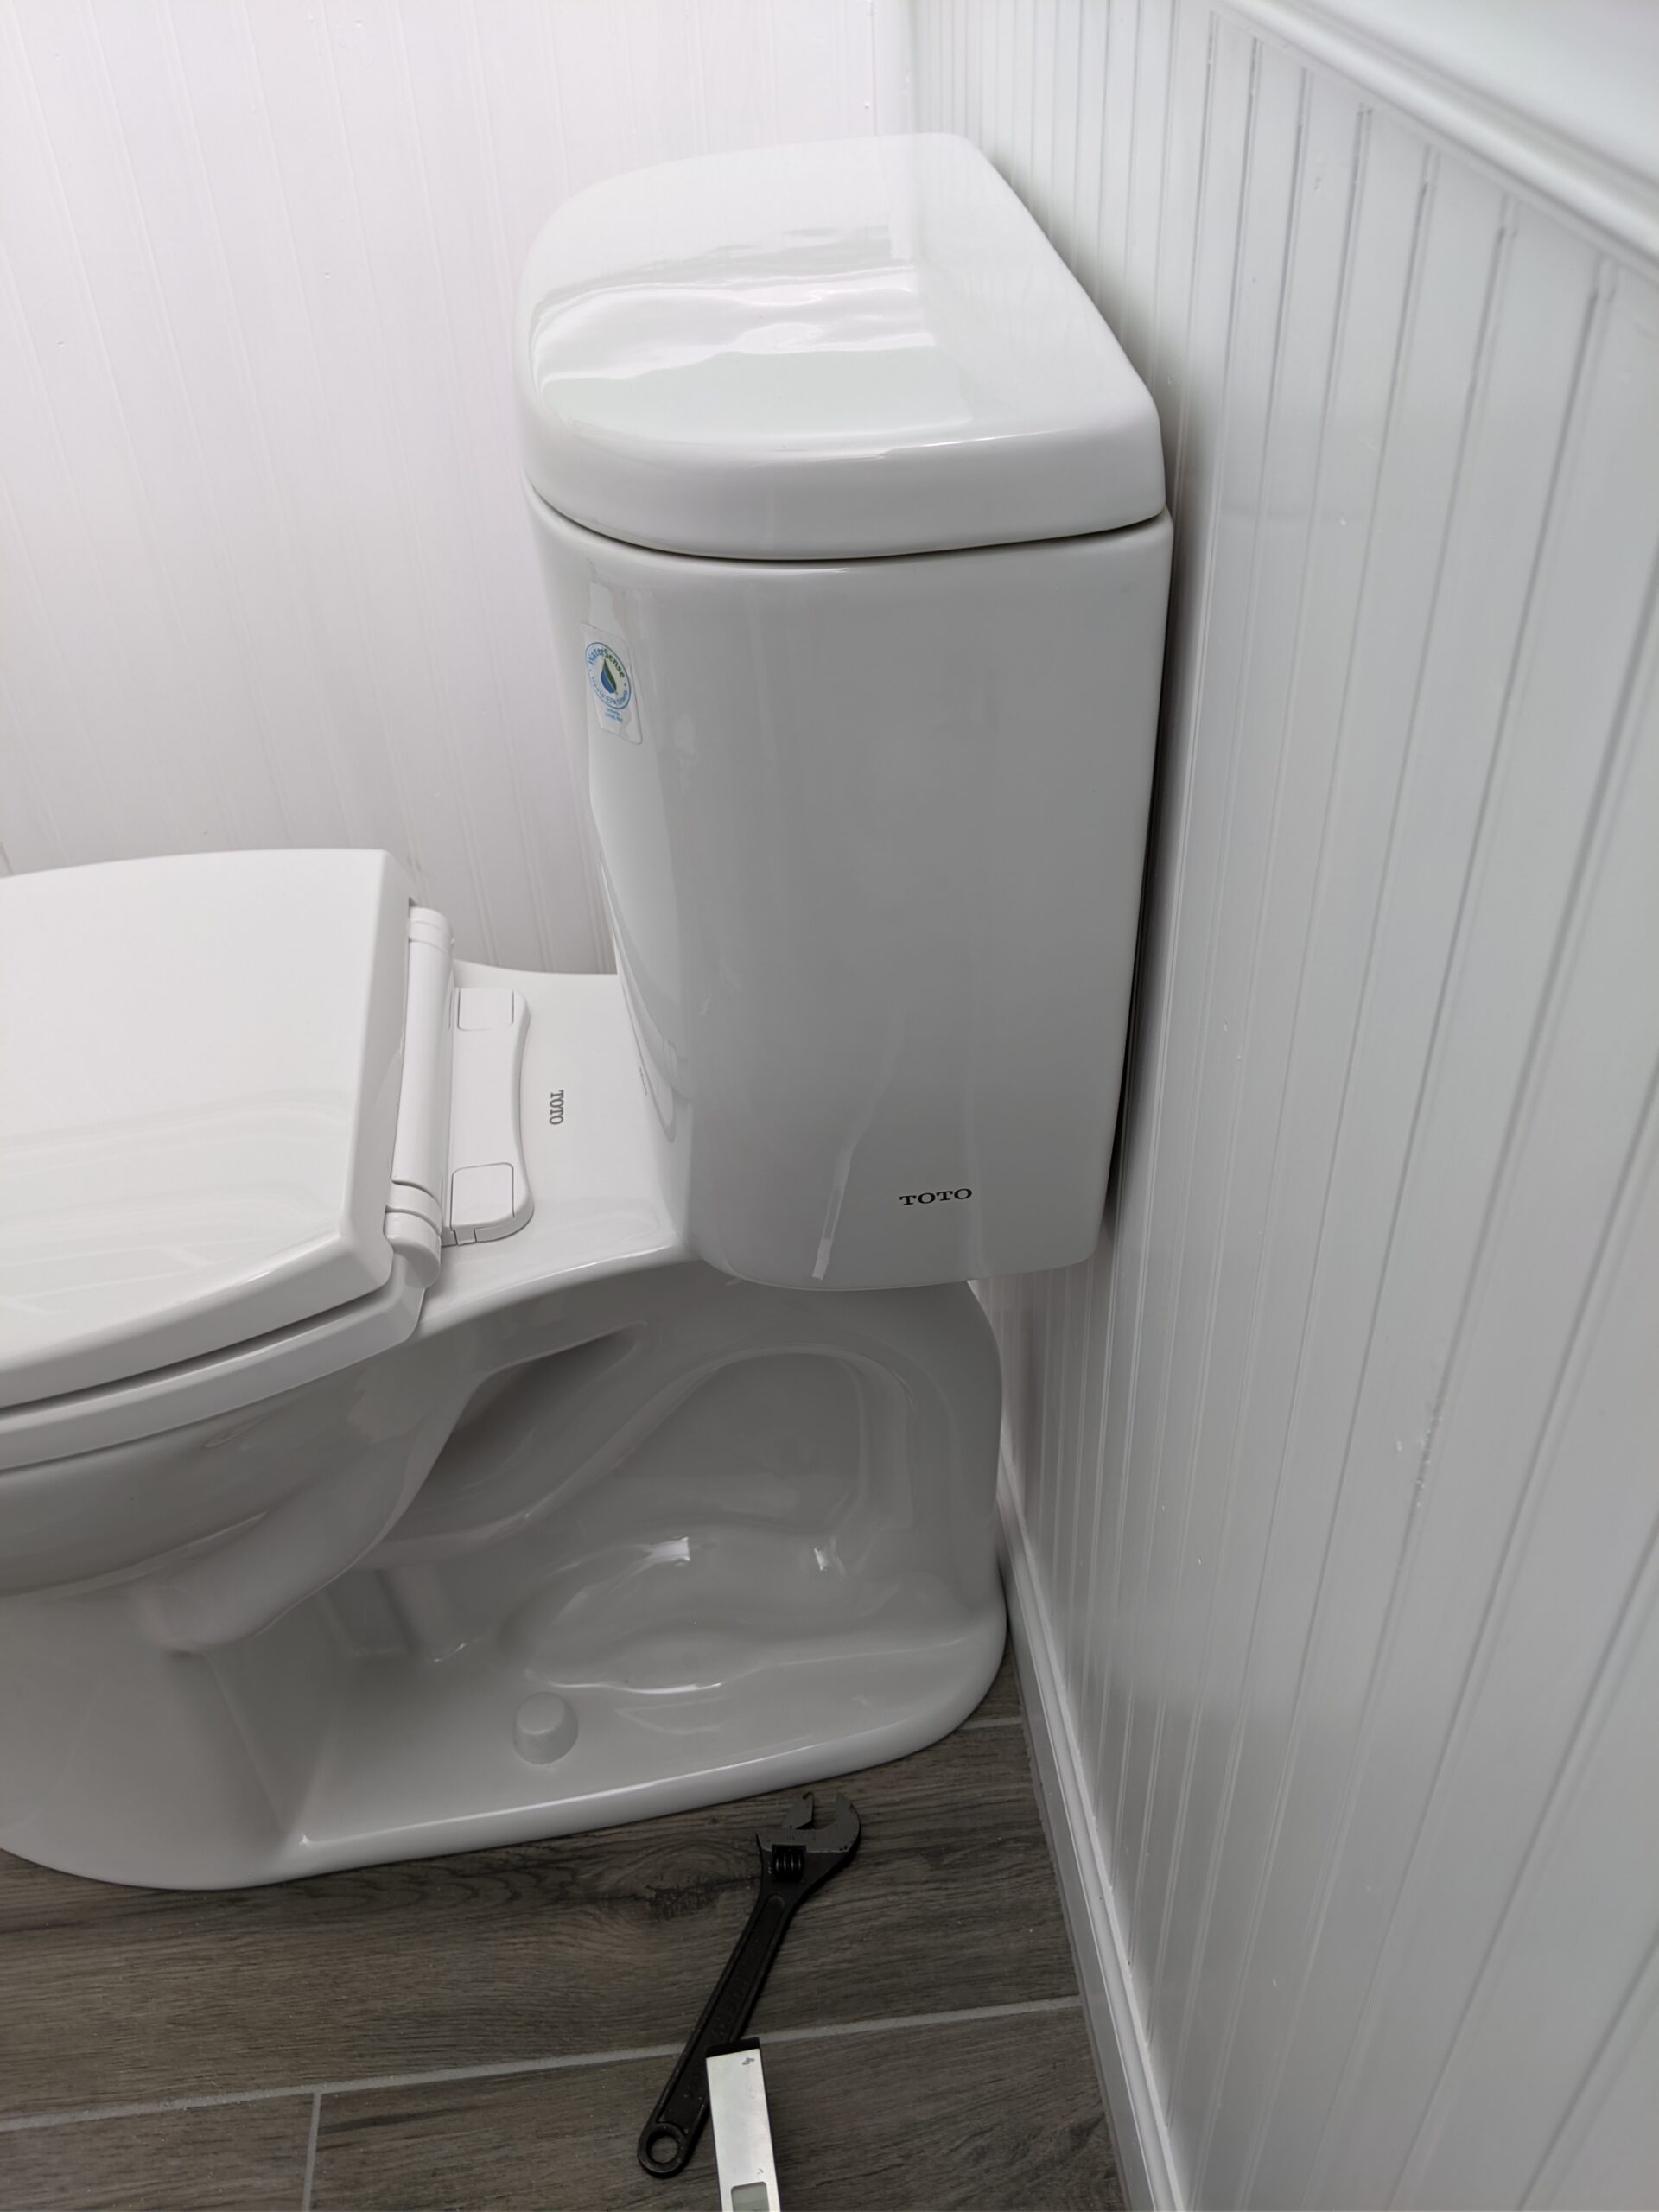
In addition to the wainscoting adding thickness to the wall, I think I shifted the waste line slightly when I put the subfloor in. So it ended up being WAY closer to the finished wall that it should be. Luckily the toilet just barely fit on the flange. Other than that, the install was uneventful. I had a little bit of rocking, so I had to use some wedge shims to balance it out. Luckily I had some on hand from doing the upstairs toilet.
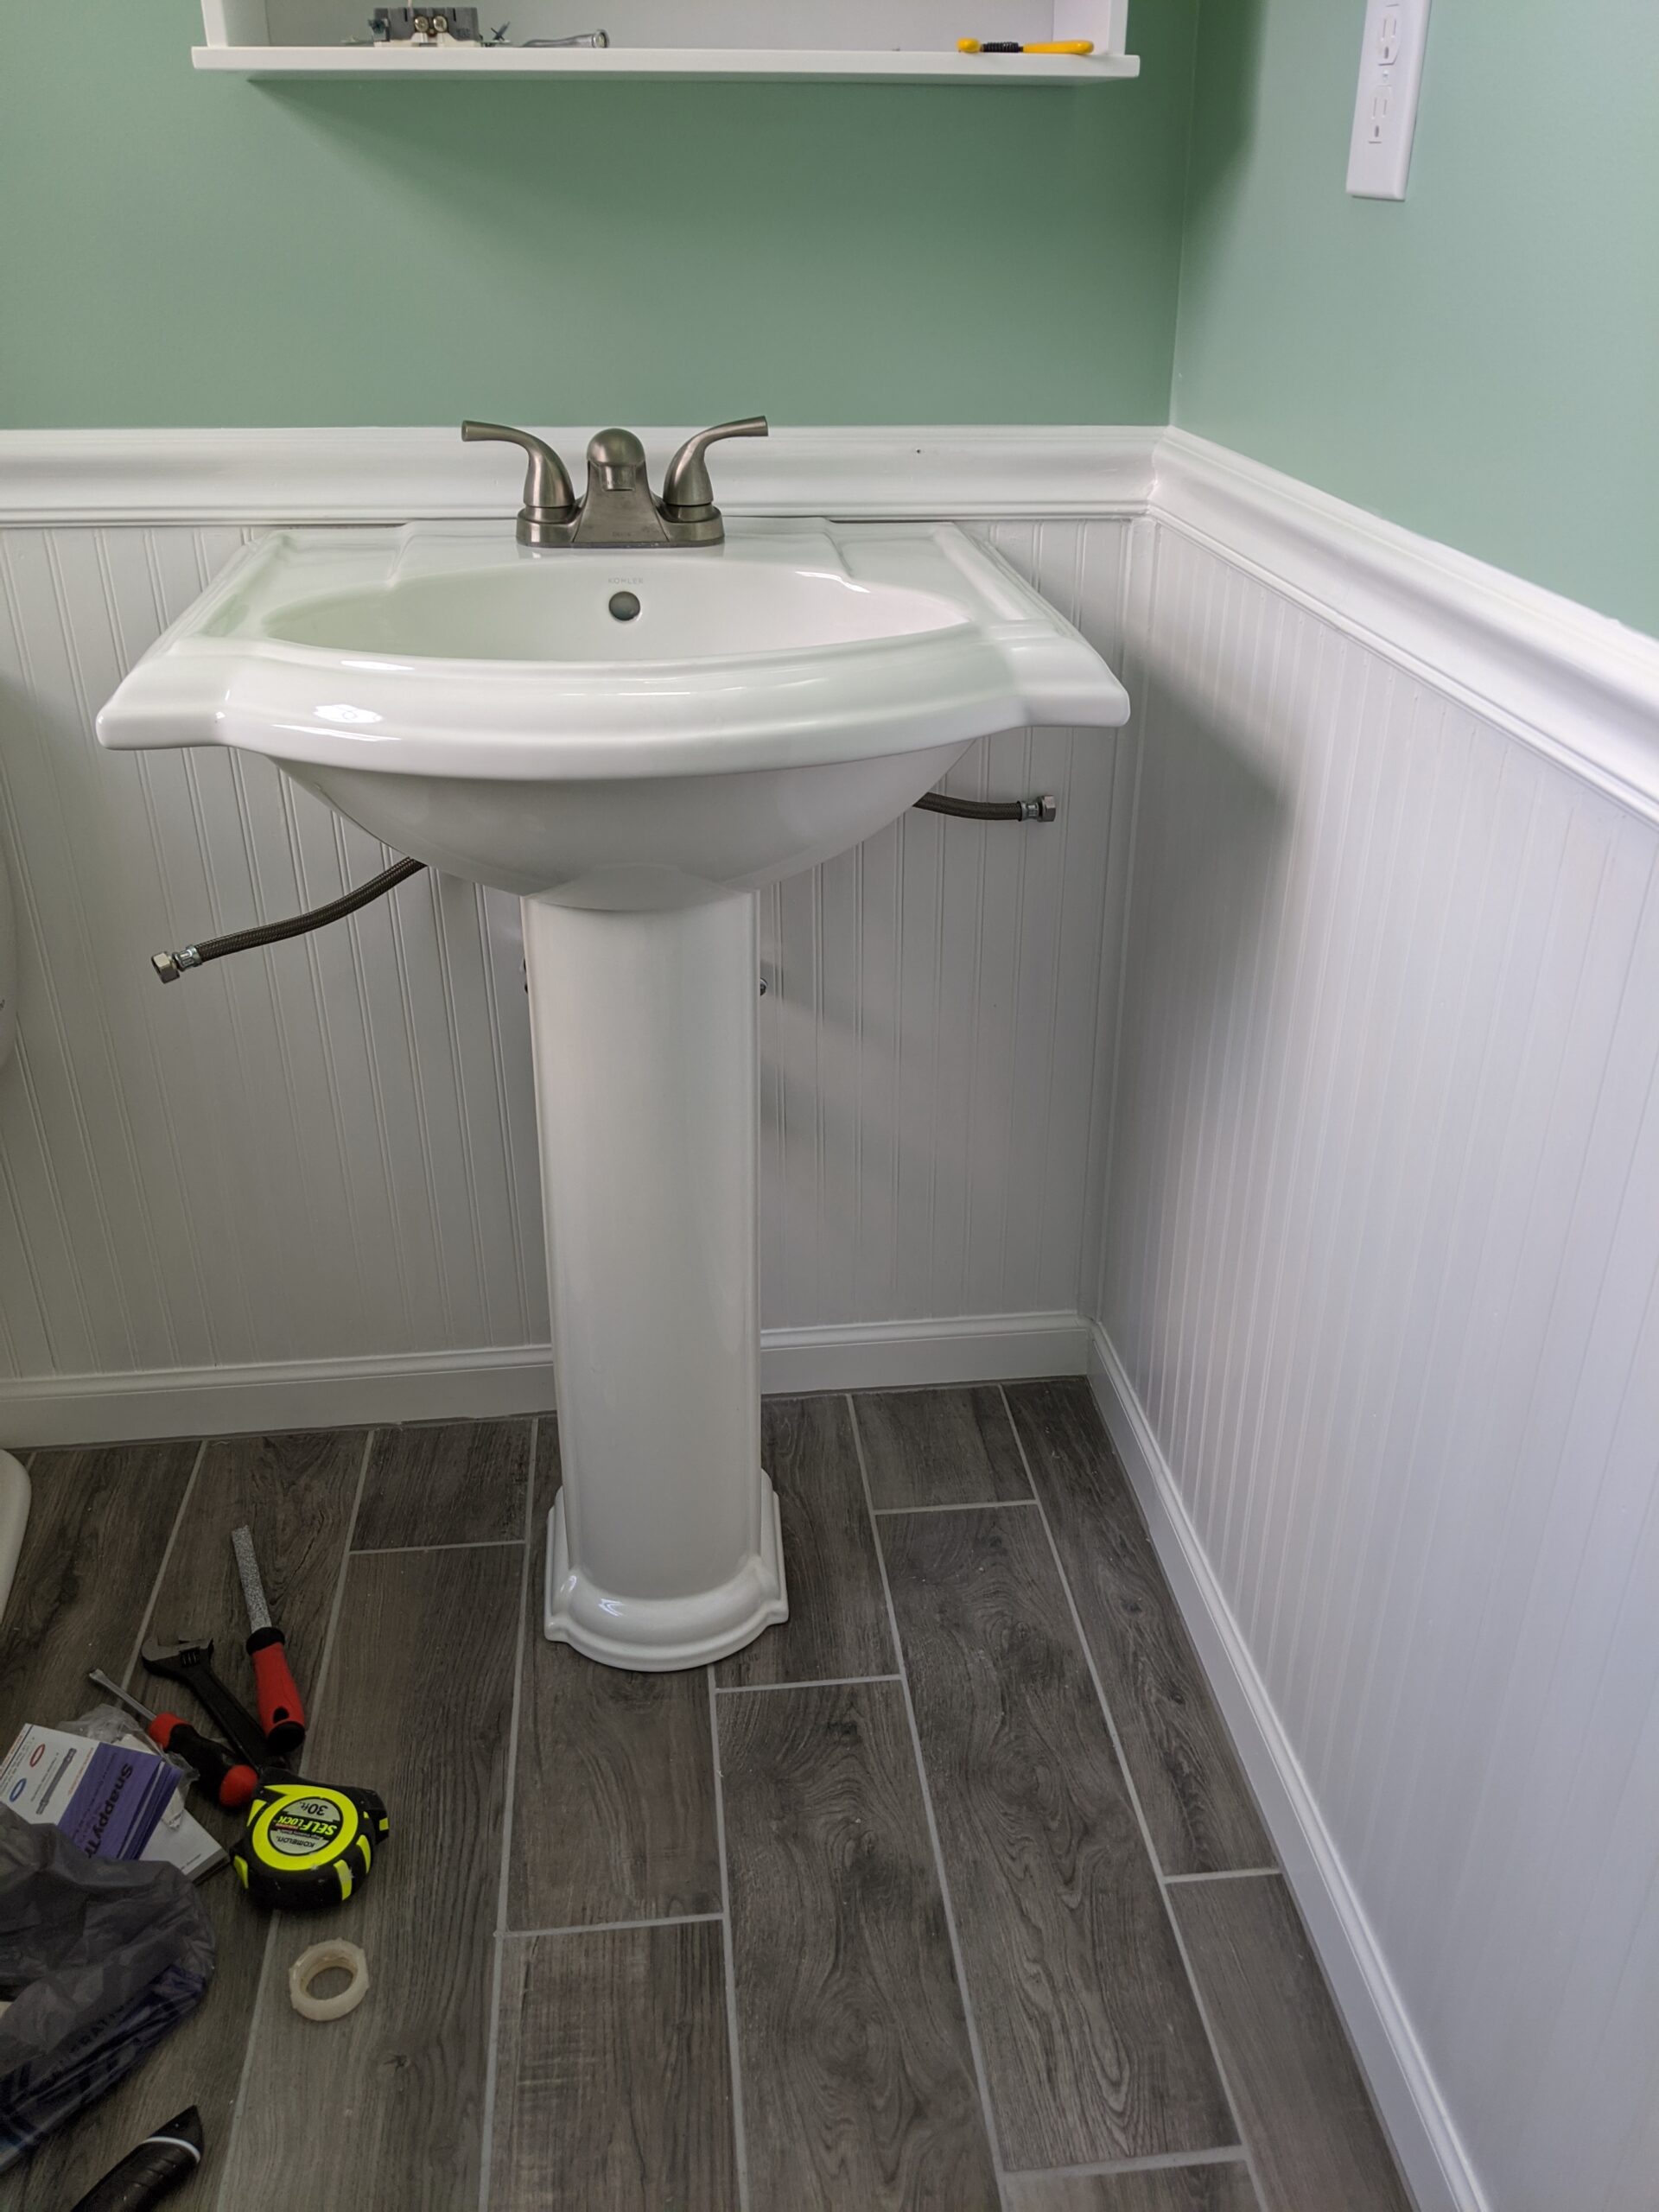
Once I finished the toilet I decided to install the medicine cabinet I ordered, as it would be much easier to do without the sink in place. So I did some quick measurements, and put in the first toggle bolt anchor. Then I started screwing the second one in and hit something. I couldn’t figure out what it could possibly be at first, because it’s high up on an interior wall, there really shouldn’t be anything there. When I started poking at it with a screw I realized it was a duct. This wall backs to the kitchen, and the range and microwave are directly in front of this area. So once I determined that it’s just the vent fan duct from the microwave, I decided to just drill through it and put my anchor behind it. However, the toggle bolts I got kept breaking when I tried to screw into them. So I went to the hardware store again, and got better ones and tried again.

Unfortunately, another problem, is that these knuckleheads didn’t align the light junction box and the plumbing. It was much less noticeable with the old light and mirror. We decided to go ahead and center the medicine cabinet to the light, since the offset of the plumbing is to the left, and the mirror is also offset. The finished result bothers me, but realignment of either wasn’t really an option due to stud layout. With the day being lost on this, I called it a day, expecting to install the old sink the next day.
I had been concerned about the old sink fitting under the moulding, and unfortunately that was in fact a problem. The sink not only didn’t clear the bottom edge of the moulding, but it was also super crooked. Like off by almost an inch left to right. And no, the problem was not my floor or wall. The clay was actually a mess, and like everything else in this house it seems, the builders covered it up. There was no way that I was going to make it work with that POS, so I threw it out and went in search for a new one that would fit the space. Once I found one that was supposed to be the right size (of which there are very few), I pulled the trigger and ordered it. Luckily it arrived within a couple of days so I could get back to it before Thanksgiving. In the meantime, I replaced the ceiling vent fan, replaced the electrical socket because it was off white and looked like shit, and a few other little things.
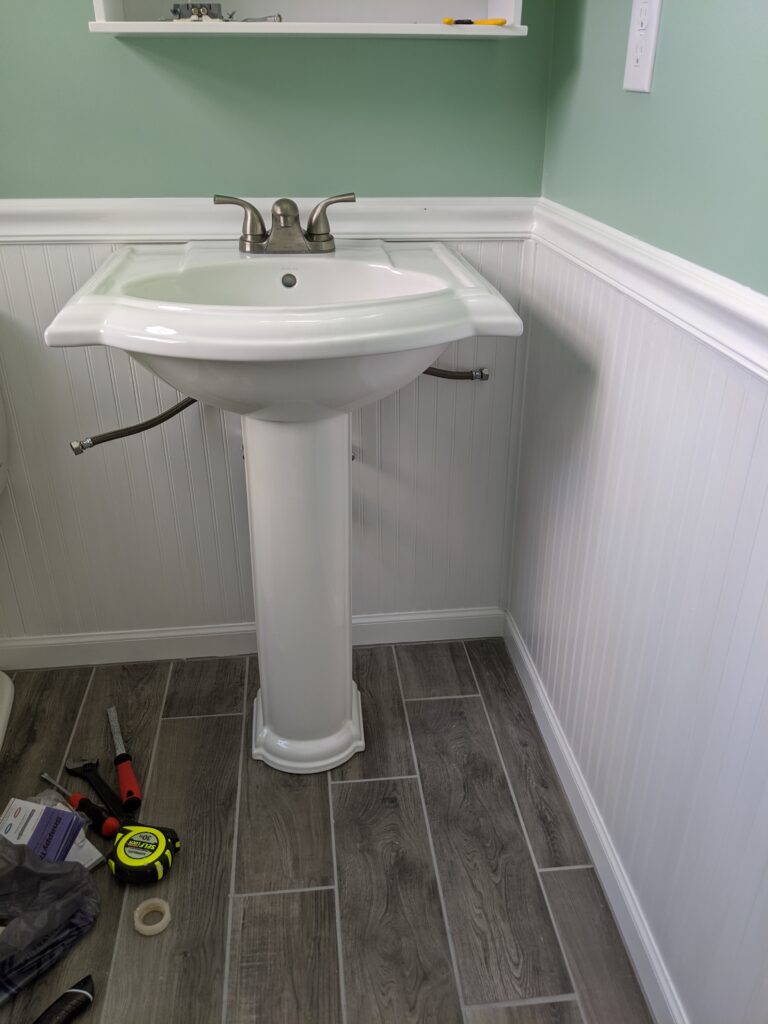
Hooray it fits under the moulding! 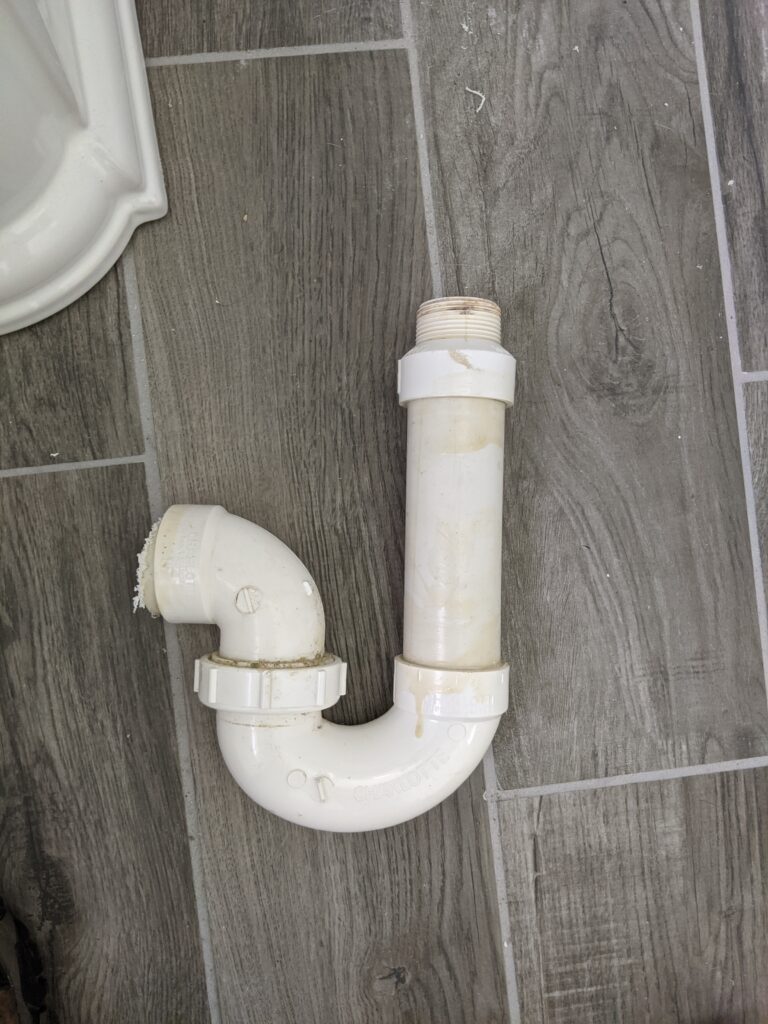
But the waste pipe didn’t line up. 
So I rebuilt it. 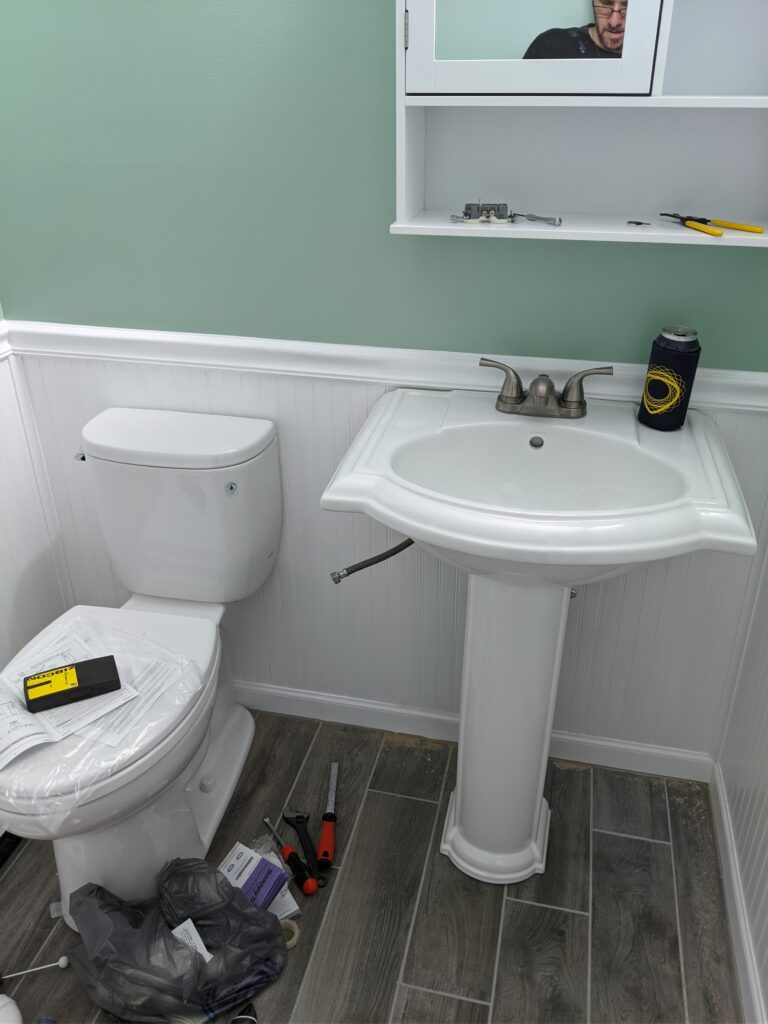
Looking good. 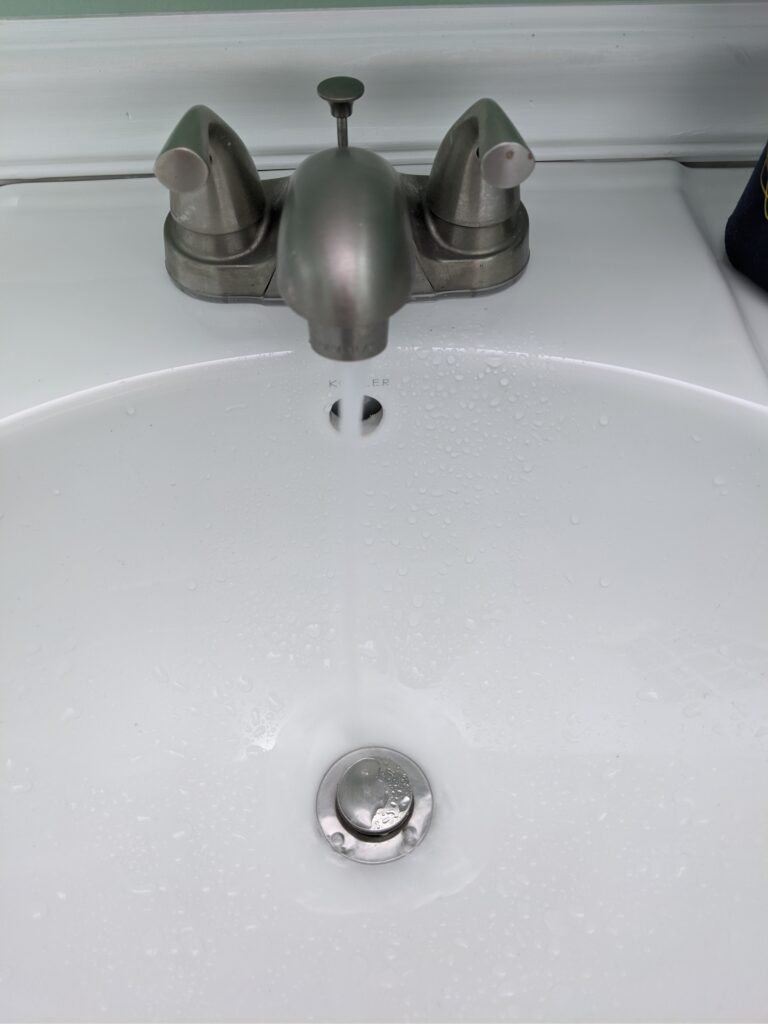
Let there be water!
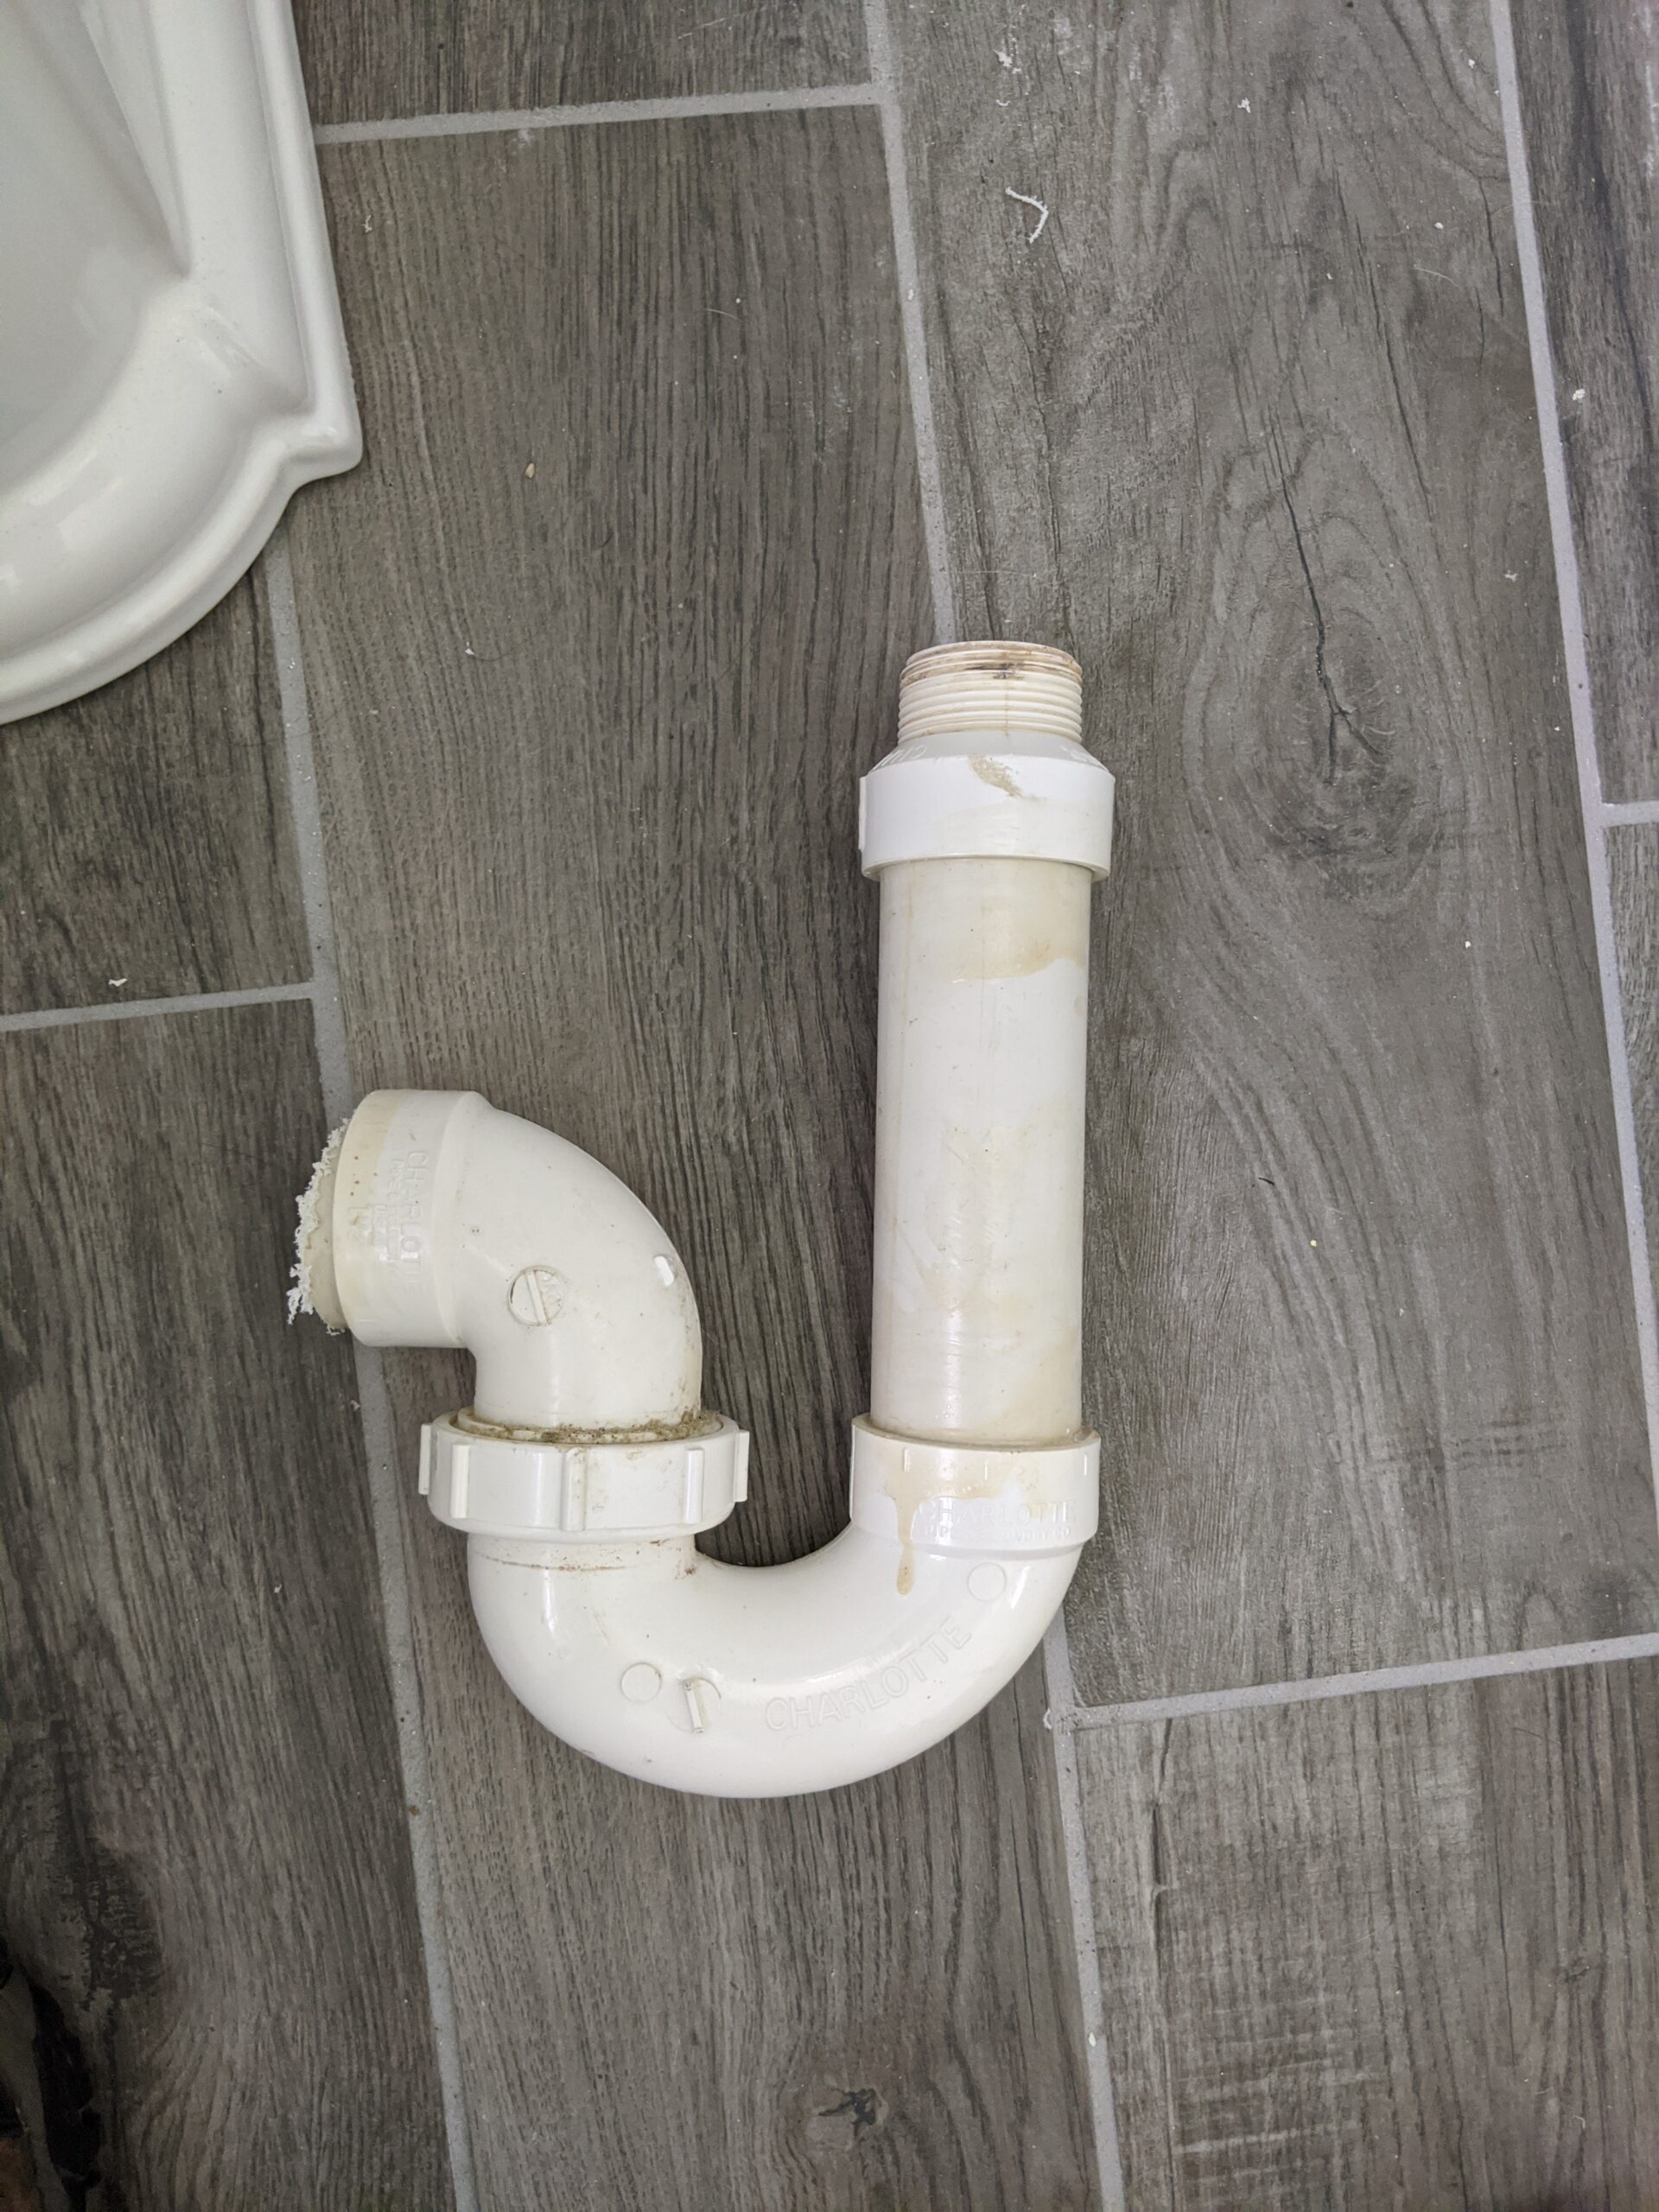

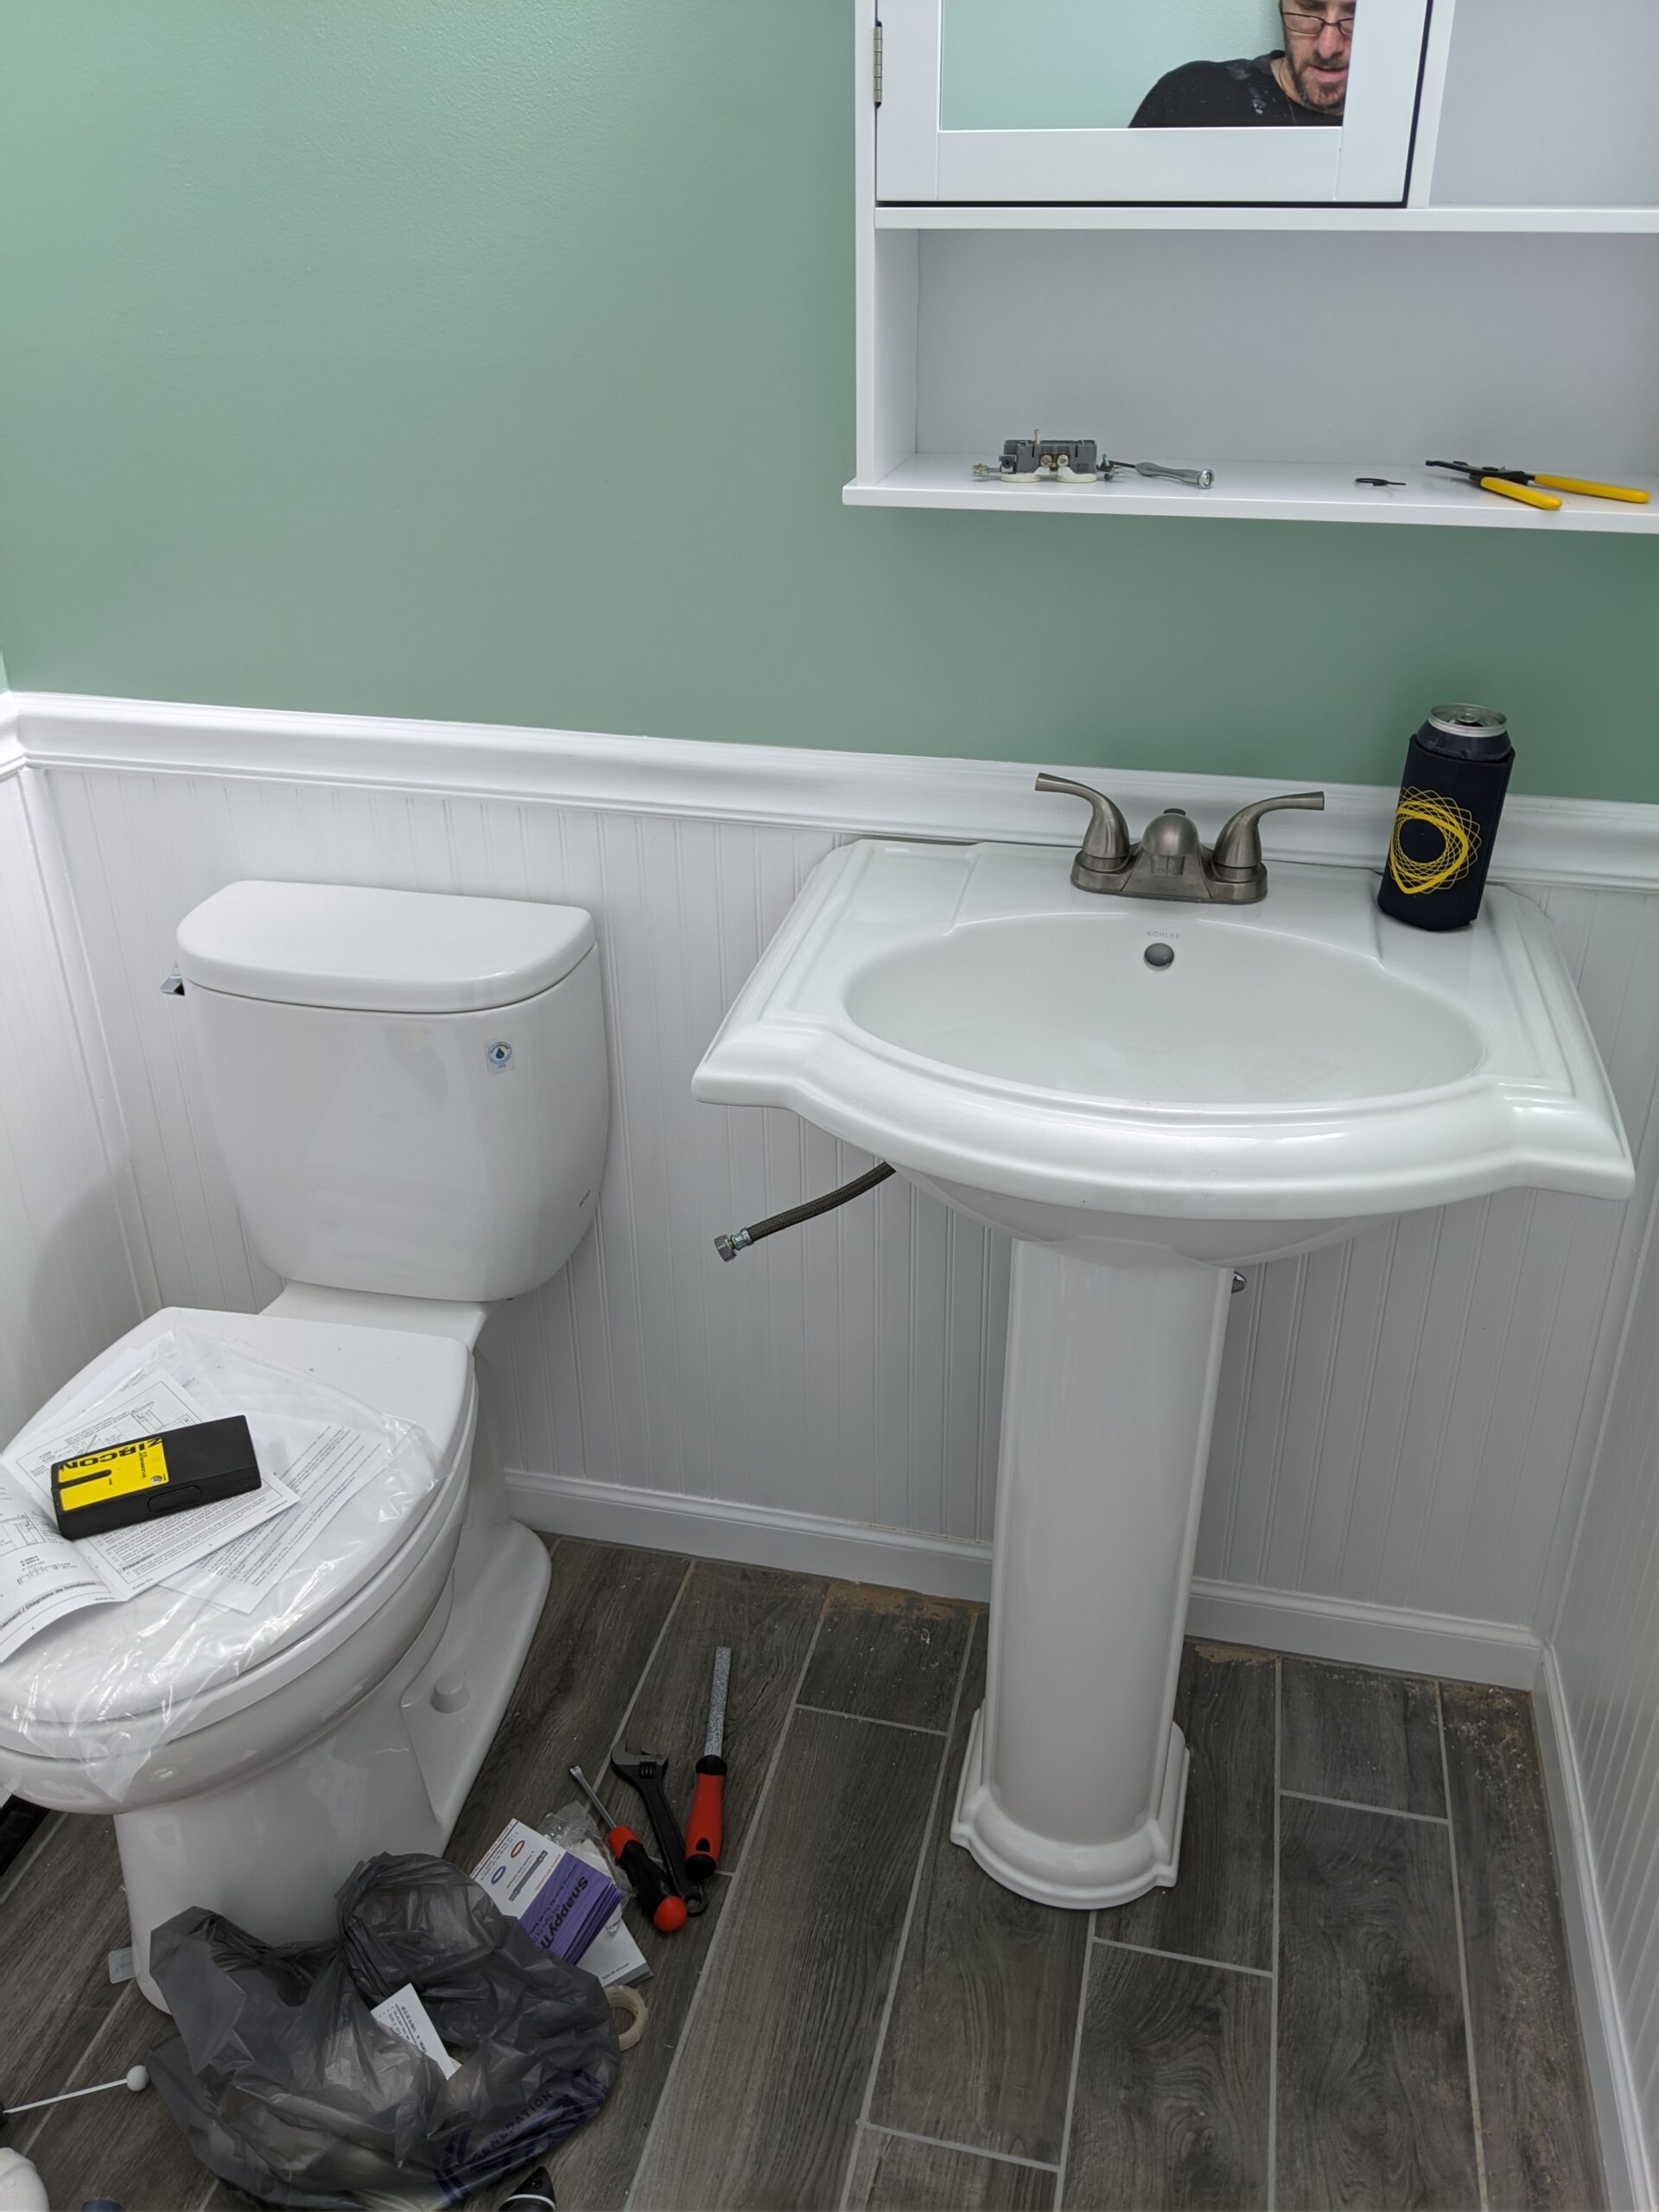
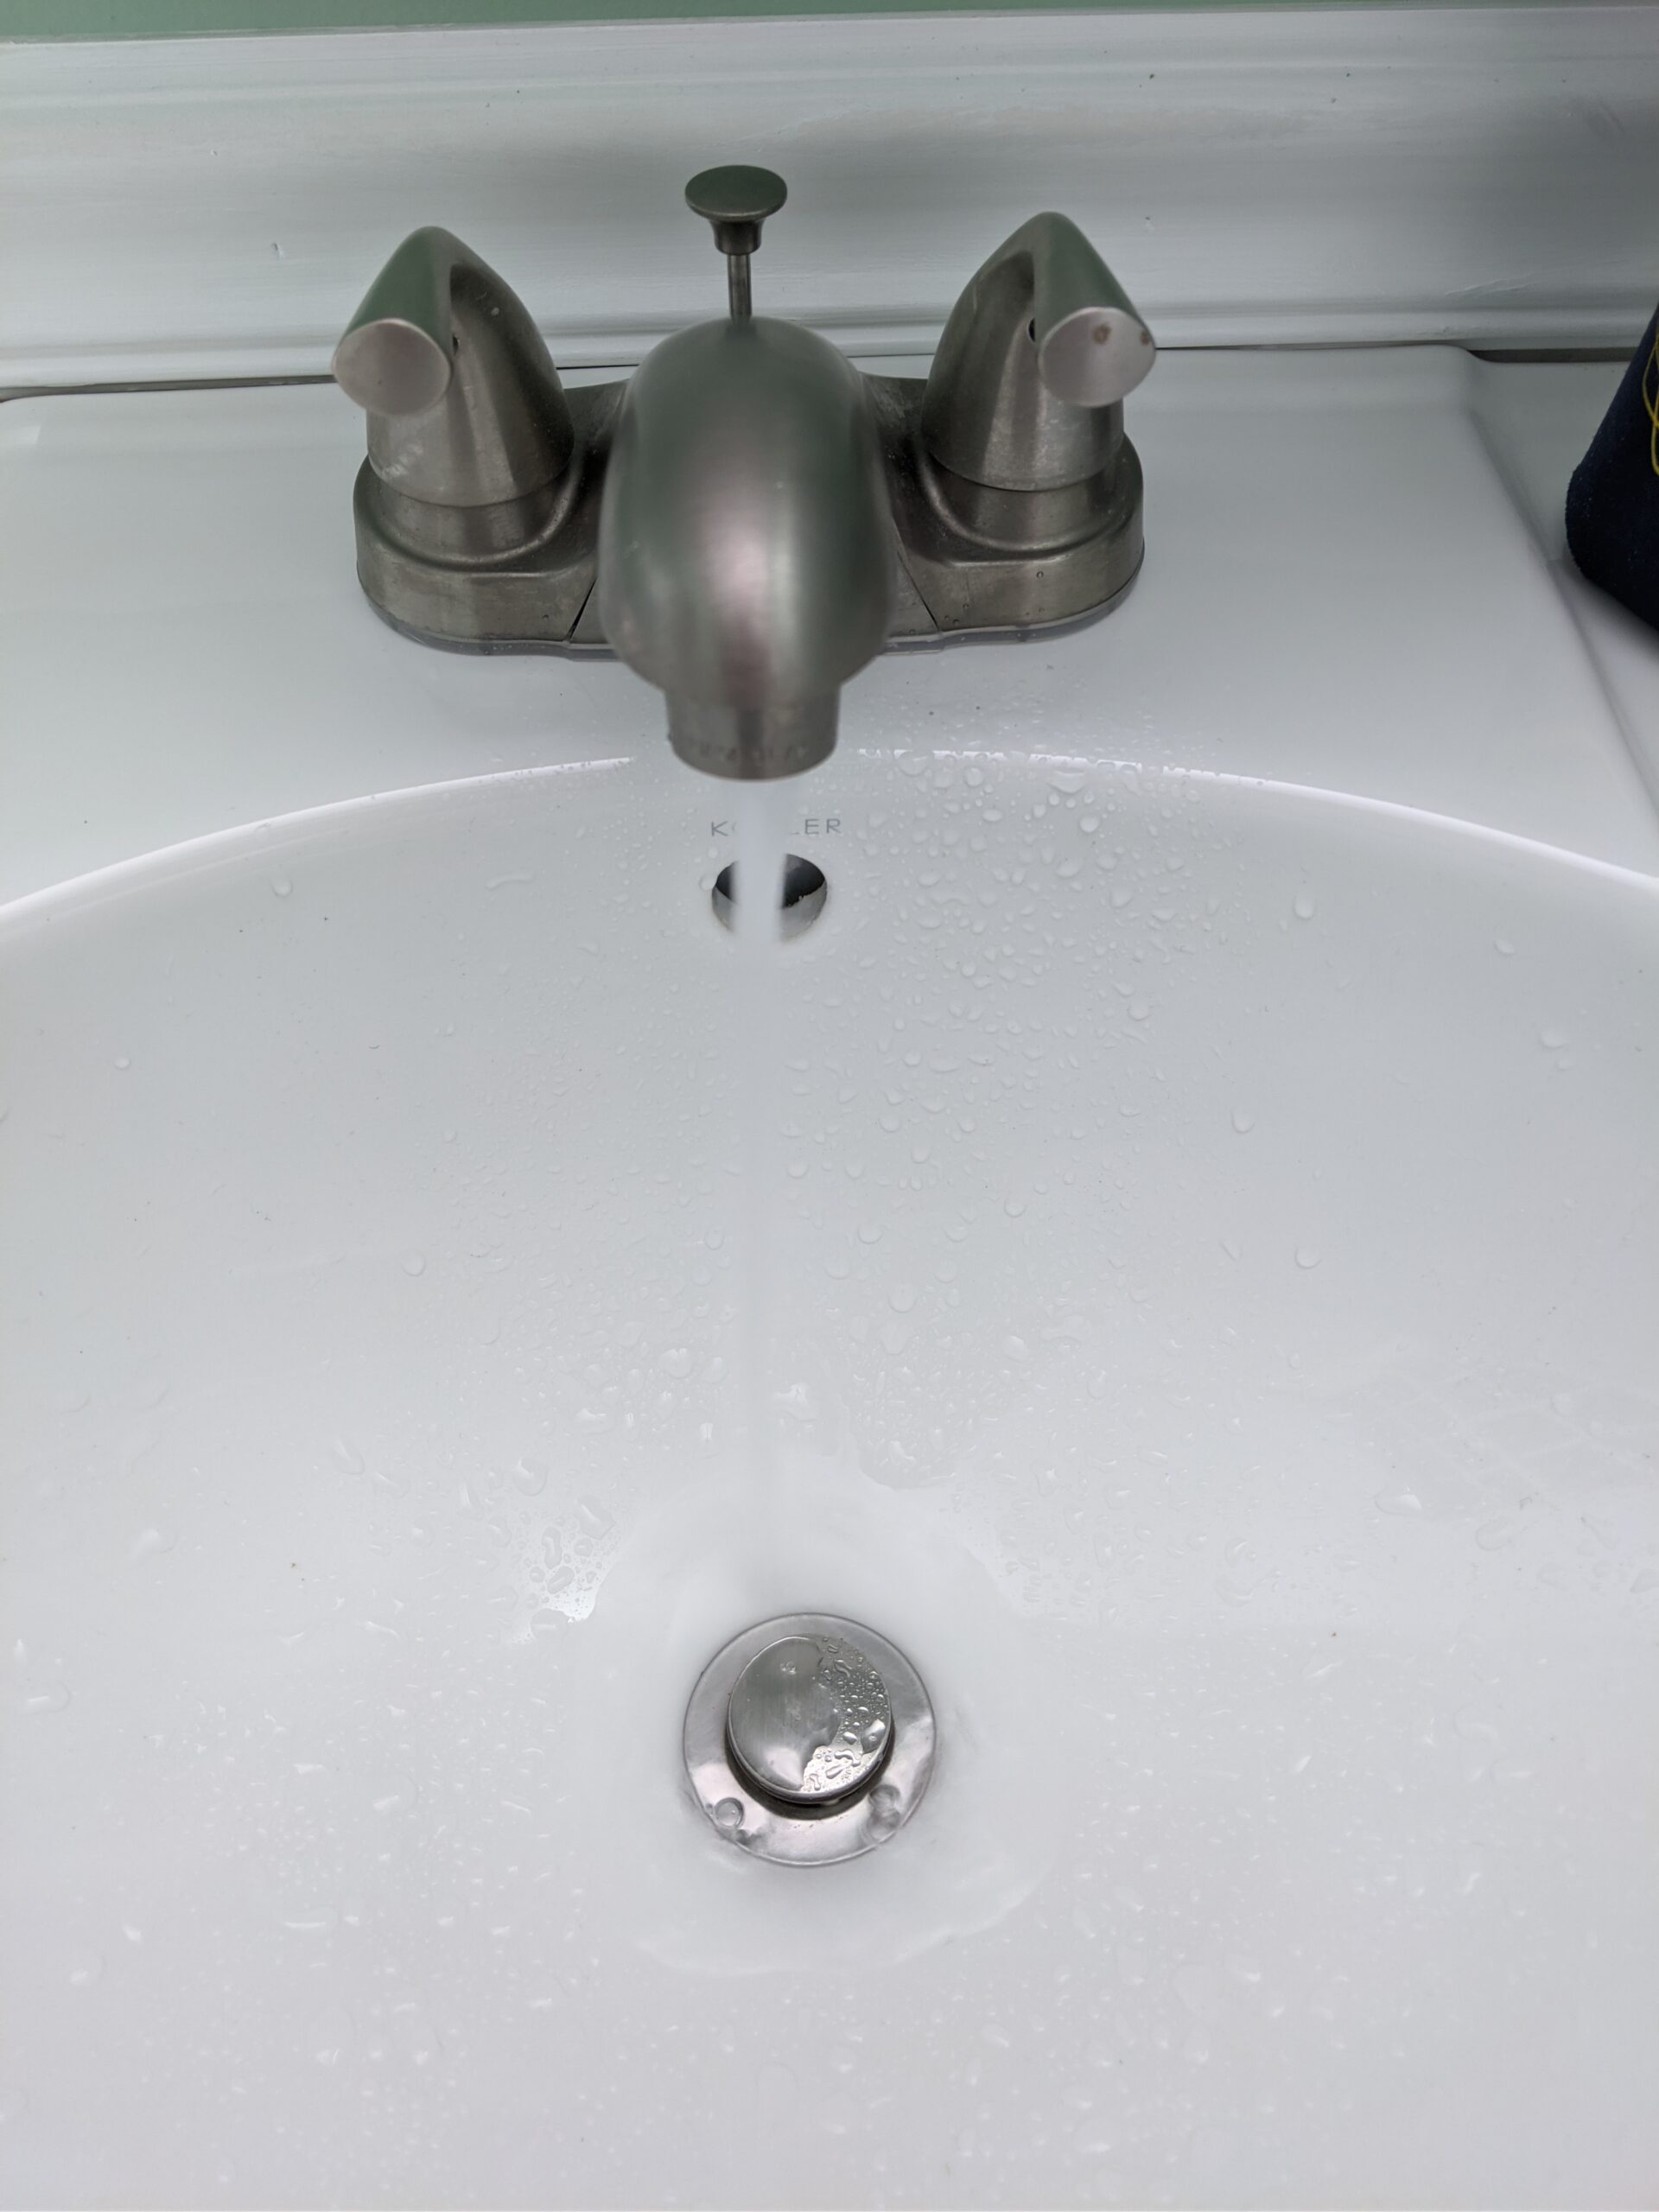
The sink arrived Tuesday night, so I did a quick dry fit and was happy to find that it actually fit under the moulding. However, the waste pipe was off by about an inch. Normally this wouldn’t be much of an issue, but the waste pipe is glued to the P-Trap, and there wasn’t a lot of extra exposed pipe to work with, so I didn’t want to cut it. I did some late night research and found a flexible J-pipe that should work, so I picked it up the next morning. Once I got home and looked at the pipe connections, I realized that the connection was the wrong size. So back to the hardware store I went. I got another flexible J-pipe that was supposed to work with both 1 1/4″ or 1 1/2″ connections. However, once I took the pipes apart, I found that the connection was actually a female end as was the new pipe. Out came my pipe saw and I hacked the whole P-Trap off! So hardware store trip number 3! This time I bought a full kit so I could replace the whole thing or just couple the old back in with the extension. Once I started messing with it, I decided to just rebuild the whole thing. After I did that, I remembered that even after 3 trips to the hardware store in the day, I forgot that I needed another drill bit to be able to mount the basin. So after meeting up with some friends, I stopped by the hardware store one more time and got it. Once I got home I made quick work of mounting it up, and getting everything connected.

The next day I did some touch up painting, and got the sink and toilet caulked. My caulking skills have improved, but there’s still some rough spots, especially around the grout lines. All in all though, it looks pretty good. I put up some shelves and built a cabinet for towels and such, and Steph has started decorating things. Happy to have this project done, for one so we can use the bathroom on this floor, and two, so I can cleanup all my tools and stuff. Our dining room has been a disaster for the past 2 months, and it’s gonna take some time to get things back to normal here.

You must be logged in to post a comment.