Can I just start by stating that everything takes longer than you imagine it will take? Even some of the most simple tasks in this project have taken me much longer than anticipated, because there’s always something. That said, things are looking up. Tiling is about to commence! But first, let’s talk mud again >:( …

All things considered, I thought that I had done a decent hack job on the taping and mudding for it being my first attempt. Some of the areas were literally just big holes that I was able to fill and smooth out. The vanity area in the pic above actually came out relatively smooth. The 2 walls next to the tub alcove on the other hand, are a mess. After 3 passes with compound and sanding, I thought that I was good to go. Things looked relatively smooth (though there were some noticeable humps over seams), they didn’t look terrible, and I was okay enough with it to prime the walls.
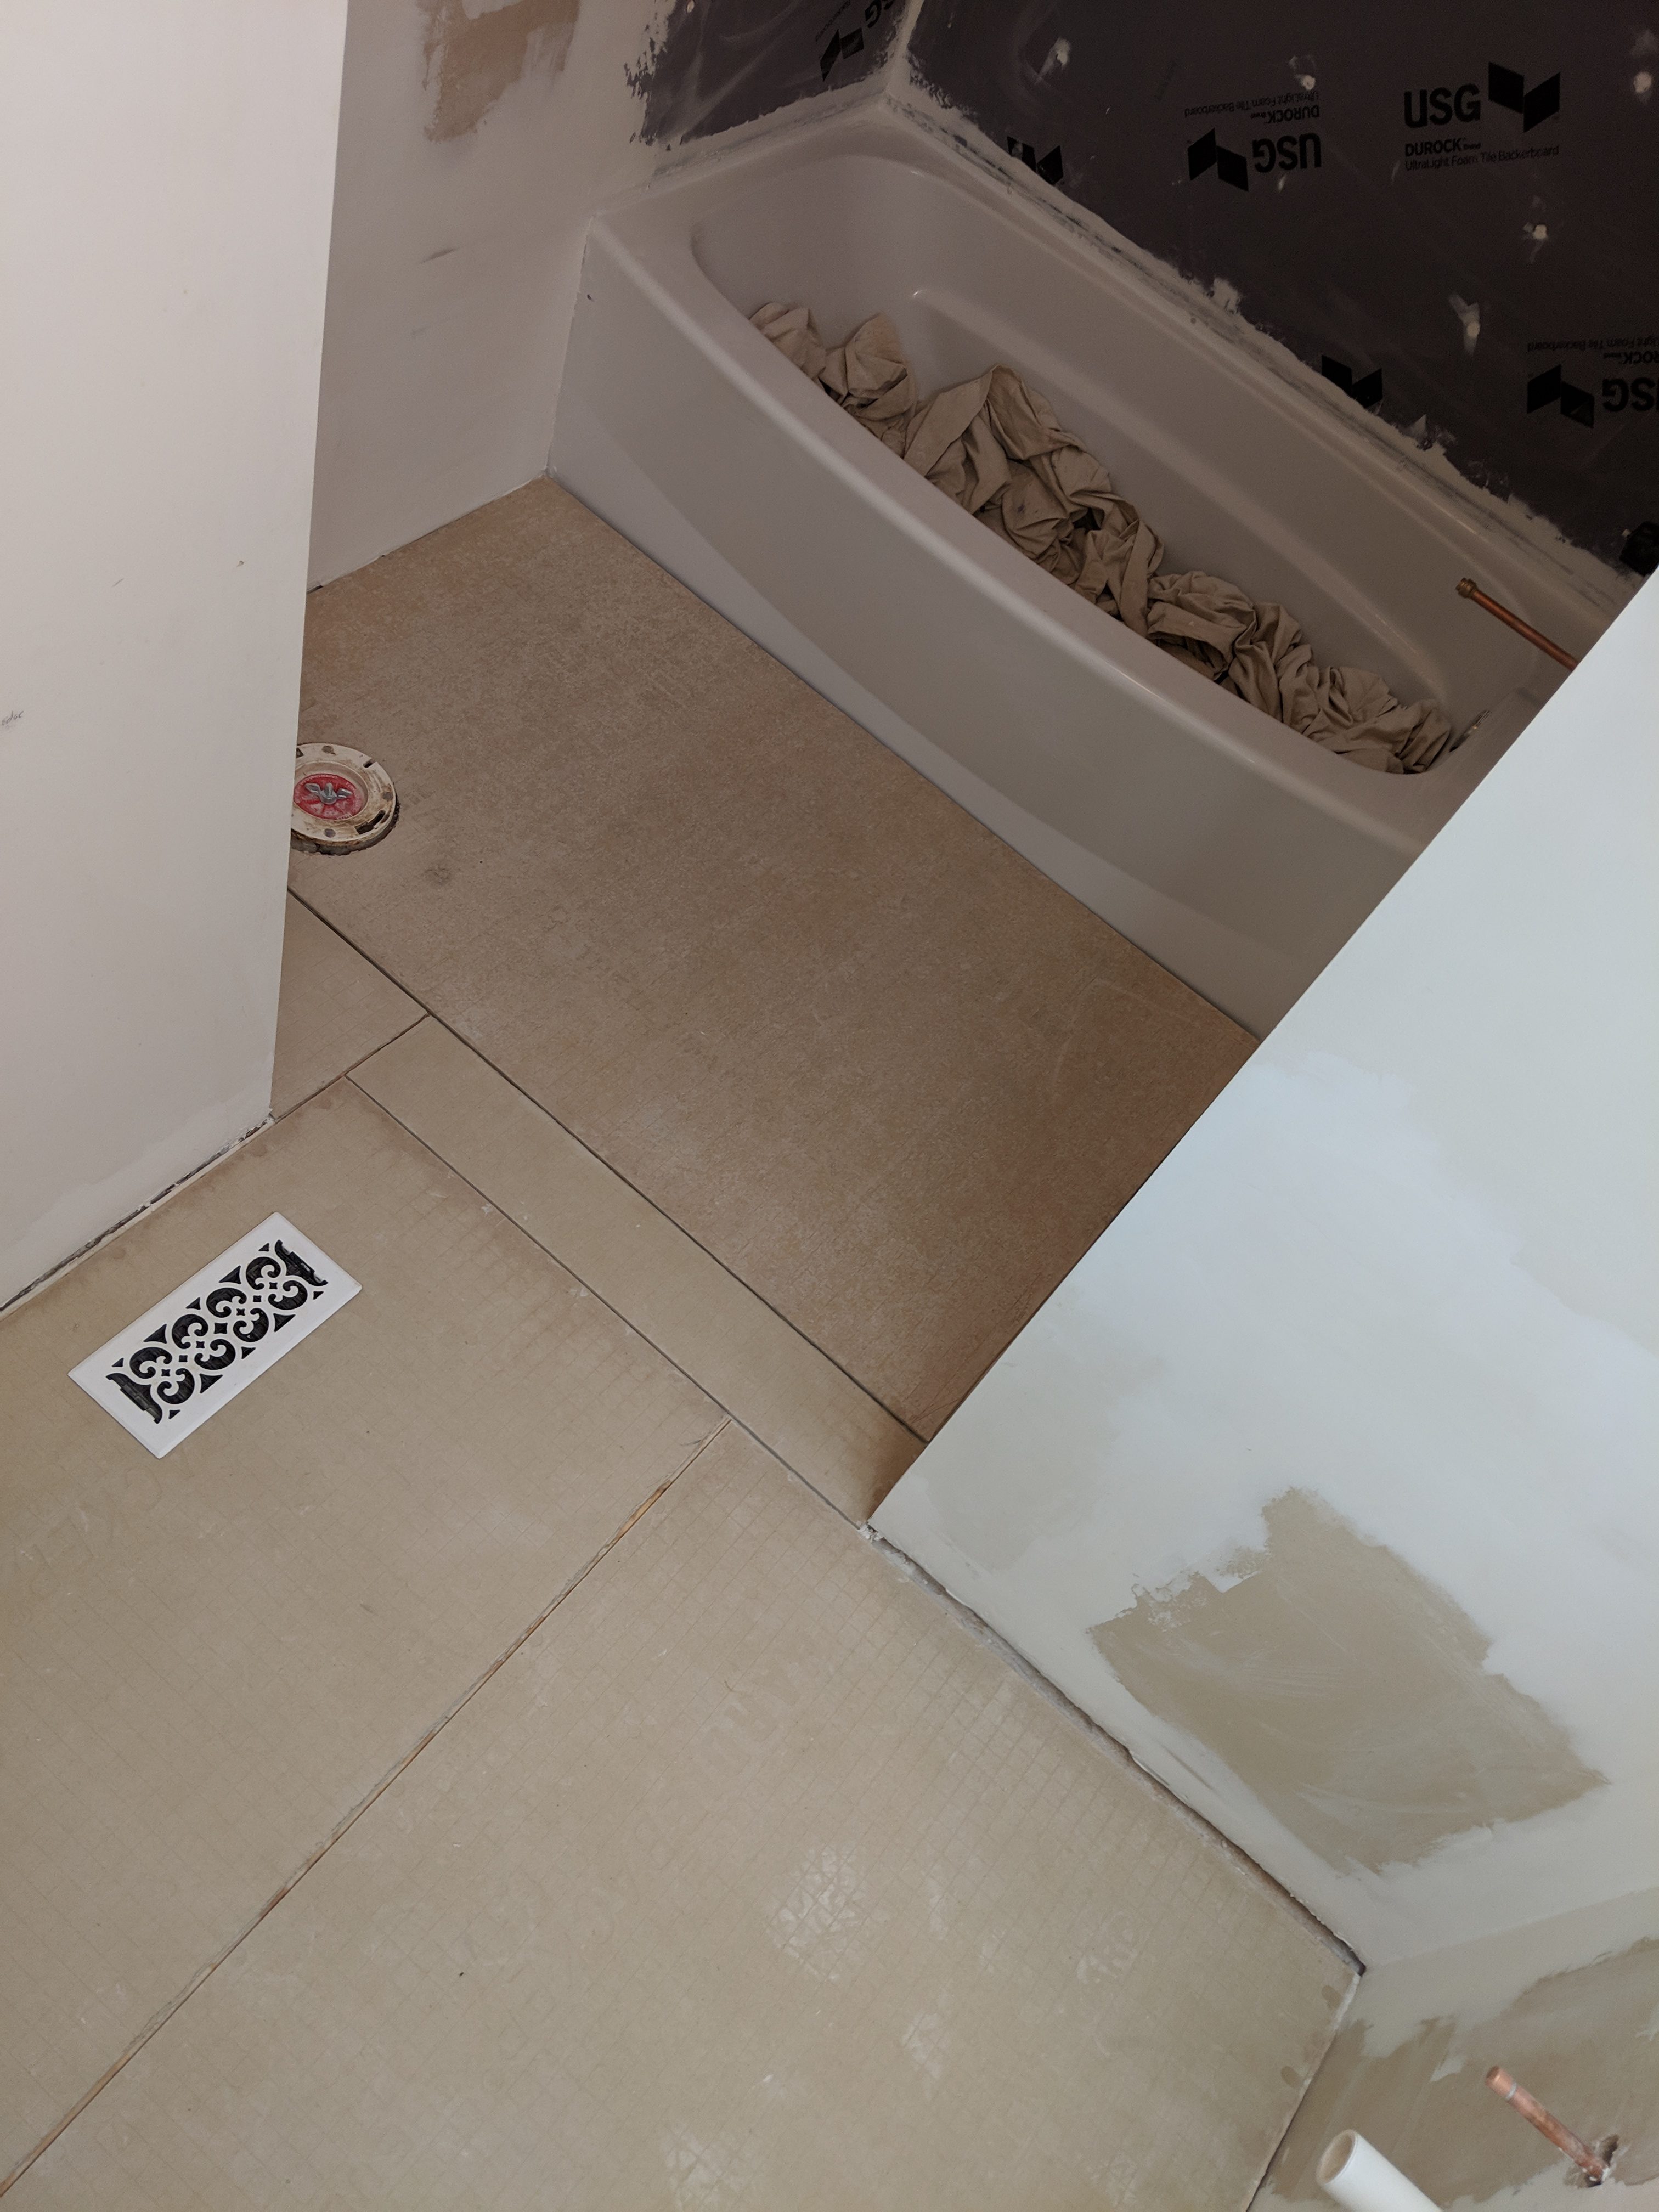
I was able to get the hardibacker down on the floor. The process is relatively simple. Measure out the space for the cuts, do a dry test fit, trowel out mortar on the subfloor, fit the hardibacker boards, screw them down, then tape and mortar the seams. Simple! HAH!
The first issue I ran into was making cuts near the edge of a board. The way the fit worked out, the toilet flange sits about 2 inches away from the edge of a board. Since I remembered the circle cutter tool I had bought this time, I decided to give it a shot first. It’s basically like a compass with a small carbide blade instead of a pencil. I gave it a few whirls, and I had a nice 8″ circle scored (lightly) in the board. Flipped it over and did the same, then followed with a few passes using my carbide scoring knife. Once it seemed sufficiently deep enough, I grabbed the hammer and gave it a couple of hard hits. Instead of the circle popping out, the board just collapsed from the edge to about 12 inches in! Awesome! Next board please.
Second attempt, I went back to the drill a bunch of holes in a circle method. I used the circle cutter to get a good circle scored out again, then just drilled about 30 holes around it. I gave it a quick whack with the hammer, and nothing happened. Not willing to risk losing another board, I decided to just use my blade to connect the dots I made with the drill. This worked out fine, until I got to the last few on the outer edge and the board broke! Luckily it was only about 2 inches, and it broke cleanly enough that I just put it back in place and secured it with mortar and a screw.
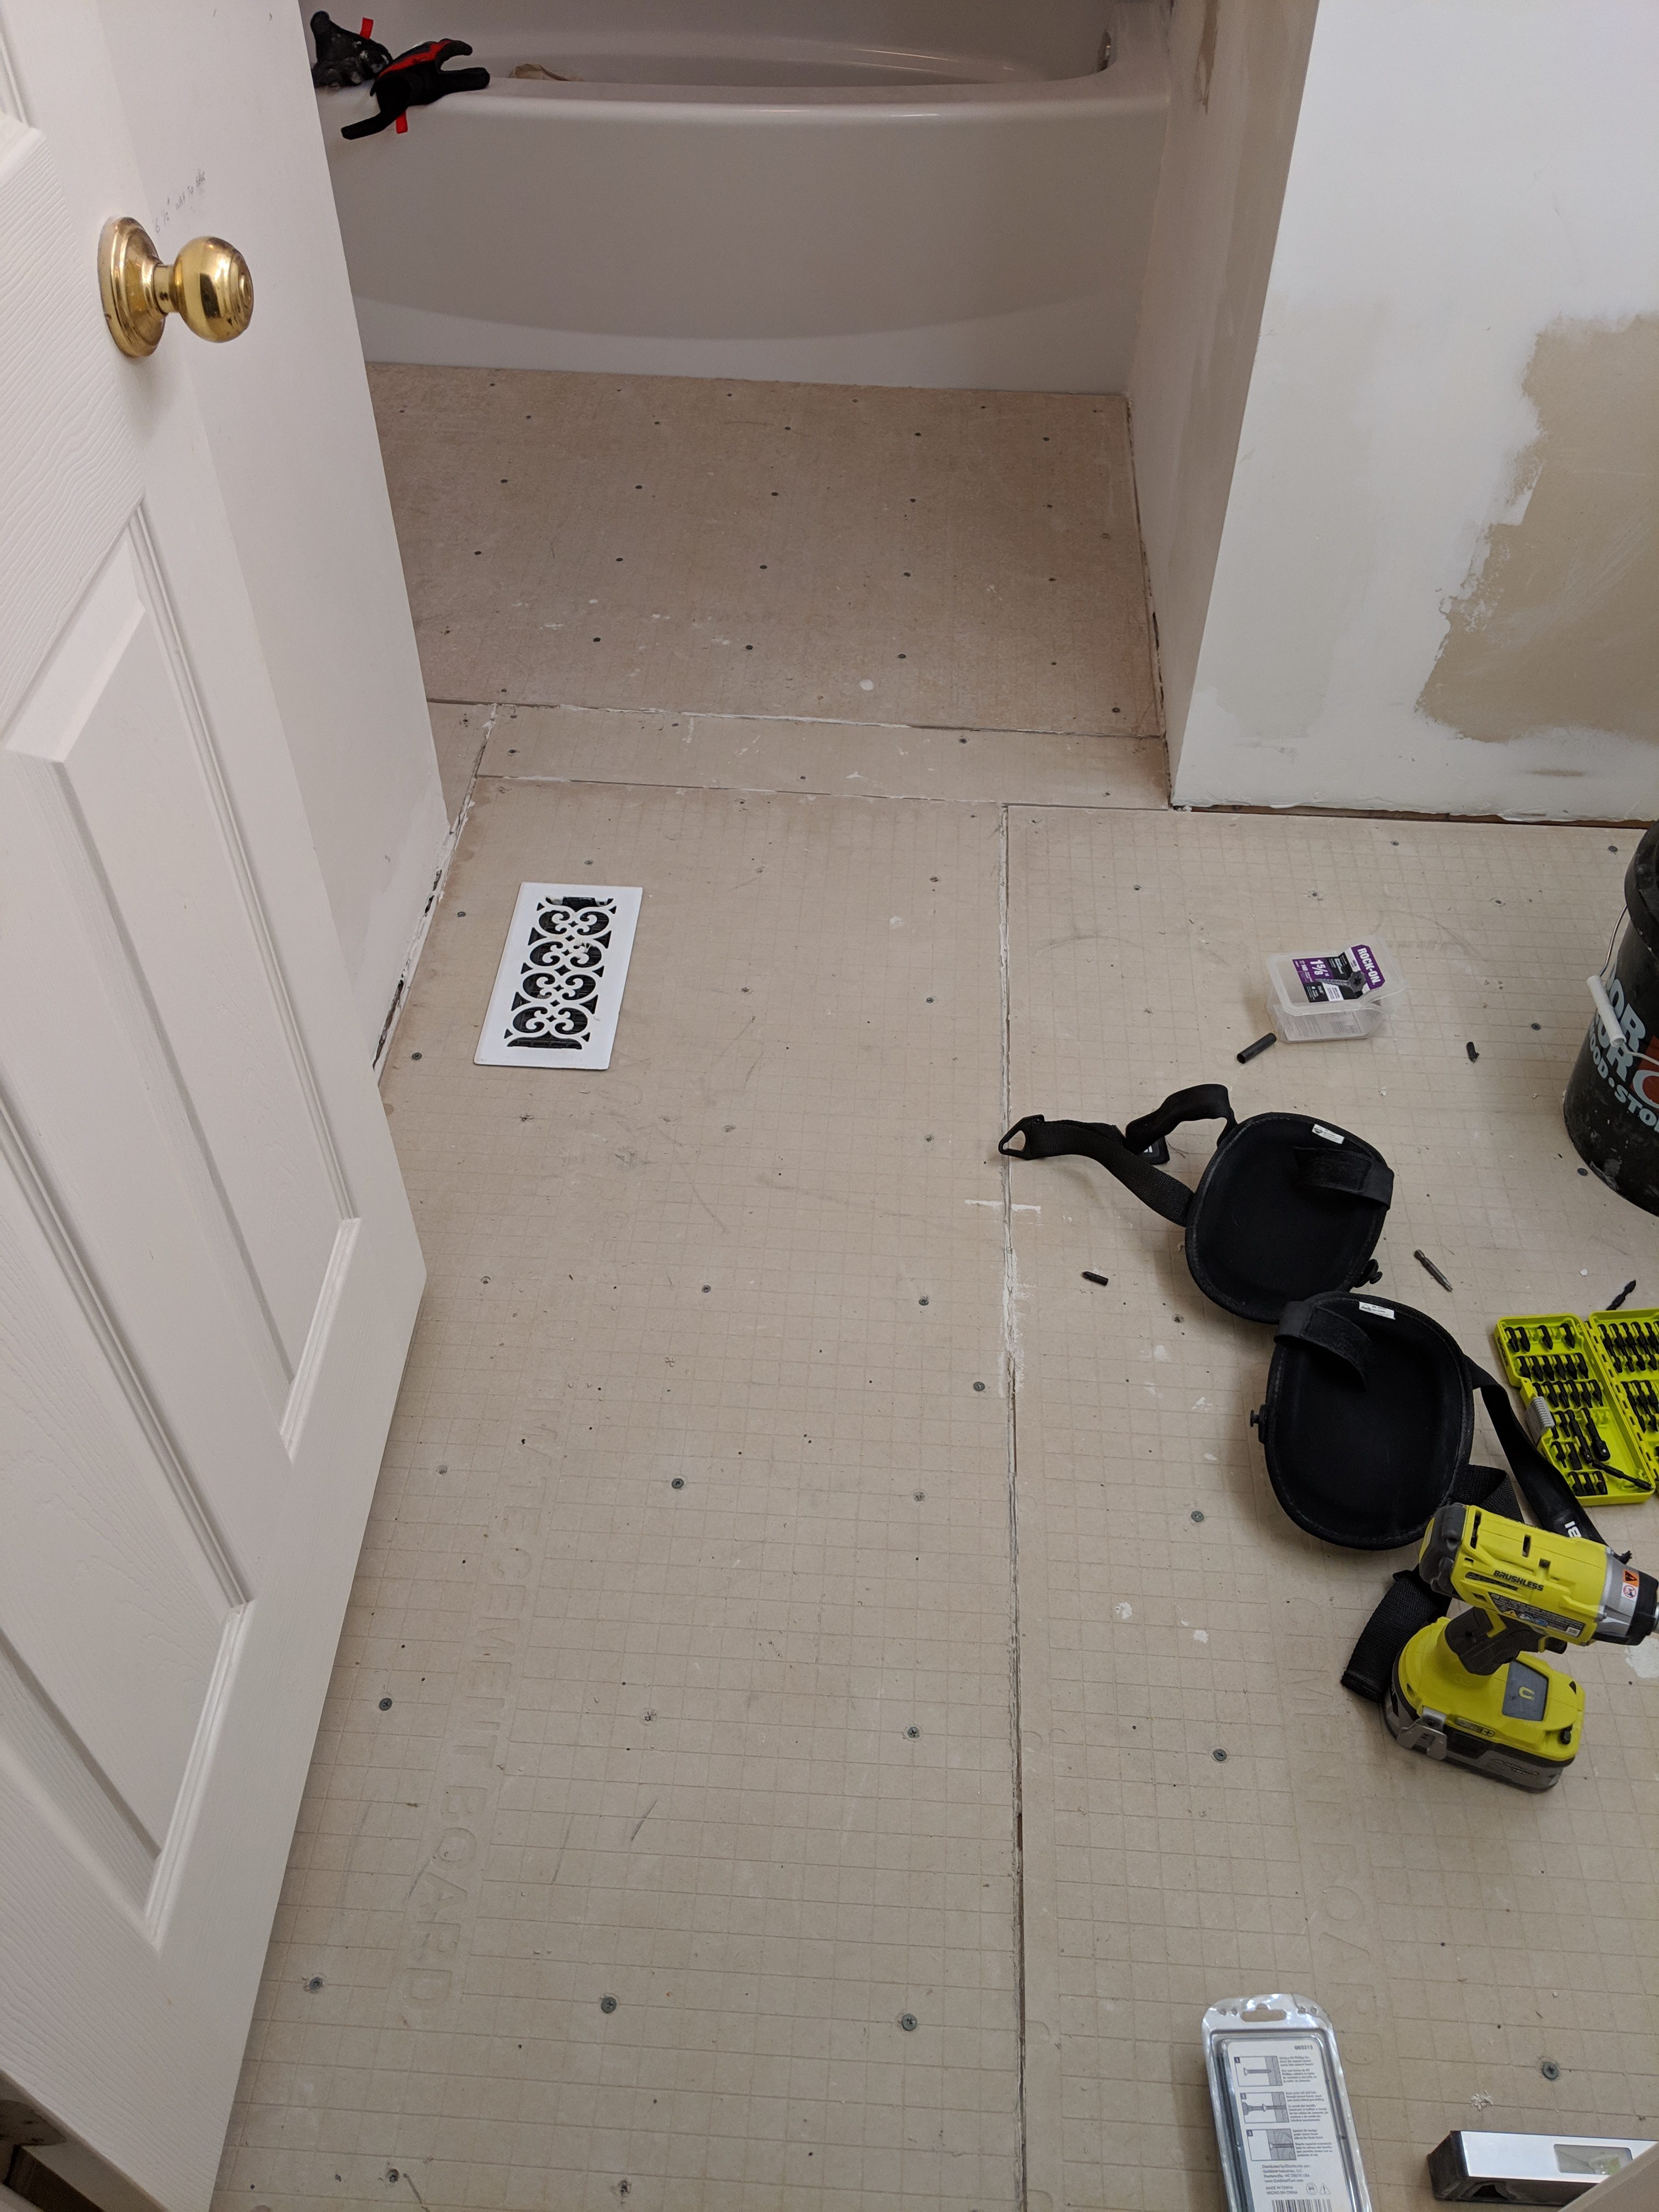
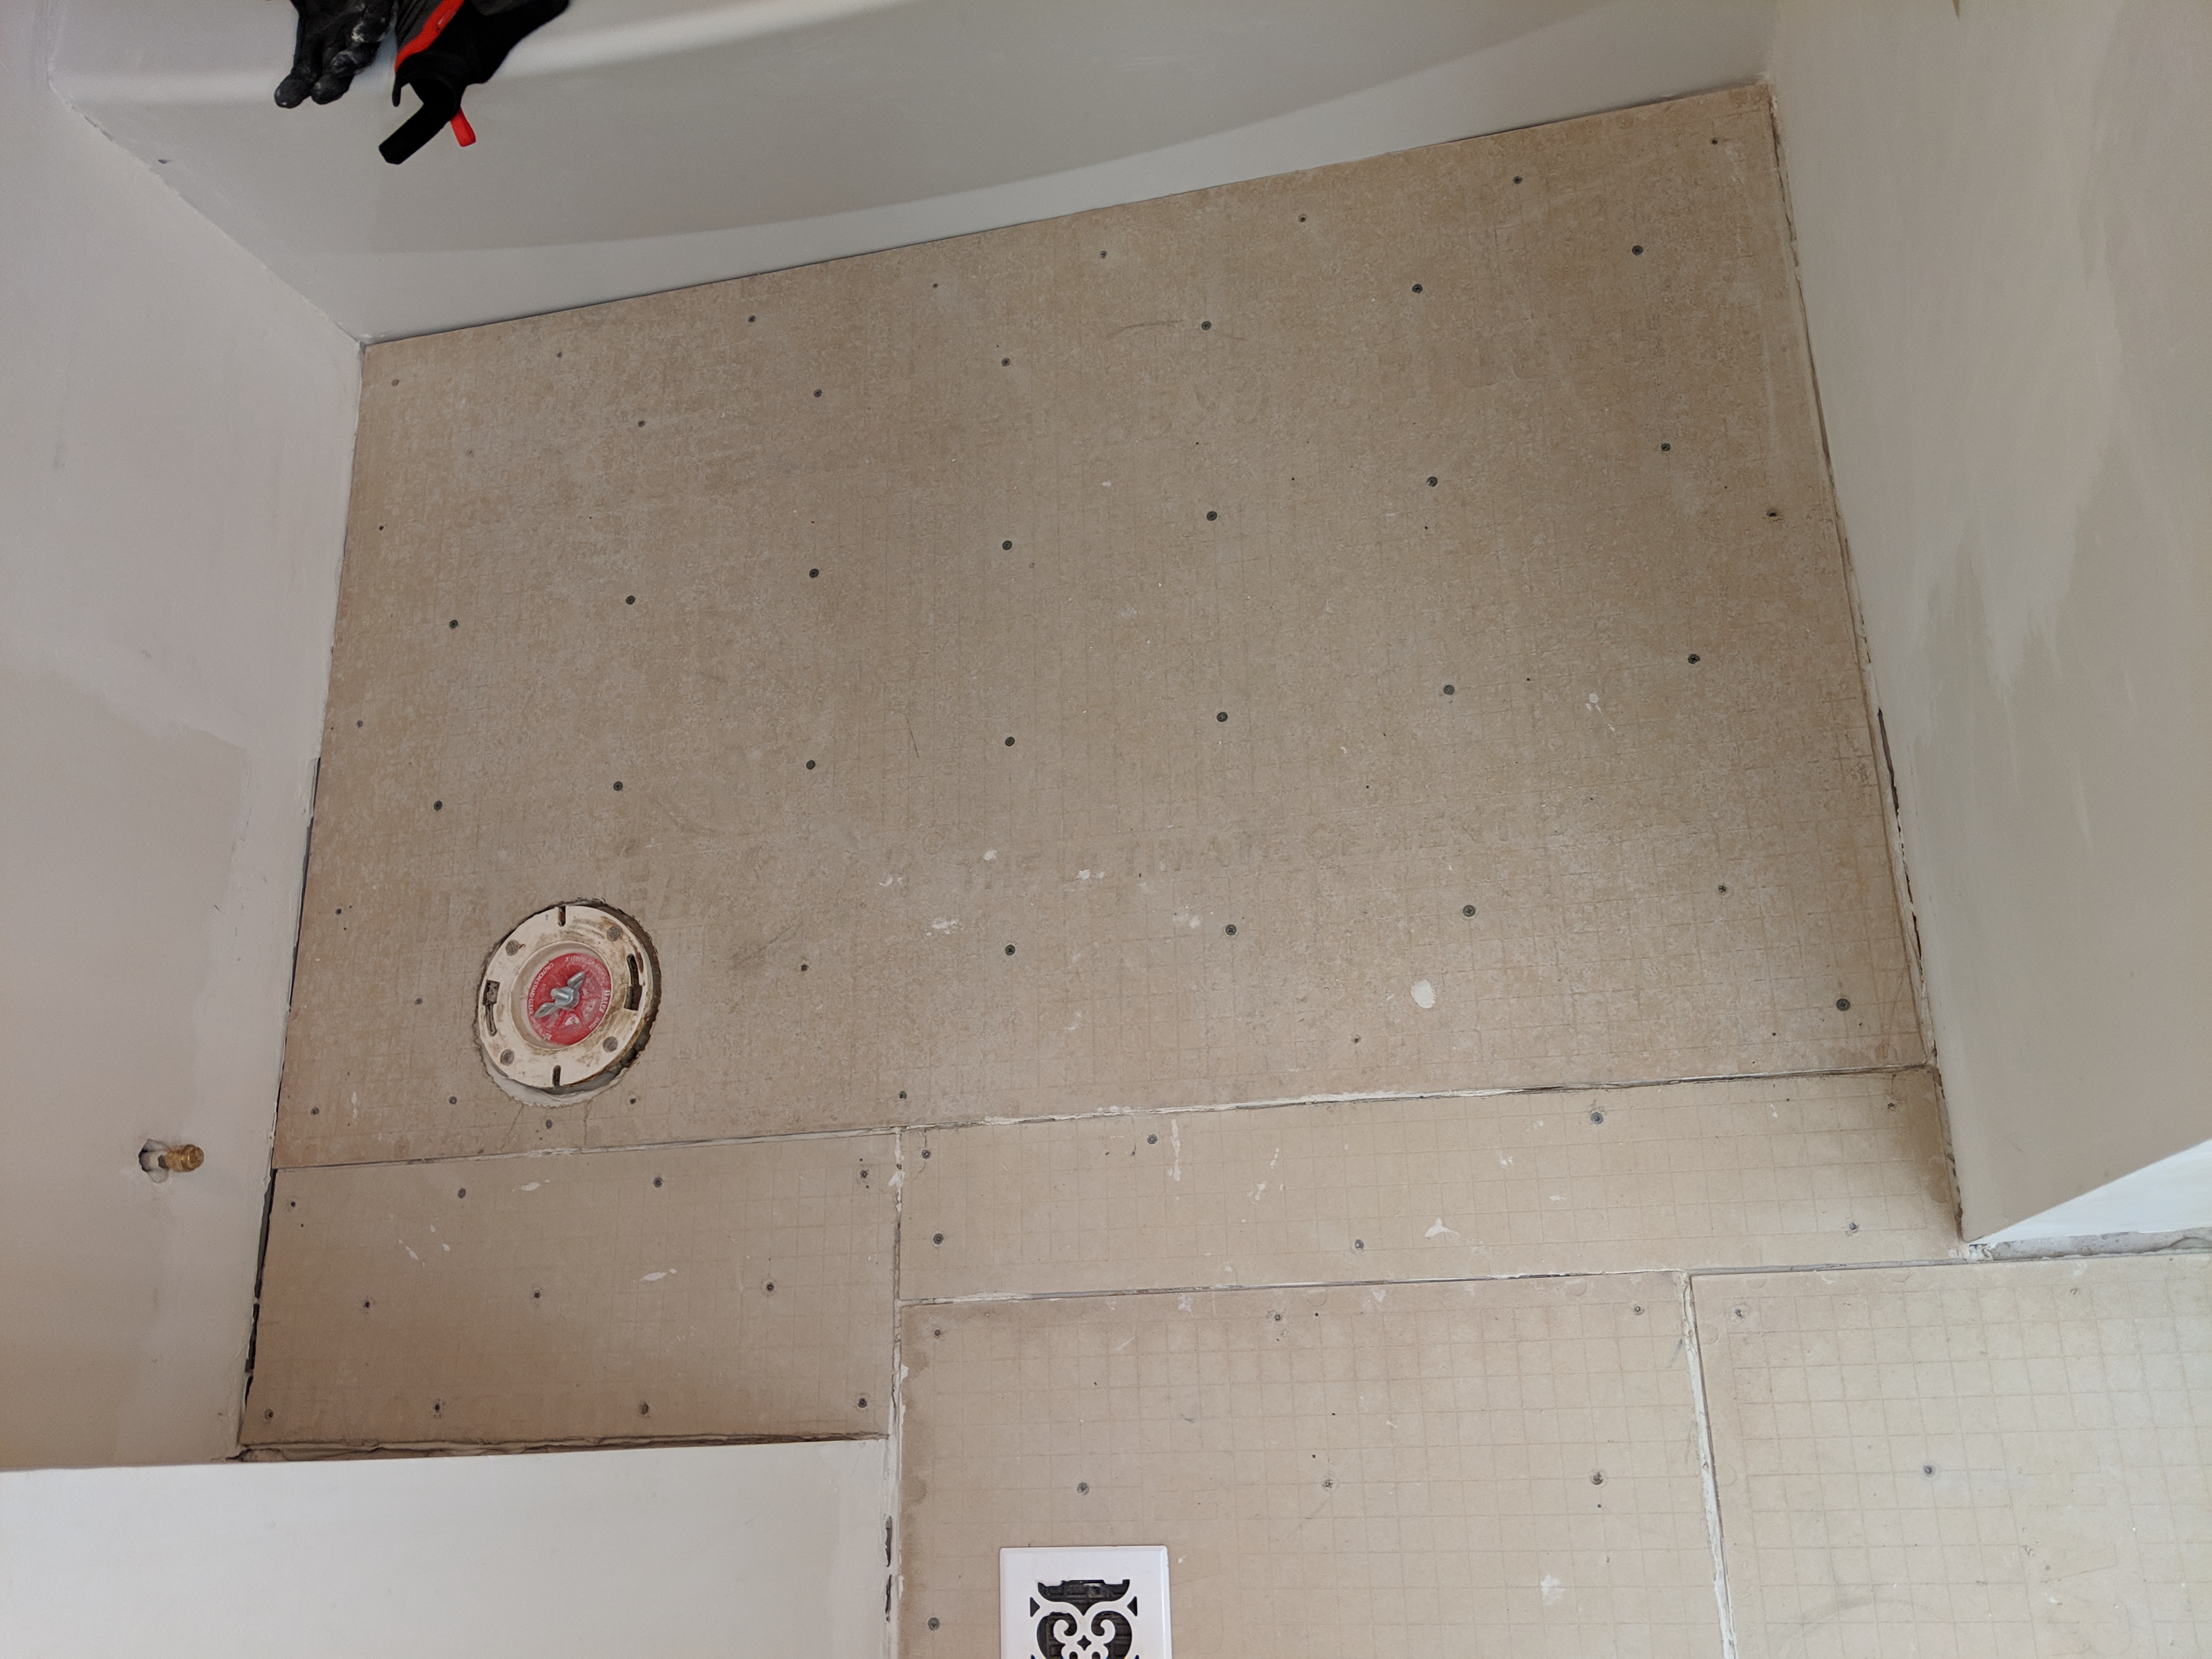
The only other interior cut I had to make was for the floor register. I used the same method here, but since it was much further in on the board, there was no drama. It cut out perfectly. Once that was done, I got all the boards test fit nicely. I mixed up some mortar and fairly quickly got the three boards by the tub and toilet down. I got 90% done with the vanity area and ran out of mortar! Mixed up some more, waited, then redid that section and the remaining board.
The next challenge was the screws. I had ordered some generic cement board screws along with the rest of my stuff from floor & decor. This was a huge mistake. These screws were absolutely terrible. The main issue is that they use a standard phillips bit. Driving screws through cement board requires a good bit of force. Phillips head screws just aren’t good at handling that torque. So you end up bouncing causing stripping, as well as twisting. After using a few of these screws, with most still standing proud, I remembered that I had some leftover screws that I had used for the Fiberock boards. I grabbed them and went to work driving them in with ease. Sadly I only had about 50 left, and easily needed 150 for the whole floor. So I wisely used the last few on some of the harder to reach areas before switching back to the screws of death. In the next hour I proceeded to destroy a number of screws, every #2 phillips bit I own, and my hands. By the time I was done I was exhausted, and not at all happy with my end results.
The next day, Ivan showed up to help out and we went to home depot and got a box of Backer-On screws and a few new gold #2 bits. The Backer-On screws are great. They are specifically made for Hardibacker boards, using a T25 bit, and have serrated edges on them to help sink them properly. In about 15 minutes I had almost all of the shitty screws removed and Backer-On screws in their place. They go in so smooth, and have no problem countersinking to proper depth. If you every attempt this, I cannot stress enough how awesome these are. Don’t fuck around with cheap shit, just get these.
That evening, Stephanie attempted to prime the walls, and started seeing just how bad those alcove walls were. After looking at it, I decided it needed a bit more sanding in the morning. The plan was for Ivan and I to take a dual attack. One of us would resand those walls, while the other started taping and mortaring the seams on the floor boards. Both of these failed to happen.
Trying to sand down the walls, we found the primer peeling away rather than sanding away. I chalked this up to it not being dry enough (It had only been about 12 hours at this point), so I decided to wait on that. Before starting on the seams, I had to make a decision on what I am doing with the threshold. I had been putting this off, because I knew it was going to be a challenge dealing with the new floor height transitioning to the carpet. We had talked about it the day before, and even looked at some options at home depot and a tile store, but hadn’t resolved anything. We thought up a bunch of different scenarios, but I still continued to scratch my head on how I was going to make this work. Since we already had plans for the afternoon, I decided to shelve the decision and call it for the day.
After thinking about things a bit more Saturday night, I made a decision to just go with it and figure out a way to make it work. So I went to home depot and bought a marble threshold and got to work. The first thing I tackled was sanding and cleaning the walls again. Once I got it to where I thought things were good enough, I put down a couple of coats of primer.
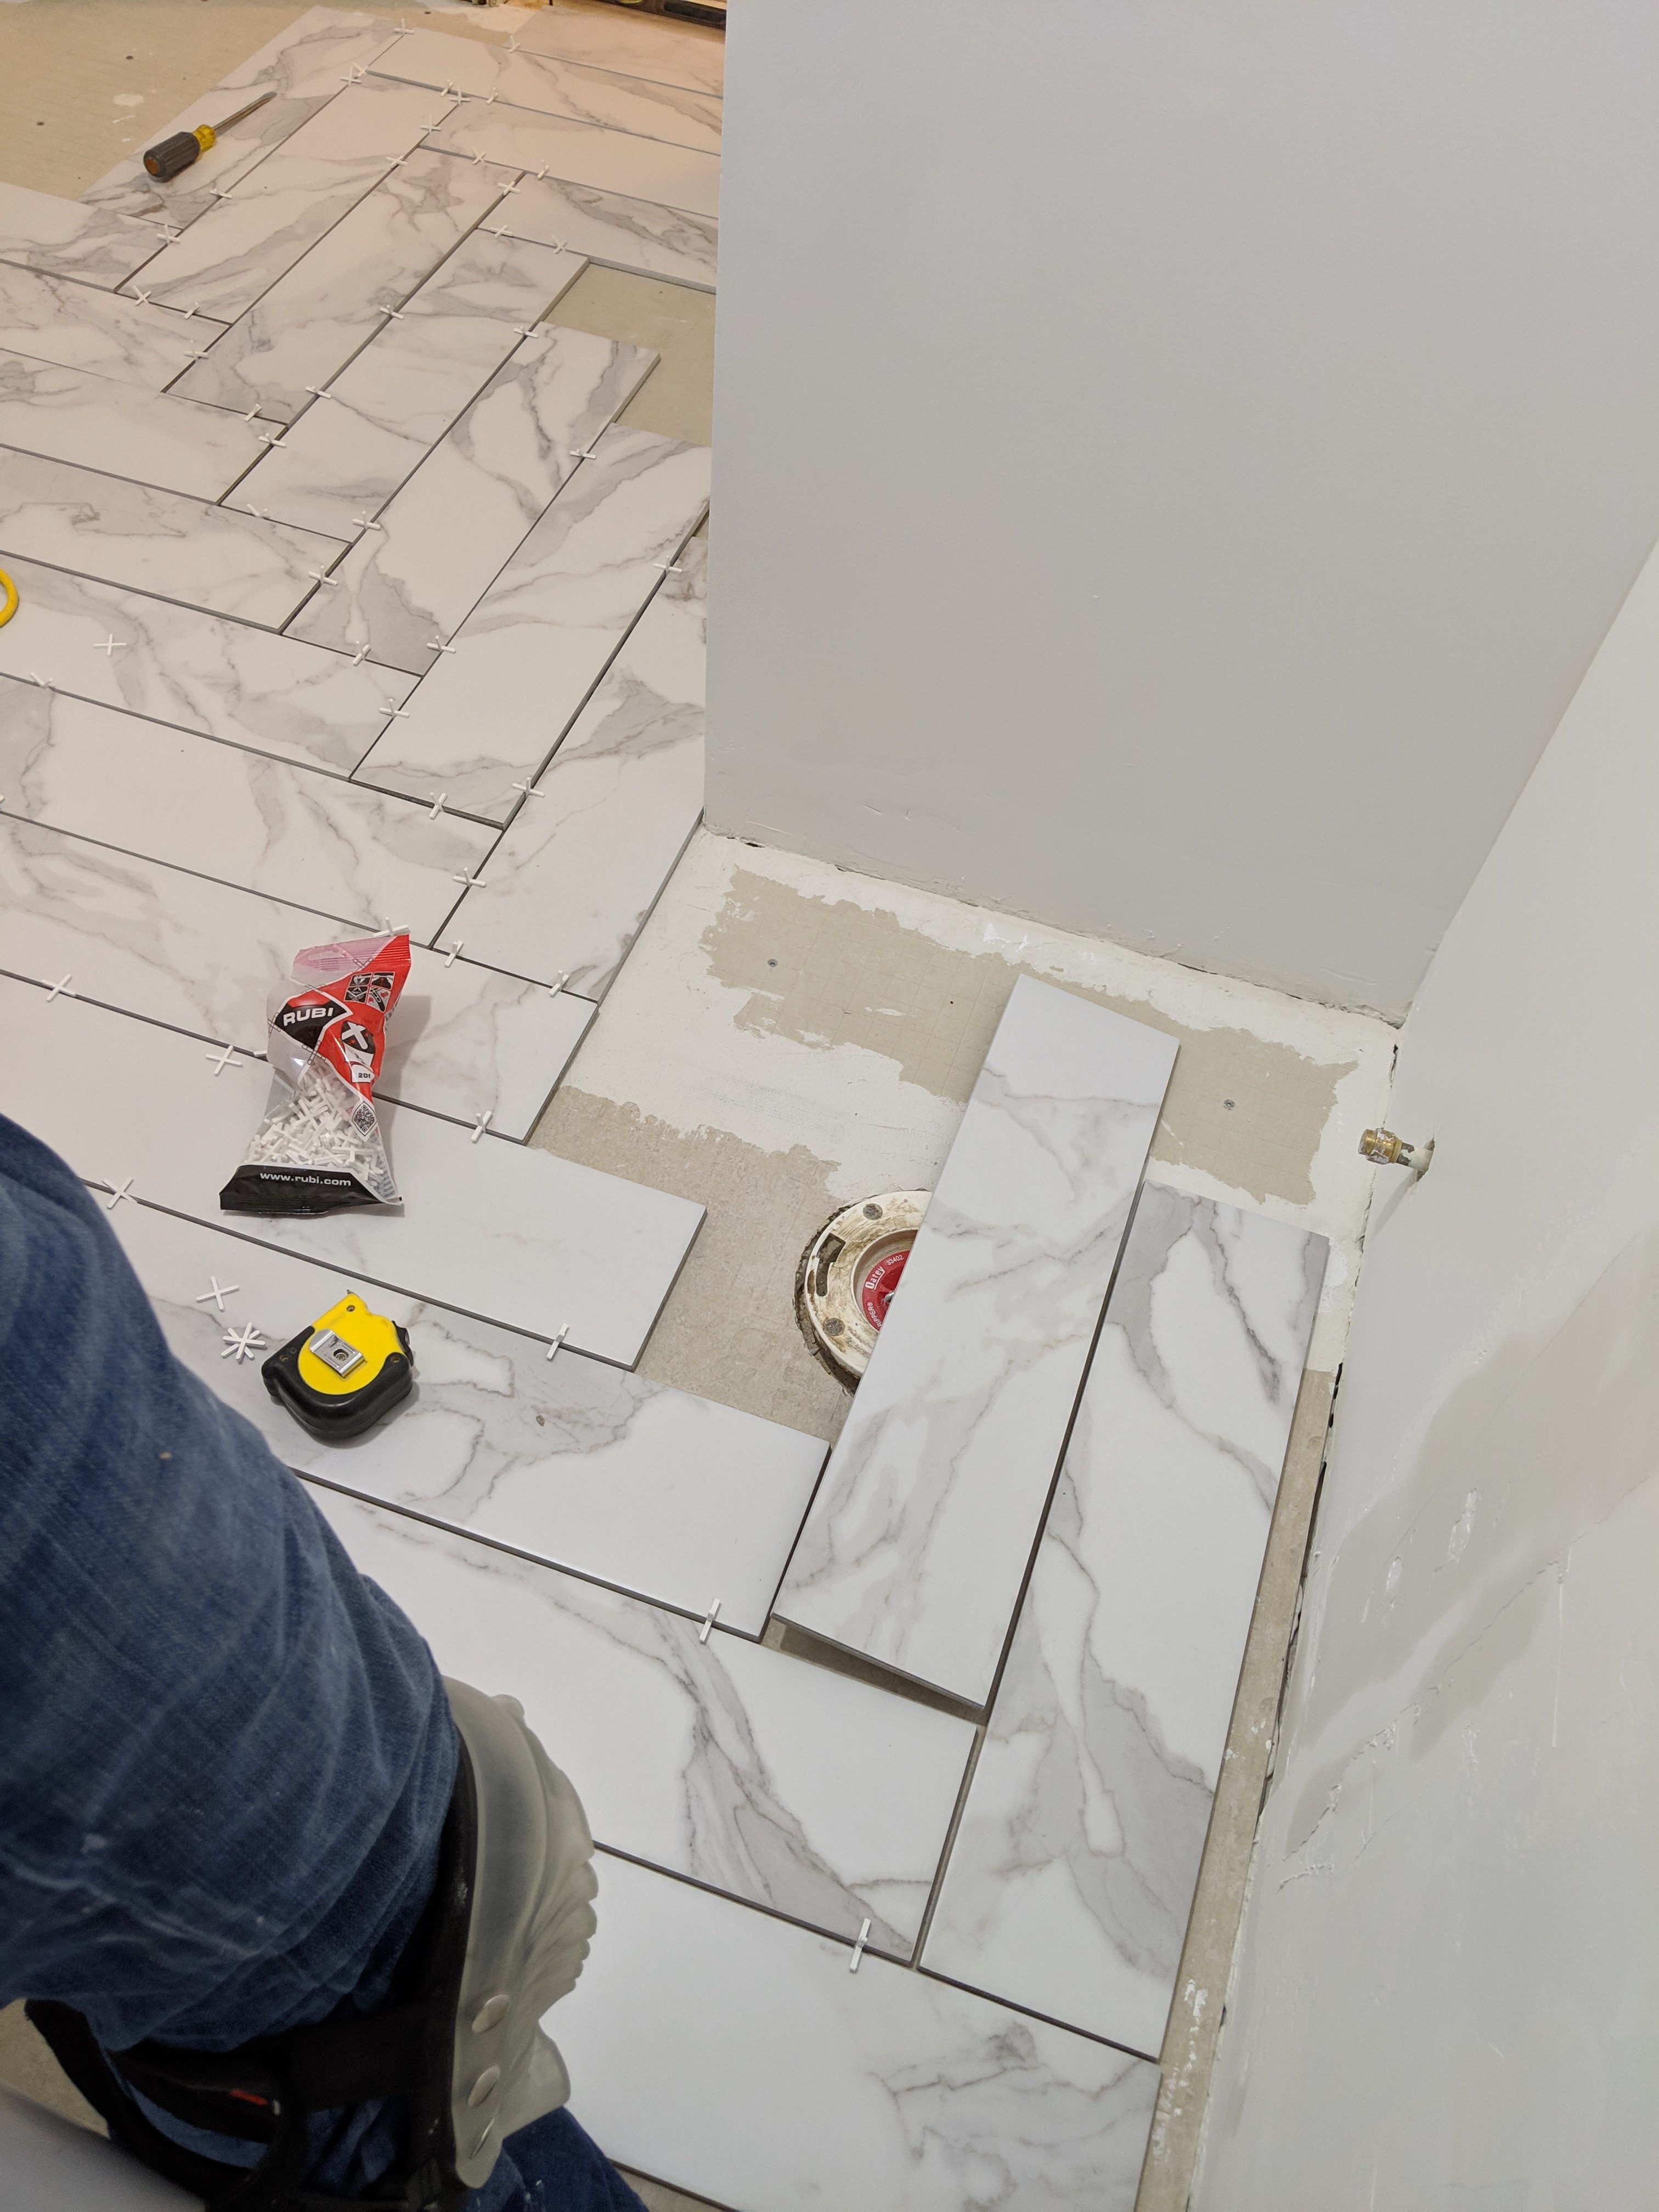
Because I didn’t know what I was going to do there, I left space in the doorway for the threshold when I put the backer boards down. I now had to fill part of this space as I’ll be tiling directly to the threshold, which will be sitting on the subfloor rather than backer. This meant I needed to cut about a 1 inch strip of Hardibacker. This is not fun.
The way you normally cut this stuff (and most boards) is score and snap. As I’m sure you can imagine getting a 1 x 25″ cut to snap cleanly is not an easy task. There’s just not enough material on the cut side to snap all the way across, so it just breaks off in pieces. I ended up just taking it outside and cutting it with the circular saw. Once I had the cut, I mixed up some mortar and got it in place and filled and taped all the seams with mesh tape.
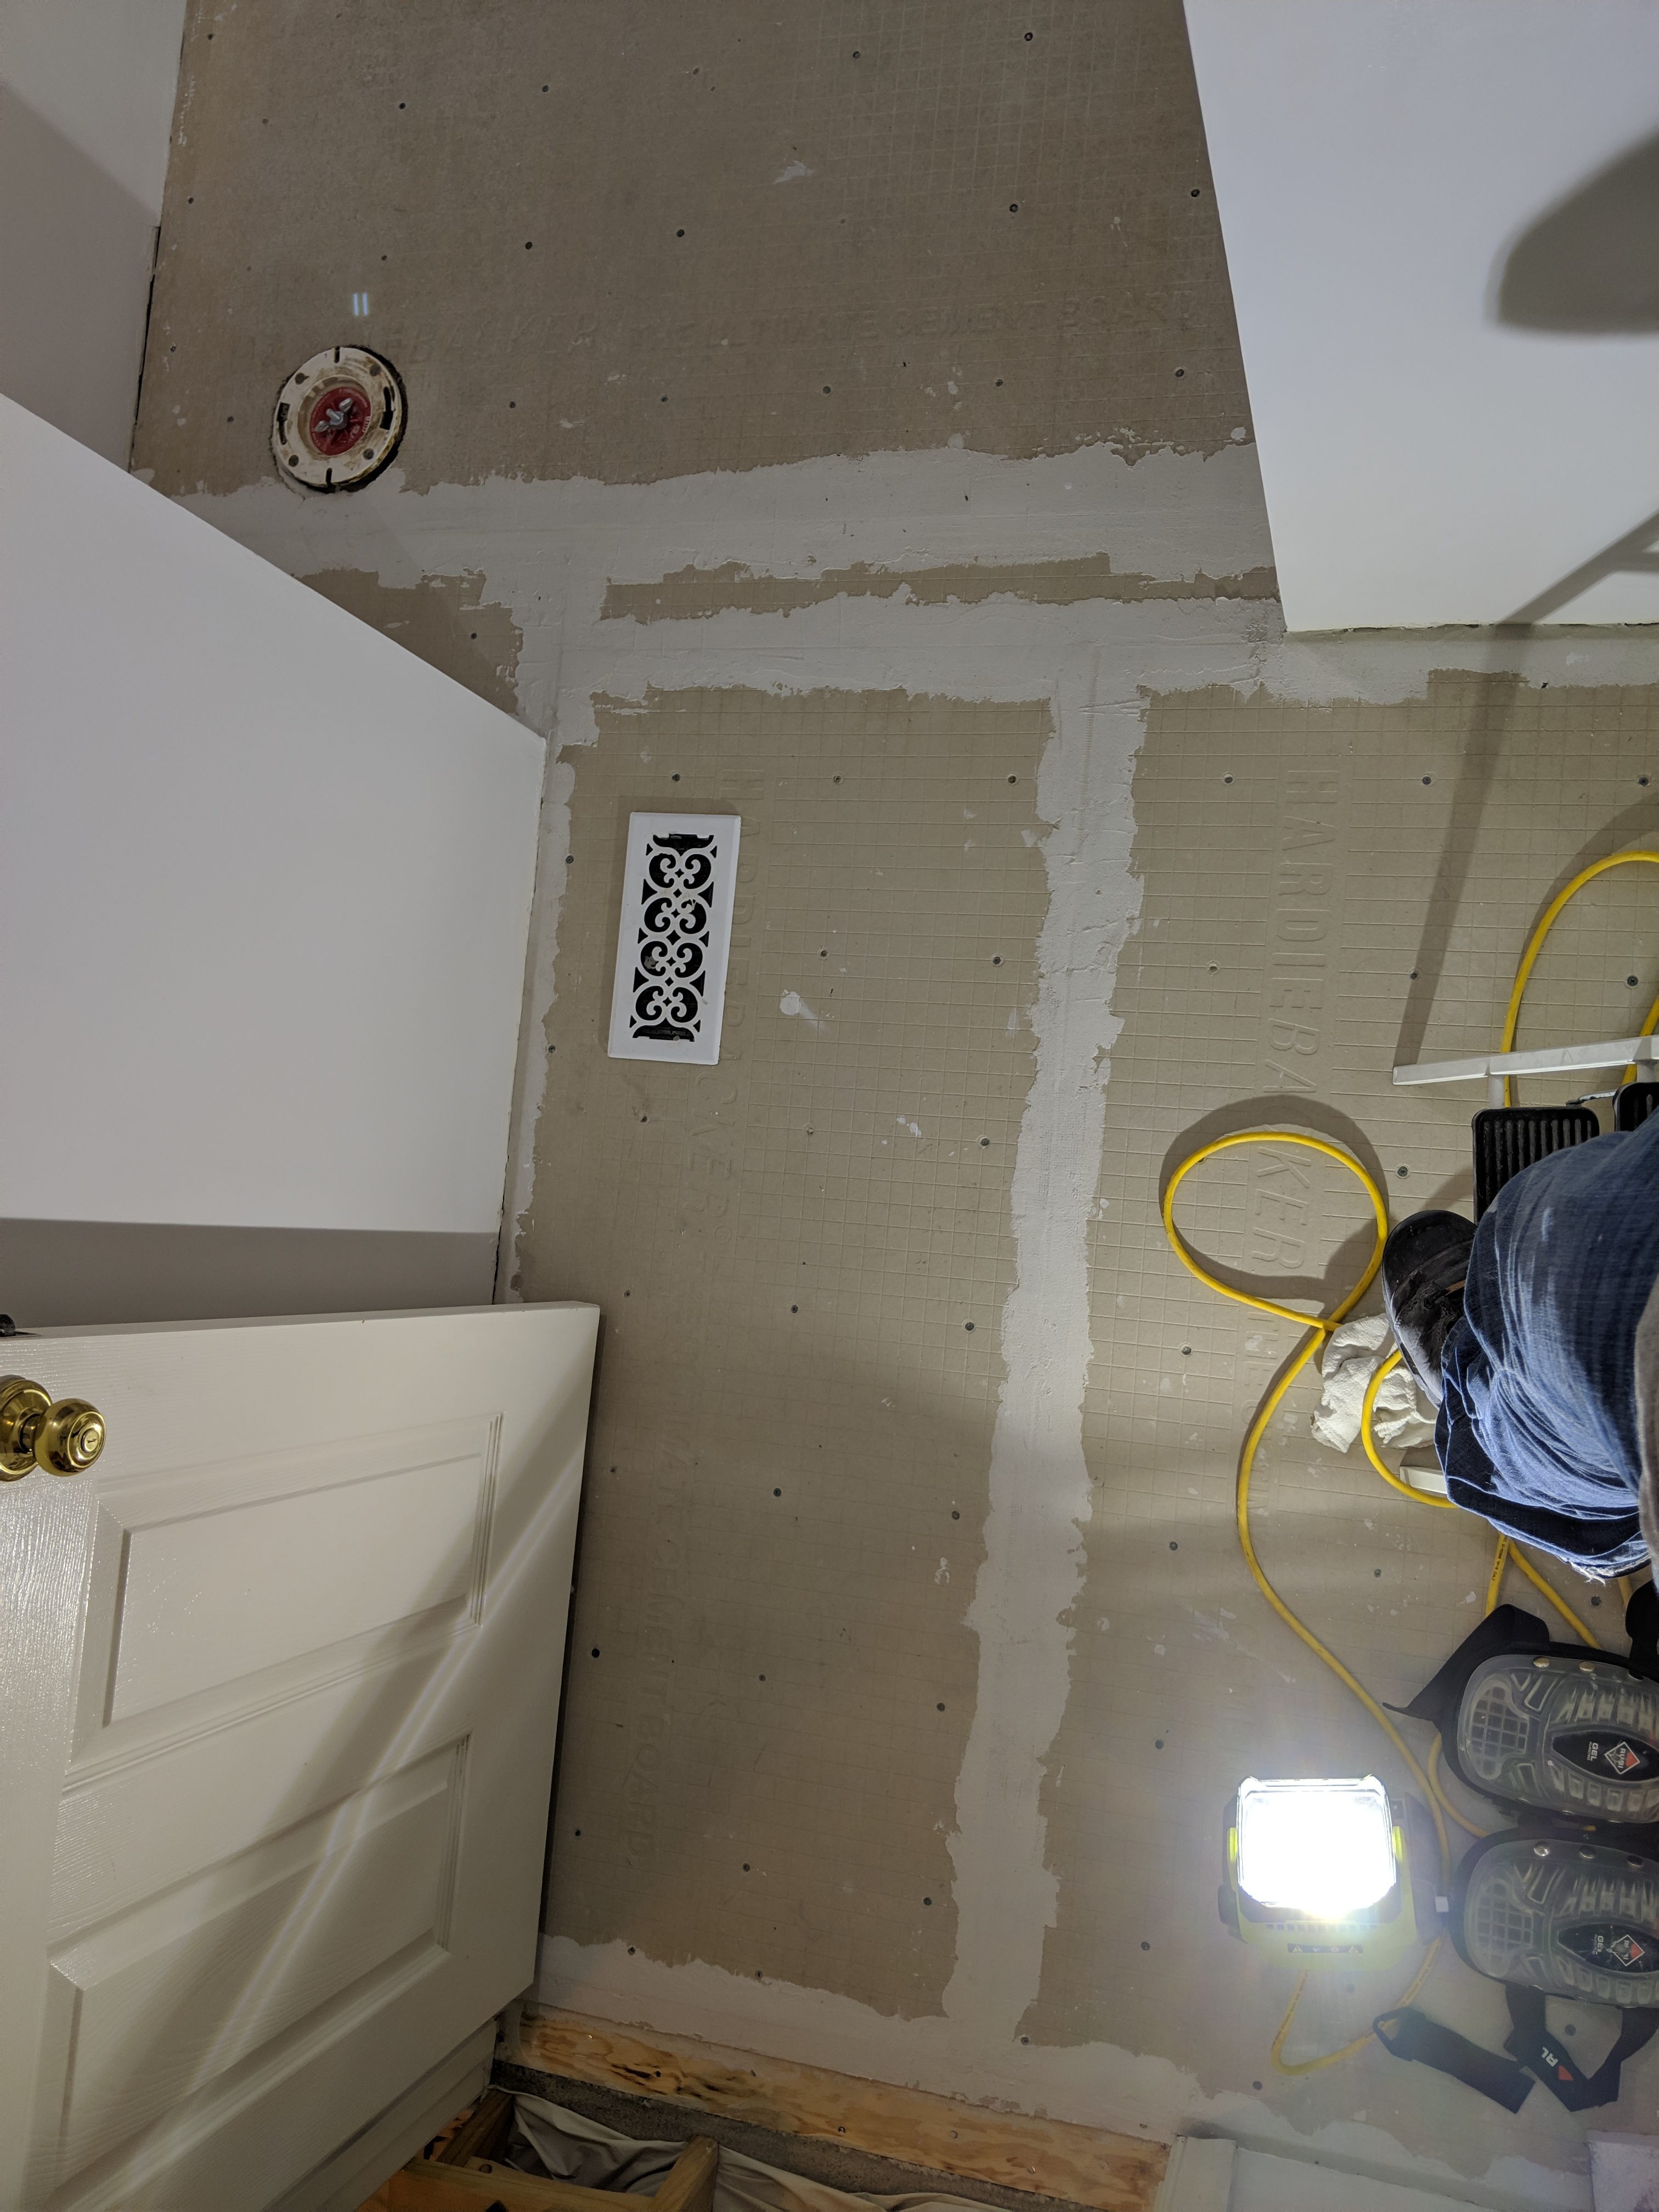
Overall, the floor is in pretty good shape. There are a couple of areas that will need some extra mortar loving when tiling to get them fully level, but otherwise it’s all good and ready for tile.
On Monday, we took a look at the walls again, and they were still a mess. Much more than I thought when priming. So after work I started another round of joint compound. The real problem areas are the spots where I built the walls using foam board remnants. The combination of having a lot of seams and not completely even studs made for some wavy wall sections. The transition from the foam to Fiberock was also troublesome. If I were to do it again, I would have ripped this stuff out and redone it with the Fiberock. I also would have made sure that I got the seams evened out more. Both by countersinking screws further and by planing the troublesome stud(s). The buildup of compound needed around these areas has made it really difficult to achieve a smooth finish. I’m now three (more) coats deep on compounding them. Hopefully, after sanding they’ll be good enough for me to live with.
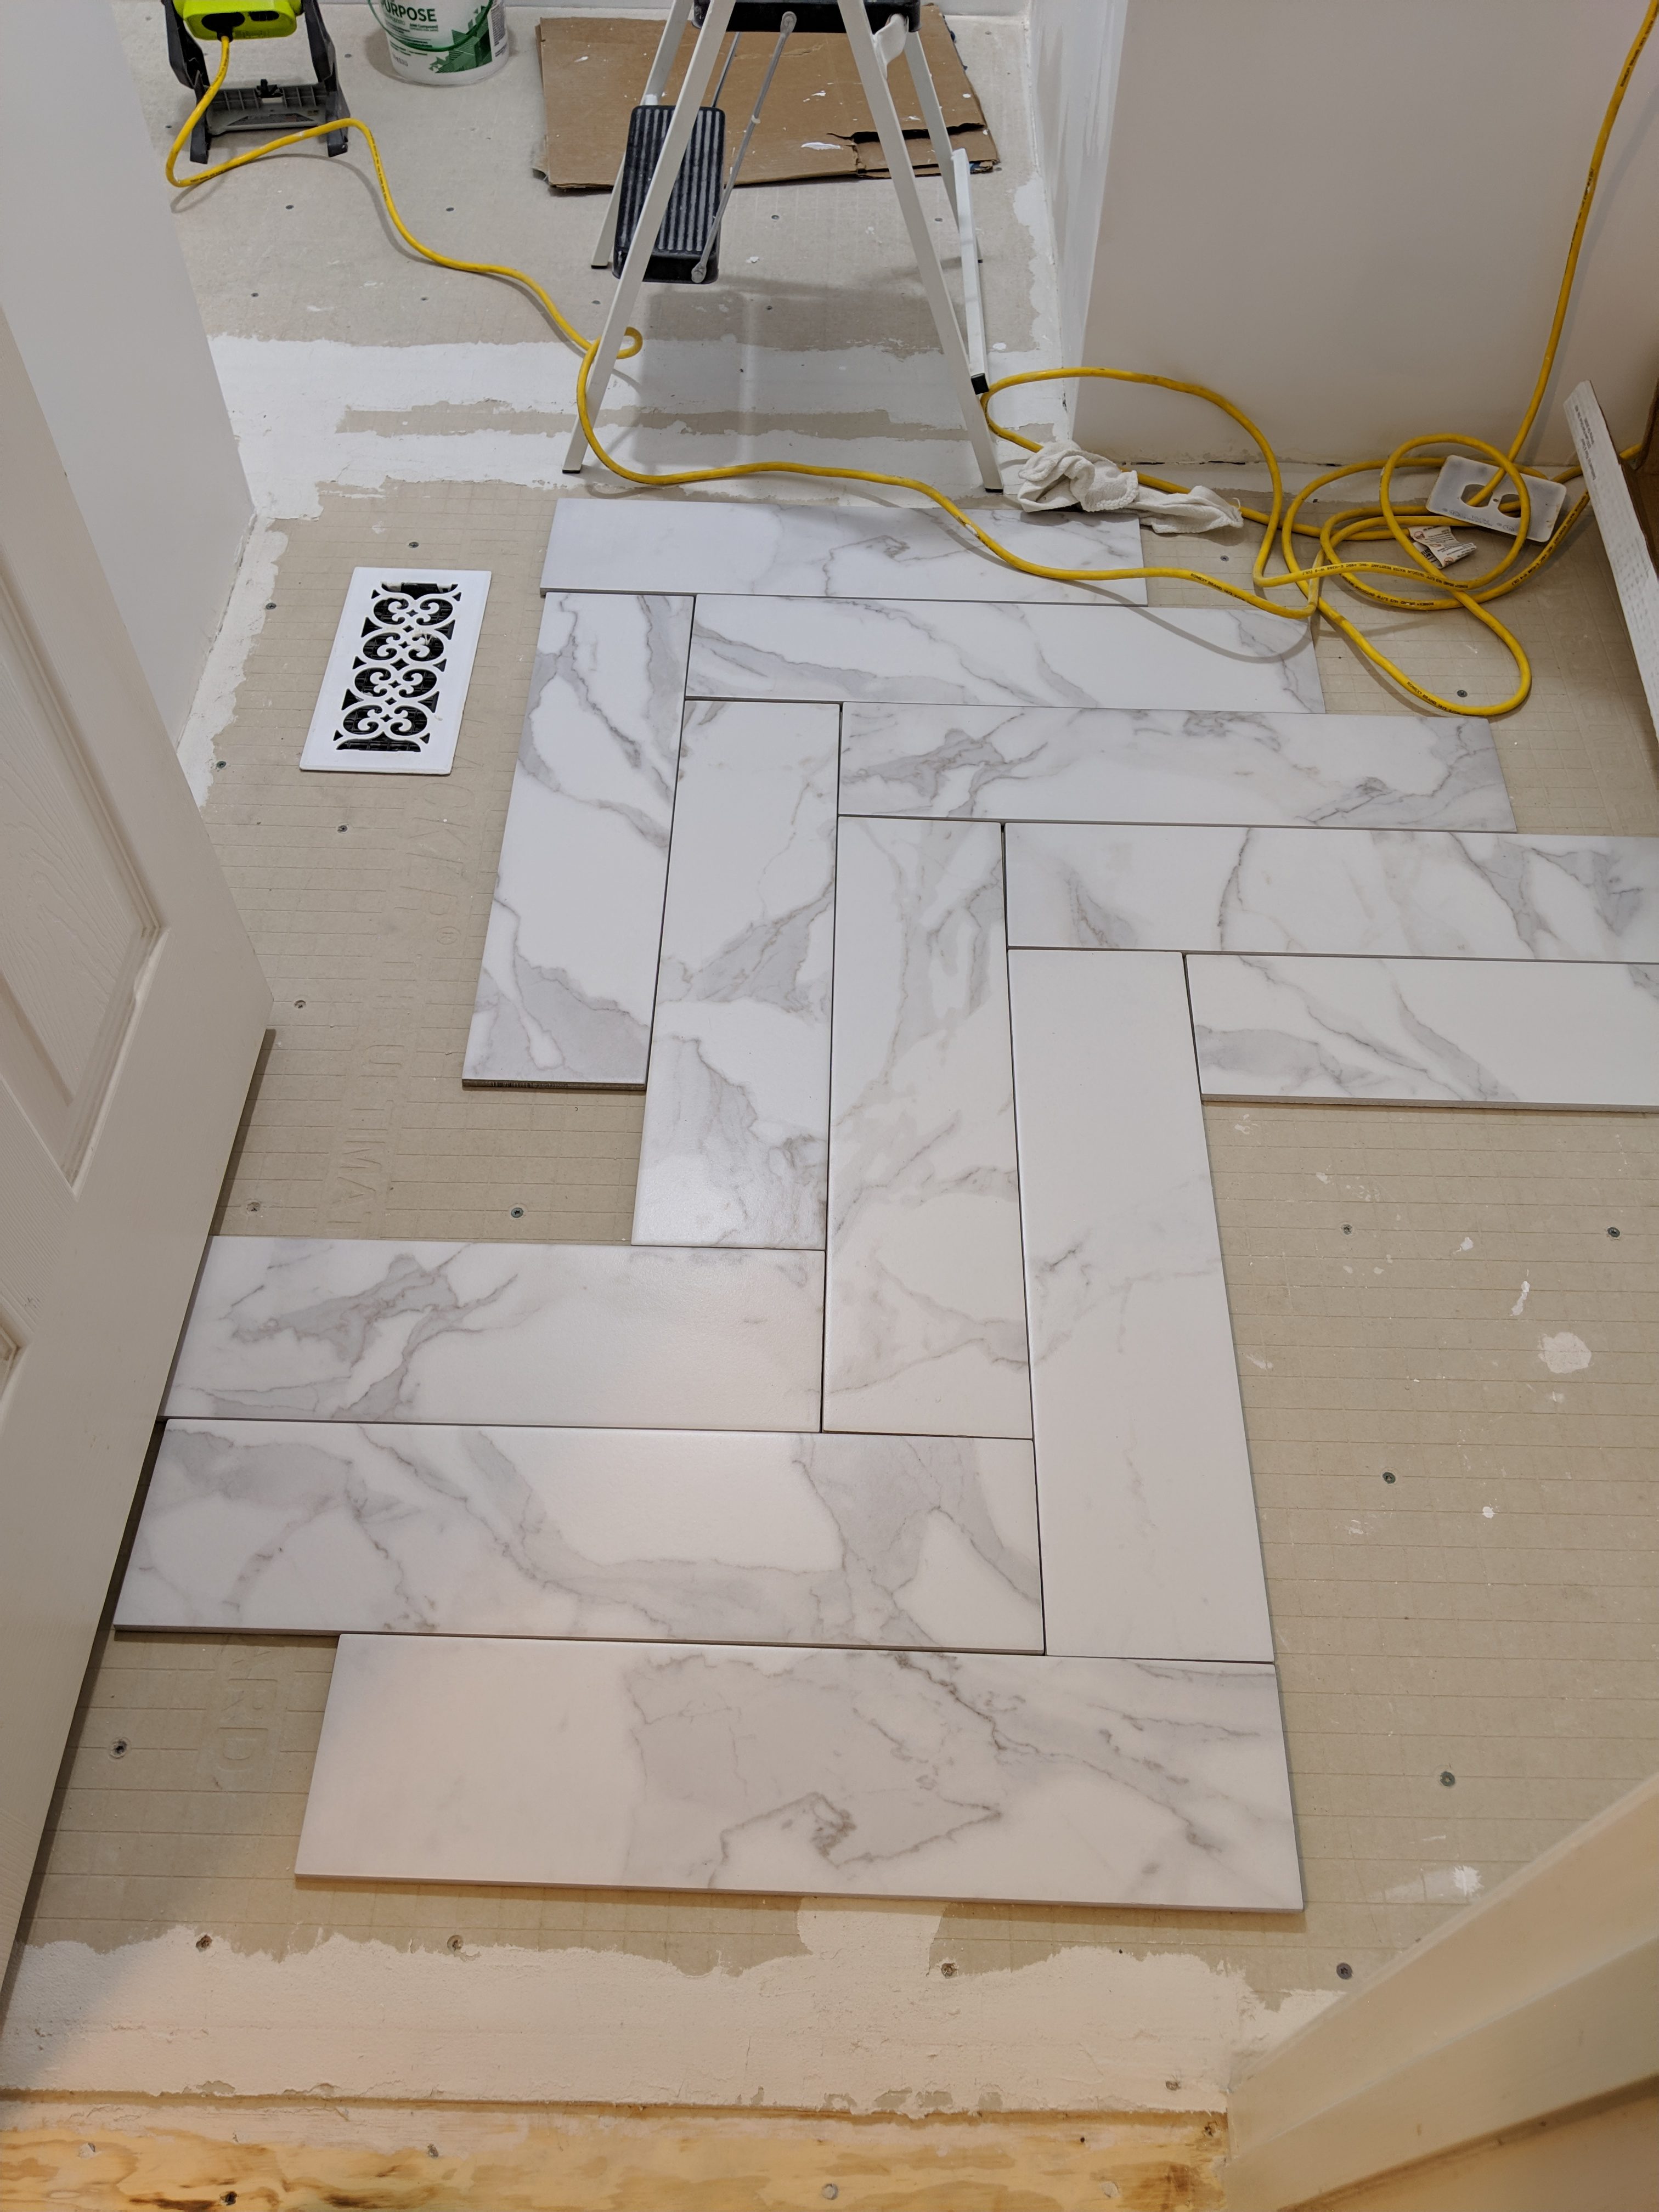
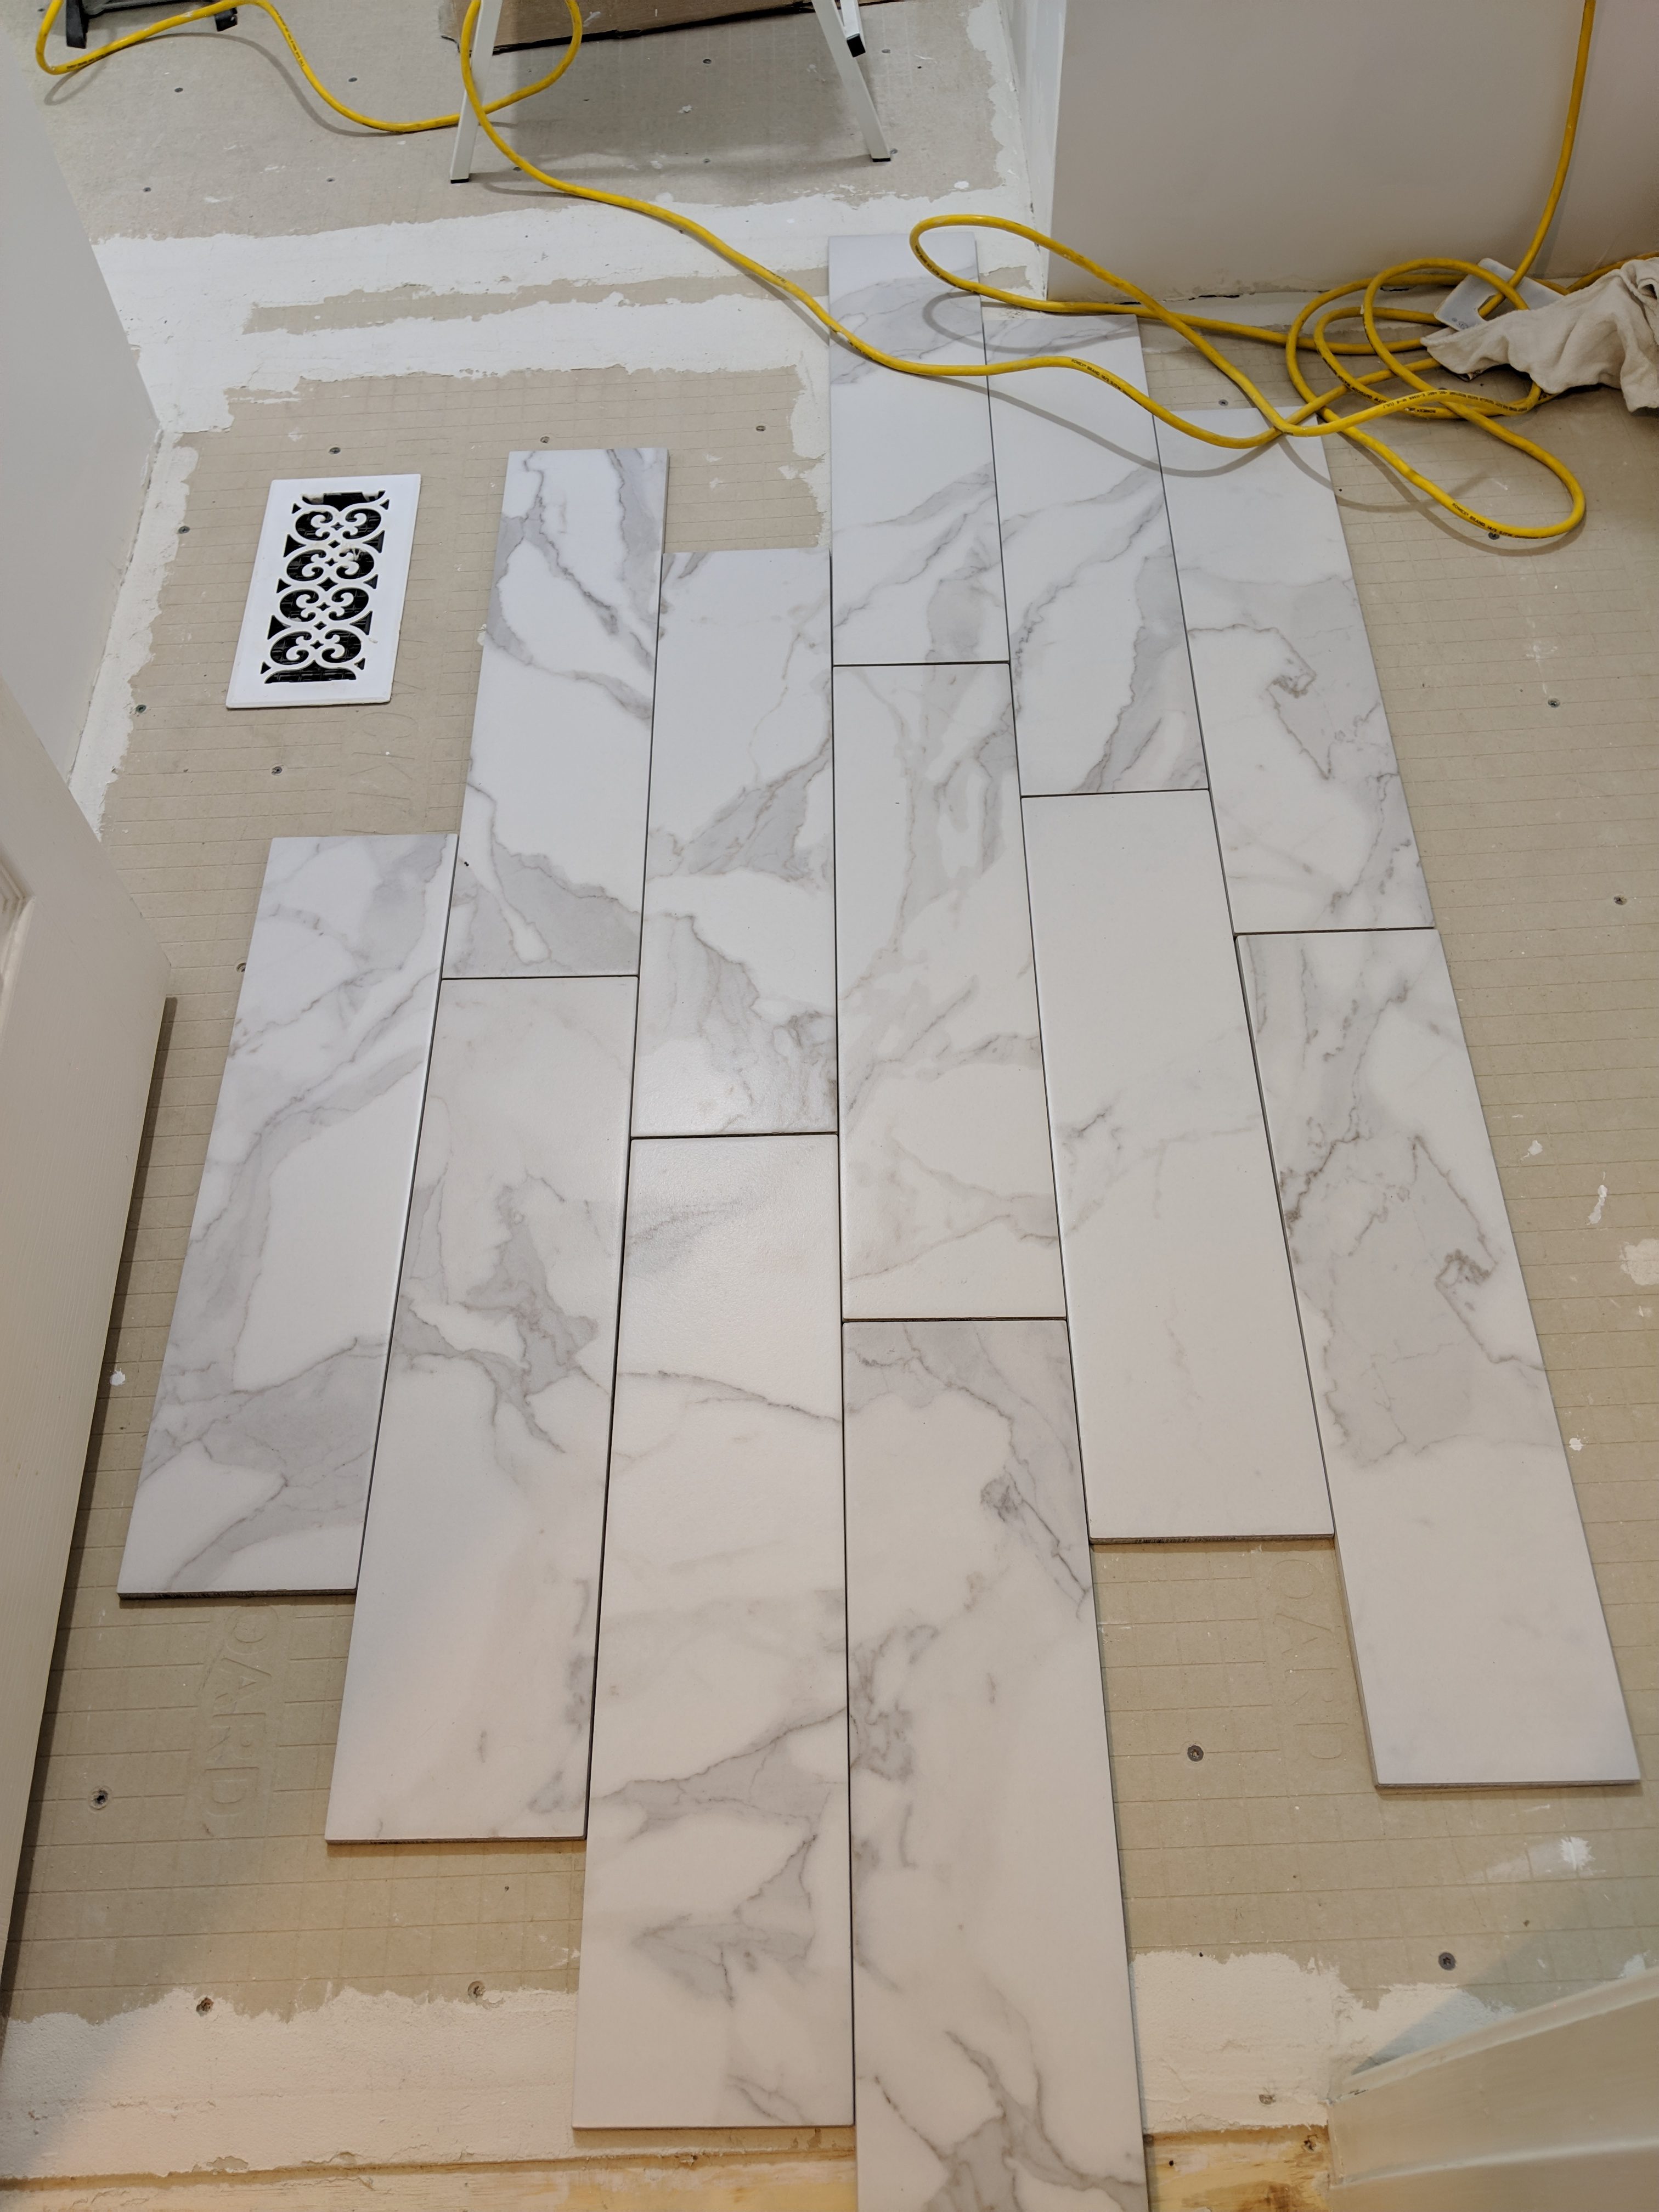
In between compounding coats, I’ve been working on tile layout dry fittings for the floor. I really wanted to make a herringbone pattern work, since I replaced the mosaic herringbone tile, but I just couldn’t make it work out cleanly in this space.
This room has somewhat odd dimensions with two spaces divided by walls that are offset in both directions. Trying to account for all of these different measurements makes fitting these large tiles quite challenging. I had such high hopes for this test, but in the end, I kept getting to walls where I’d end up with an inch and a half or less which just isn’t doable when you factor in spacers and not entirely square walls/floors.
I next tried a vertical 1/4 running bond pattern. For some reason, I quickly bailed on this thinking I couldn’t make it work. And switched to a horizontal layout.
This was one of many attempts to make it work (and the closest), but I didn’t like the numbers, and knew this would drive my OCD crazy. I also tried a random running bond, which is what a lot of people do for this size tile, mostly because it’s a common wood look size for tile. I could make it work, but again, I didn’t like the way it was looking. I attempted a more controlled random layout too, but it just wasn’t working out due to the dimensions I have to work around. After a lot more head scratching last night, I decided to try flipping back to a vertical layout.
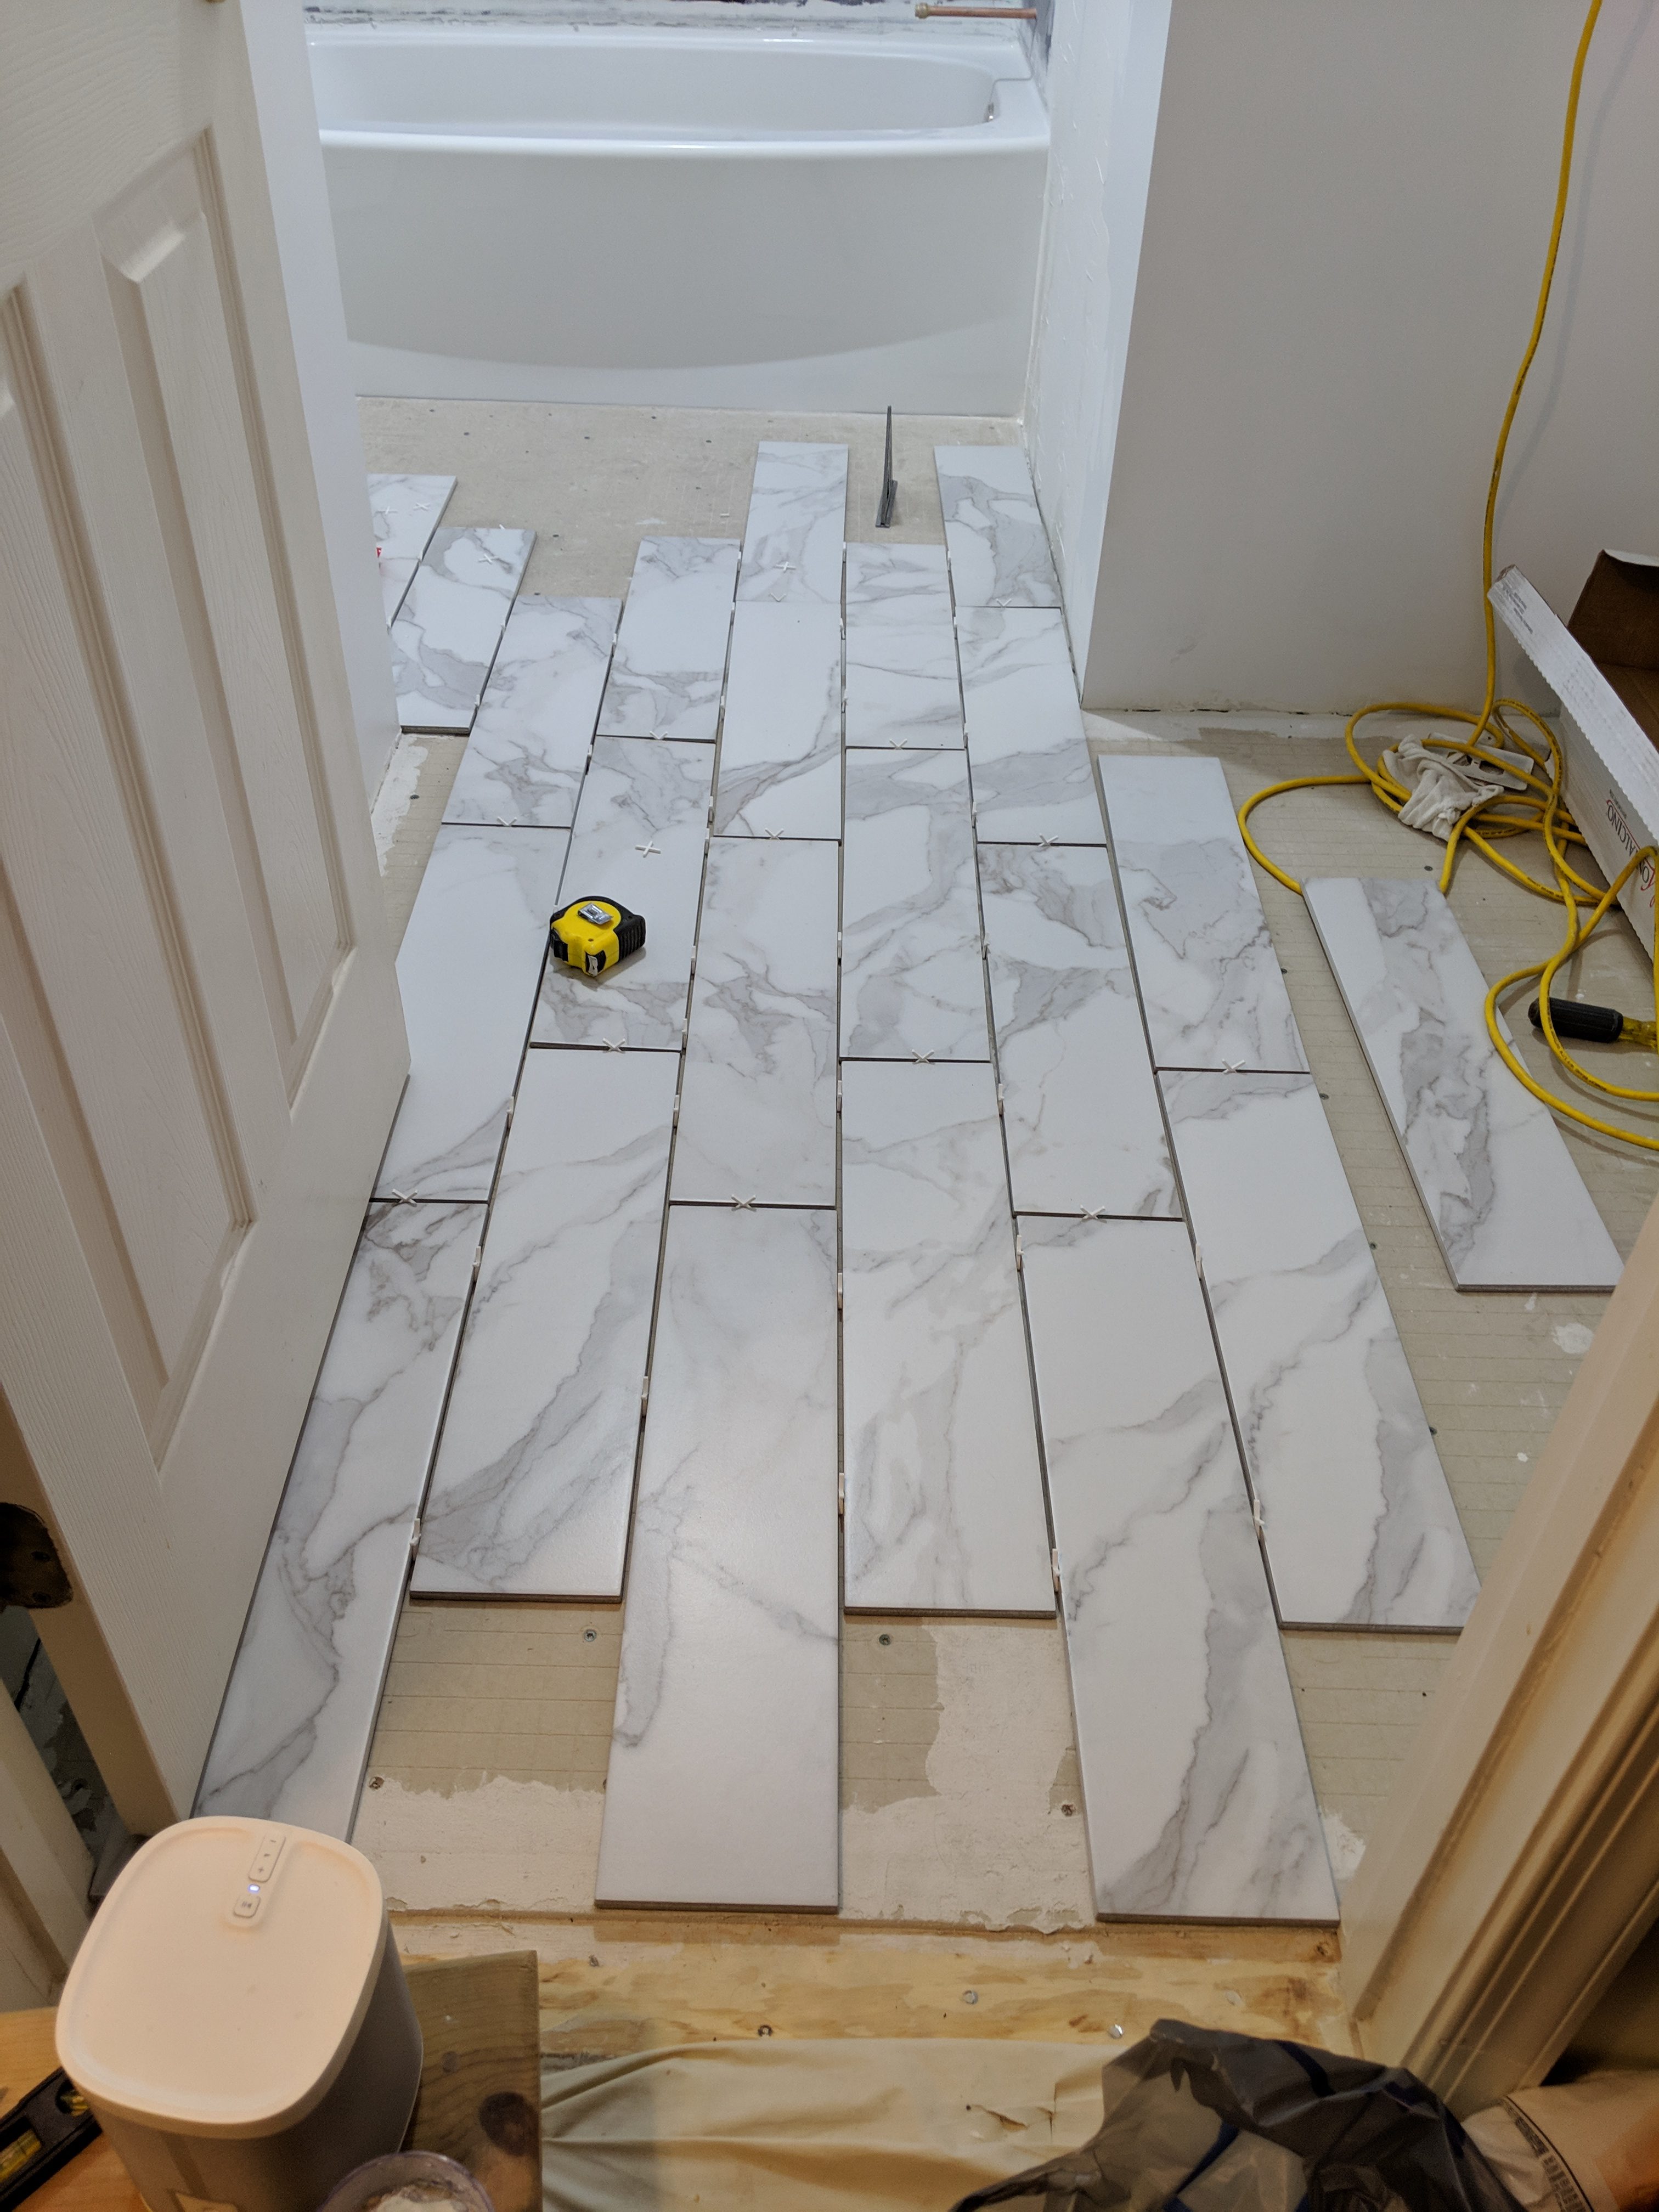
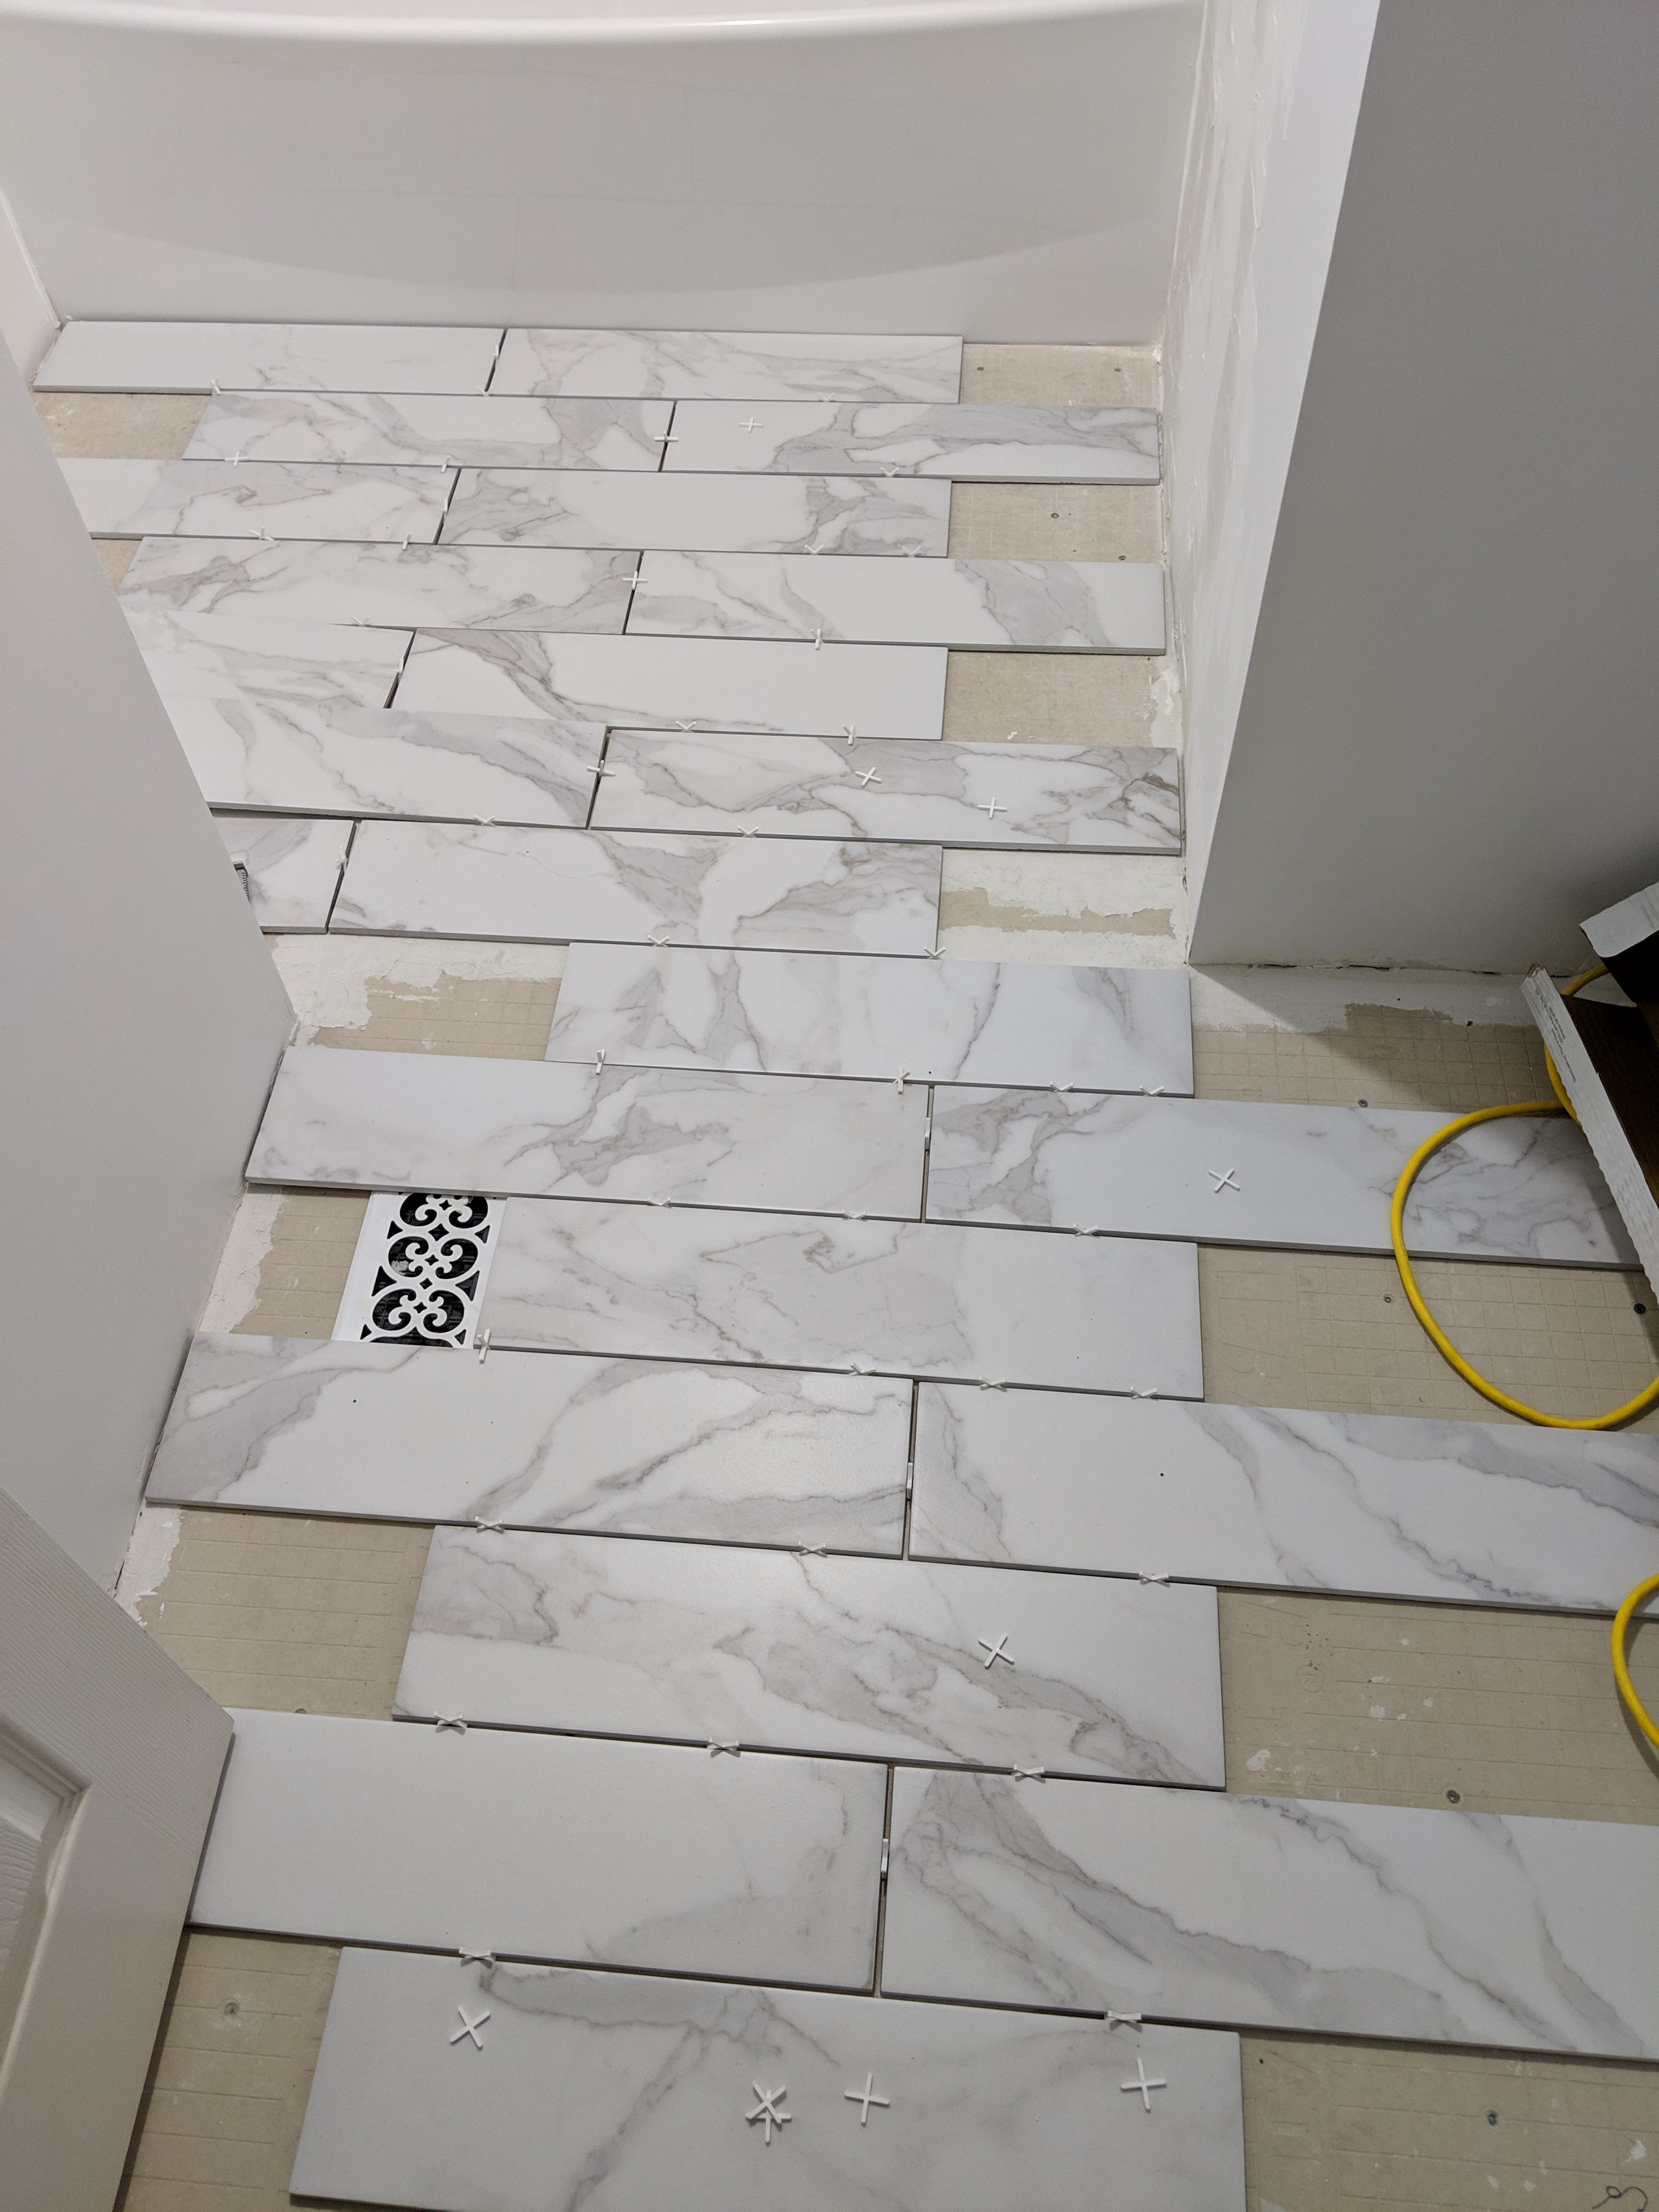
This time, rather than starting from the door and trying to make things fit, I started from the center of the room between the offset walls. From there I centered a tile and made a row from there then worked horizontally making adjustments to get flush to the wall on the right. It magically aligned to be a perfect fit in the doorway, which is real nice since space is slightly further than the rest of the wall, so I don’t have to cut around it.
In this layout, I’ll end up with about a 3″ row of tile on the wall behind the door, until it gets to the edge where it perfectly lines up with the next full tile, so the line remains. On the vanity wall it will be a 4″-5″ row the whole way. I don’t remember the number on the toilet wall, but IIRC it was also around 3″. On the tub side, they’ll be around 7″ or 15″ which should be fine. I may tweak the final layout to a full 1/3 running bond, but I’ll have to run the numbers to see where tiles would end in that scenario, because I wouldn’t want to end up with shorter or longer cuts.
We’re still trying to finalize the paint choice today. But I’ll save that for the next episode. This evening will be sanding and hopefully repriming those walls and doing the ceiling paint.

You must be logged in to post a comment.