It’s been a busy few days since the last update. I continued working on cleaning up those walls outside of the alcove through Thursday morning. I kept building up anywhere that there were low spots and trying to feather out the high spots. Unfortunately,my last coat of joint compound must have gotten too much air when mixing, because it developed a lot of bubbles as it was setting. Some of them really bad. So I knew that I was going to have to touch these up after sanding, as they leave pits behind.
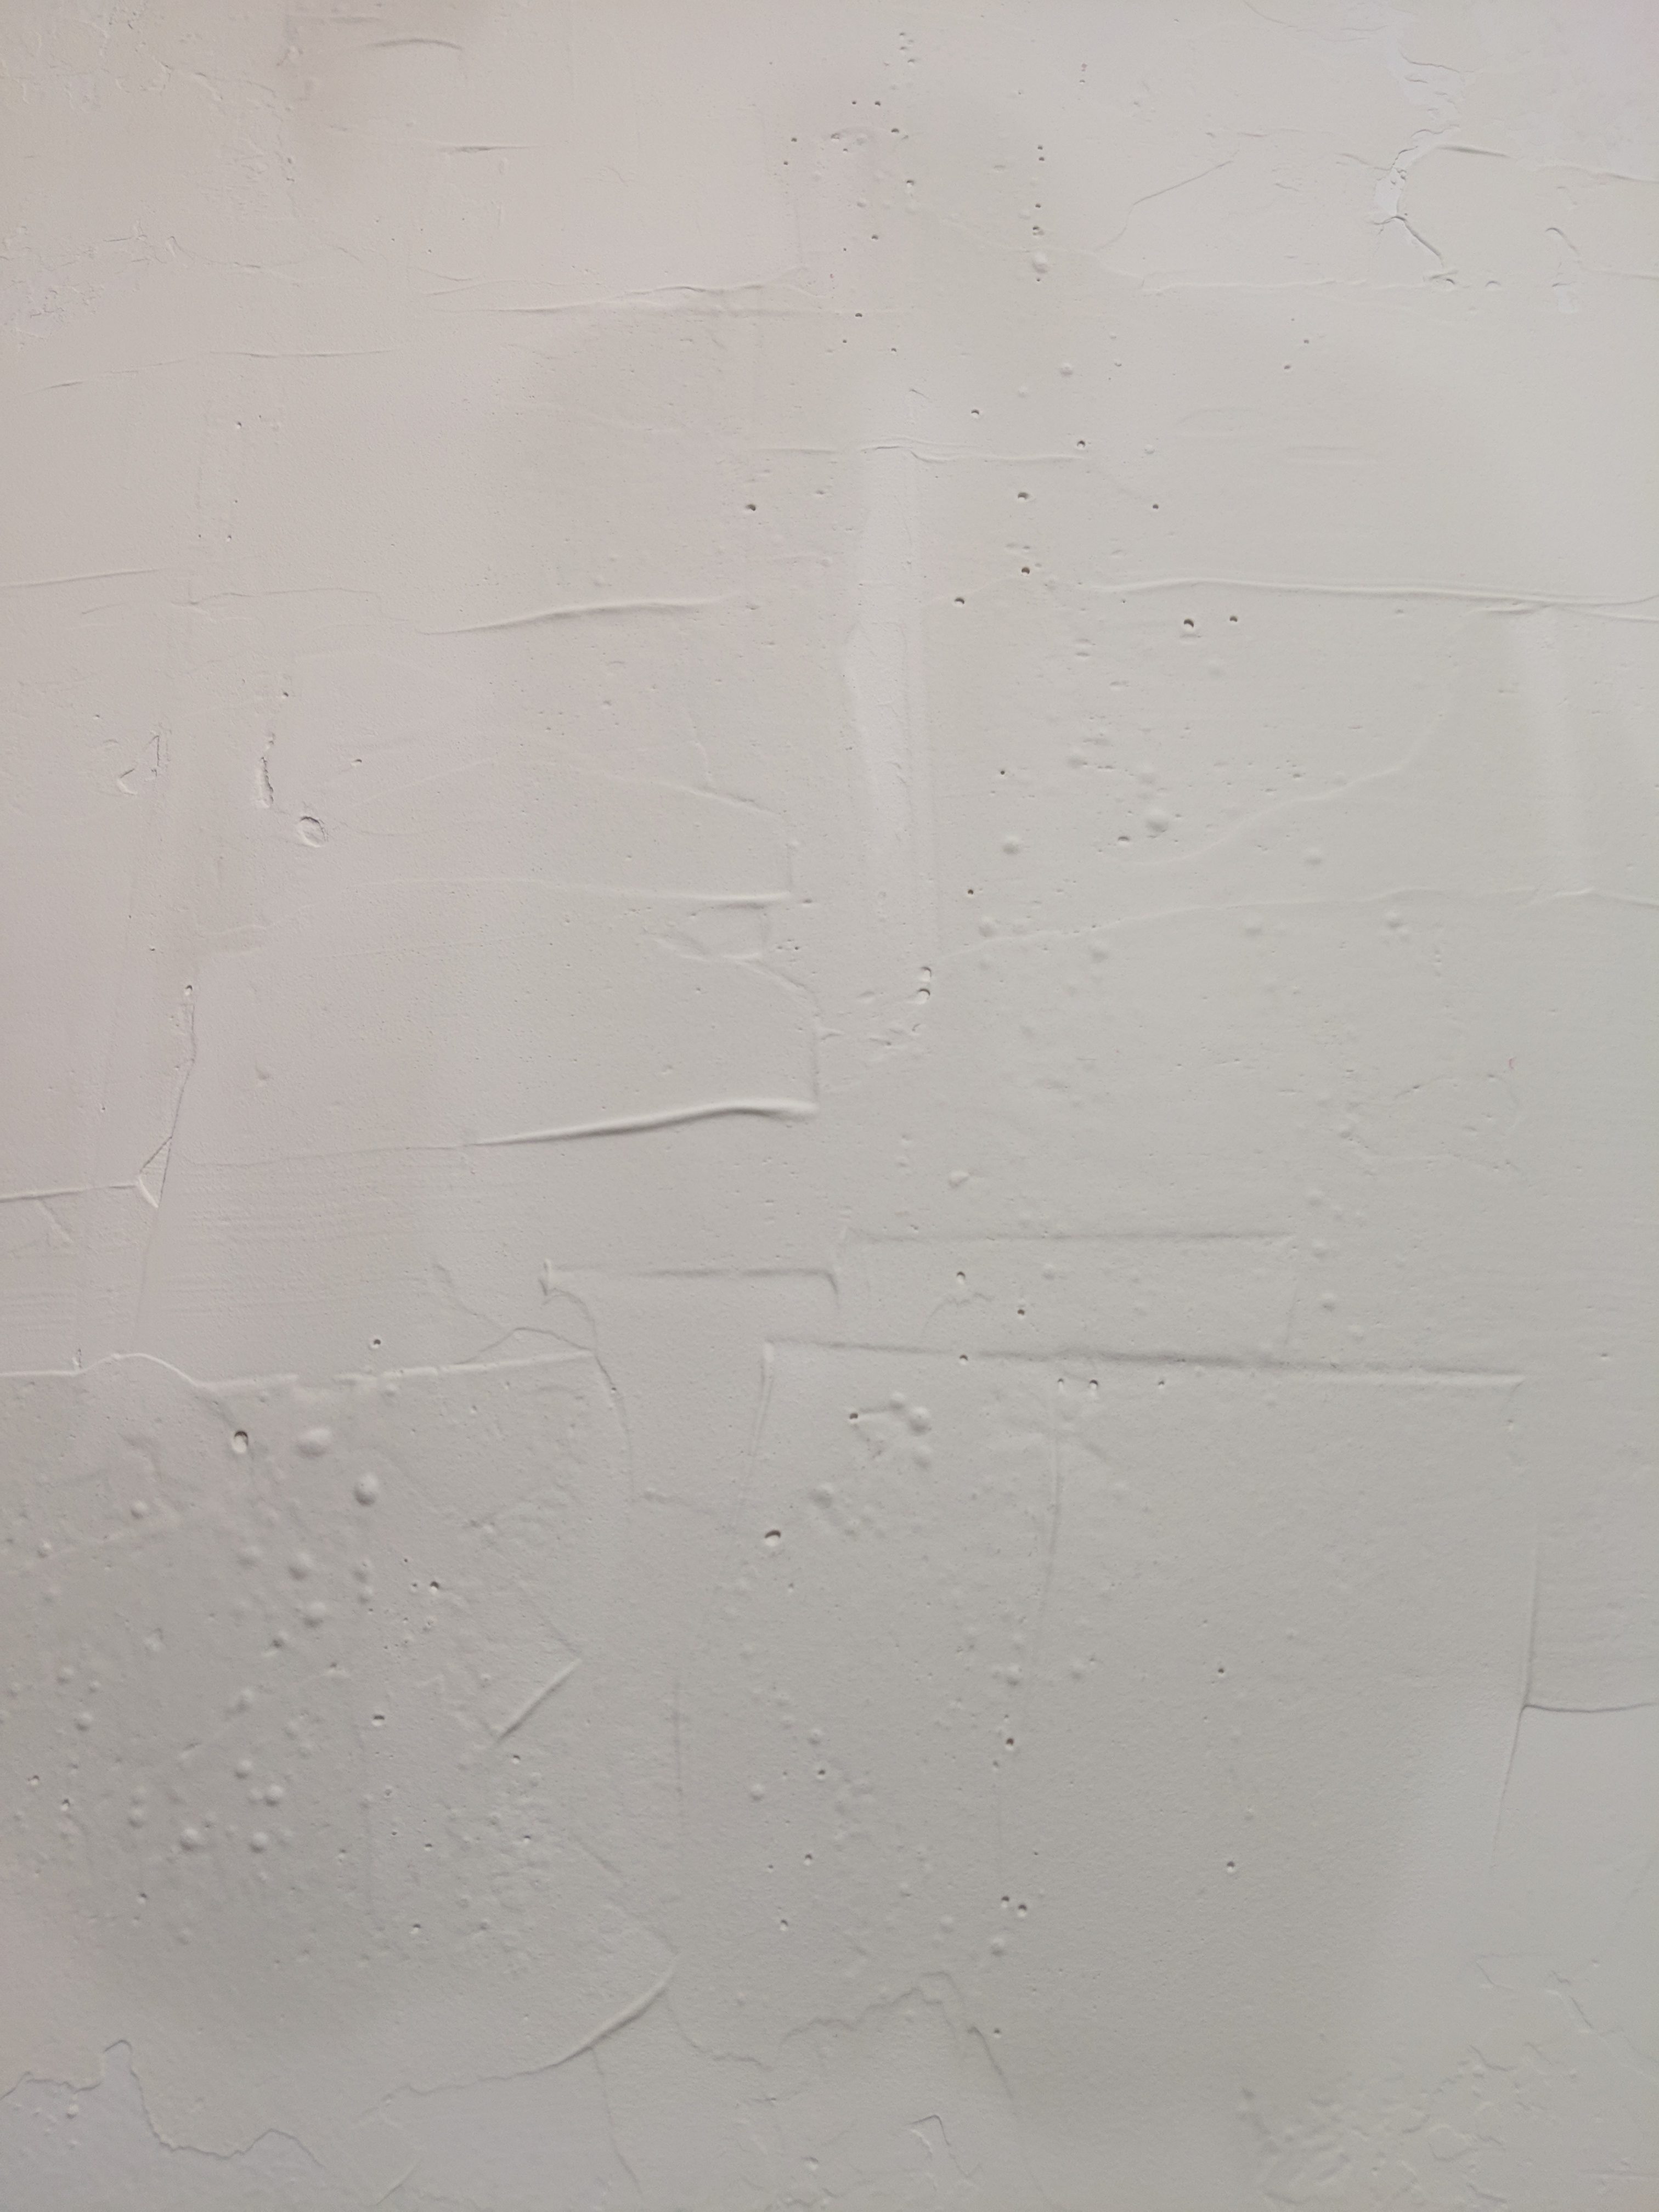
On Wednesday night I hit them with my orbital sander first lightly with an 80 grit pad to remove the high points, then slow passes with a 220 grit pad to smooth it all out. I had enough foresight to “tent” off the area I was working in. I covered the tub with a plastic sheet, and hung one between the walls leading into the vanity area. I didn’t fully seal it off, because I had to go back and forth, so I knew it would still be in the air either way, but this did a pretty decent job containing the drywall dust. SO MUCH DRYWALL DUST!
Once the dust settled, I noticed a few spots that could use a bit more love (including the aforementioned pits), so I used some spackle on those then sanded them down a couple hours later. After cleaning the walls, we were finally ready to put down another coat of primer. The end result wasn’t perfectly flat, but it was good enough for me to move on. There are a couple of humps that I just couldn’t smooth out without using a lot more compound, which in turn would cause other areas (moving into the tiling space) to raise up more than I wanted. Maybe one day down the road, I’ll get brave and attempt to fix them, but for now, they live on.
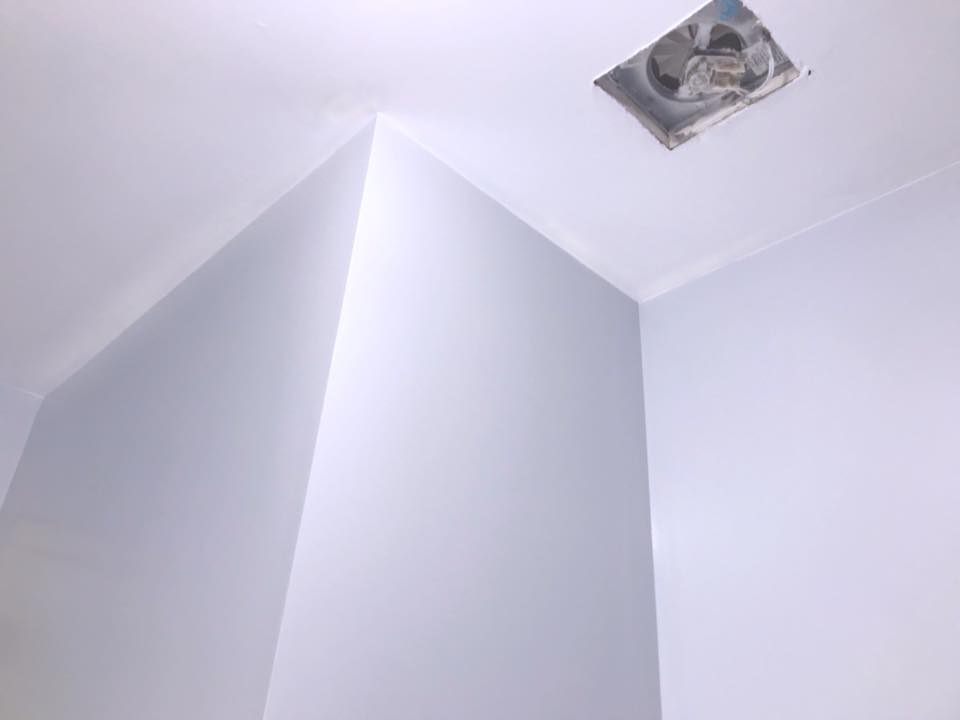
With the walls primed and dry, we were finally ready for paint. We had tried 4 different samples, and didn’t love any of them with the grey color of the vanity. We really liked two of them, a blue, and a gray, but they just didn’t really work. We looked at a few more color chips that we already had, and decided on a blue color that was in between the two that we liked. Rather than buy and test yet another sample, we decided to just roll the dice and get it. I got the first coat down Thursday evening. I paint fast and furious, so I usually try to stay away from ceilings with the rollers, or I’ll get paint everywhere. This time, I decided that I wanted it done faster, so I went ahead and made a mess knowing I needed to do another coat on the ceiling anyway.

Once I got a second coat done (somewhat avoiding the edges this time), I did another coat on the ceiling, then called in the artist to cut in the corners and clean up my mess. While it’s hard to tell from the pics (there’s a shop light blasting the walls), the color is a nice calm silvery blue gray.
I took the day off on Friday so that I could focus on getting some stuff done. The original plan early in the week was that Ivan was coming over Thursday evening, we’d finish tiling the floor, and go rent a stair climbing dolly to move the vanity upstairs and into the bathroom on Saturday. We’d also take a trip to the landfill to dump the tub, toilet, and the rest of the demo waste I had lying around various place of the house. With the setback on the walls, clearly there was no chance of being ready for the vanity by Saturday, so I skipped renting the dolly.
First thing Friday morning, we killed the power and installed the new lights and exhaust fan. Once that was done, I took a few more measurements and we went outside to start cutting tiles for the area around the bathtub and toilet. By the time we had those tiles cut, it was already well after 2pm, so there was no way we were gonna get the car seats out of the Durango, get everything loaded and make it to the landfill, through recycling and onto the scales before they closed at 4pm. So I decided to push that until Saturday, and instead cut a few more tiles so we could work on setting them at night. After getting everything aligned for a test fit, we went out for some dinner before getting to work on setting them.
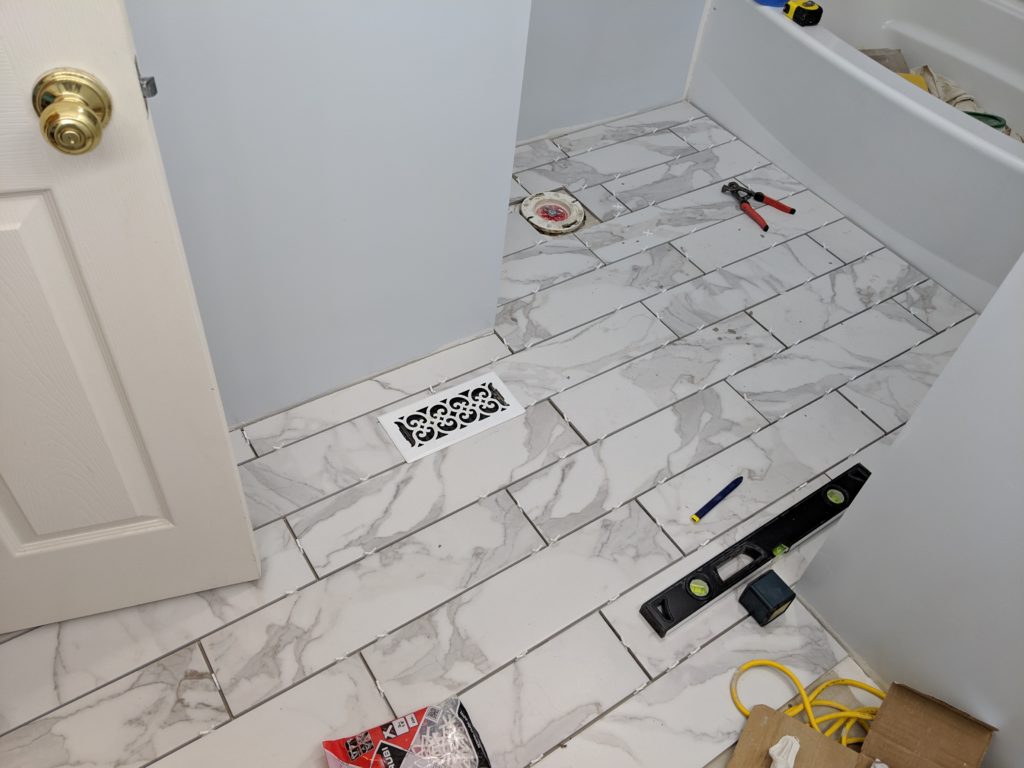
We finally mixed up some mortar around 9:30pm and got to work setting the tiles. The hardest part of laying tile back there was the relatively tight work space. There’s a lot of stuff needed within reach, so between all that stuff and 2 people, you get stuck in some odd positions while working. It took us about 3 hours to lay tile through that back section up to the floor register. By the time we were done, my knees and back were destroyed. Also, it’s no fun cleaning up a mortar bucket and tools in the winter. I don’t have my outside spigots on because it’s been well below freezing here for a while. So that means stuff has to be cleaned inside. You can’t just poor mortar down the drain (it’s cement durh), so it means scraping it off into the trash, then filling the bucket with water from the sink and scrubbing it out and dumping outside. Fun times!
Saturday morning after breakfast, we finished measurements for the rest of the cuts needed and got those tiles all cut up. Next we loaded up the Durango for the trip to the landfill, which took us over an hour! After running to the landfill we took a quick break for a beer and some tunes at a brewery, then came back to get to work on the rest of the tile. It was much easier working in the more open space, but you definitely still get boxed in to tight spaces. With this pattern, it was kind of hard deciding which tile to do next, since you end up with 70% of a tile being exposed. If you continue down the middle, you’ll quickly close off the room. If you continue left to right, you risk drift, since there’s only 30% of the tile exposed to align the next one. I tried to do a combination, but I still ended up with a bit of drift by the last row. I ended up having to move some tiles which is not easy to do after they’ve made suction with the mortar. Not to mention the leveling clips I was using. In the end, it worked out mostly okay.
The only other real issue was a slight miscalculation due to the walls not being square. We accounted for it, but wrongly assumed that we’d have enough excess wiggle room if needed. Unfortunately, I ended up with a couple of end pieces that were about 1/4″ too long. Being 11pm at this point, the wet saw was out of the question. I attempted to make the cut on the manual tile cutter, but it just laughed at the suggestion and made a terribly uneven cut of whatever size it felt like doing. So I chewed it up a bit with the tile nippers. This is fairly thick tile, so the nippers are no match when trying to do tiny precision cuts. I got it close enough and filed down the edges. One of the pieces worked well. The other has a bit more gap than I’d like (you can see it on the bottom right of the photo below). I’m probably going to pry this tile out today, and cut a new one, cuz it’s going to bother me.

I mentioned the tile leveling system above, but didn’t really ever explain. The newer long format tiles are much more prone to “lippage” or cupping. Where one edge of the tile will sit higher then the other. This is caused by the tiles not being completely flat, either from the manufacturer, or due to the surface not being level. I looked into these before, but decided I didn’t need them for the original tiles I chose. Once I went to the 6×24’s, I knew they’d be needed for my novice skills.
The way that the set I got works, is you have a little clip that one half slides under the edge of one tile, and you lay the next tile on to the other half. You then slide a cap on it, and use a little gun to pull the tab up/cap down, cause the edges of the two tiles to align. Once the mortar has set, you knock off the exposed tabs and they snap at the base under the tile. In theory, this gives you a perfectly flush surface between the tiles. In practice however, I had several of the tabs break off while trying to cap or squeeze them down. I’m also slightly concerned about the gap that created under the tiles. I feel like they could have used more mortar than I put down, which is not really something I wanted to have to do from a height of tile perspective. I did end up back buttering most of the tiles on the entry side of the room because of this. We’ll find out this evening if everything is set well enough. On the subject of tile height, I realized the next morning that I forgot to set the threshold piece, so I’ll have to do that when I do the base tiles, or maybe this evening if I replace that one tile before grouting.
I hope to get all the grout done tonight, then move on to the base tiles tomorrow. I’m having a bit of a crisis with the base tiles. I originally bought white cove base to match the tiles going in the tub/shower, as the bullnose will come down the wall and connect to it. But the original plan also had all white floor tile. The new tile is not as pure of a white, so I was having second thoughts on it. I made my daily hardware store trip (seriously. there have only been a few days out of the last month that I haven’t been to Lowe’s or HD) and found some nice 3×12″ bullnose that looked like it was a good match for the floor tile. I went ahead and bought it and brought it home. The color however is not a perfect match. It’s a bit too yellow looking I think. So now I’m back to using the cove I guess.

You must be logged in to post a comment.