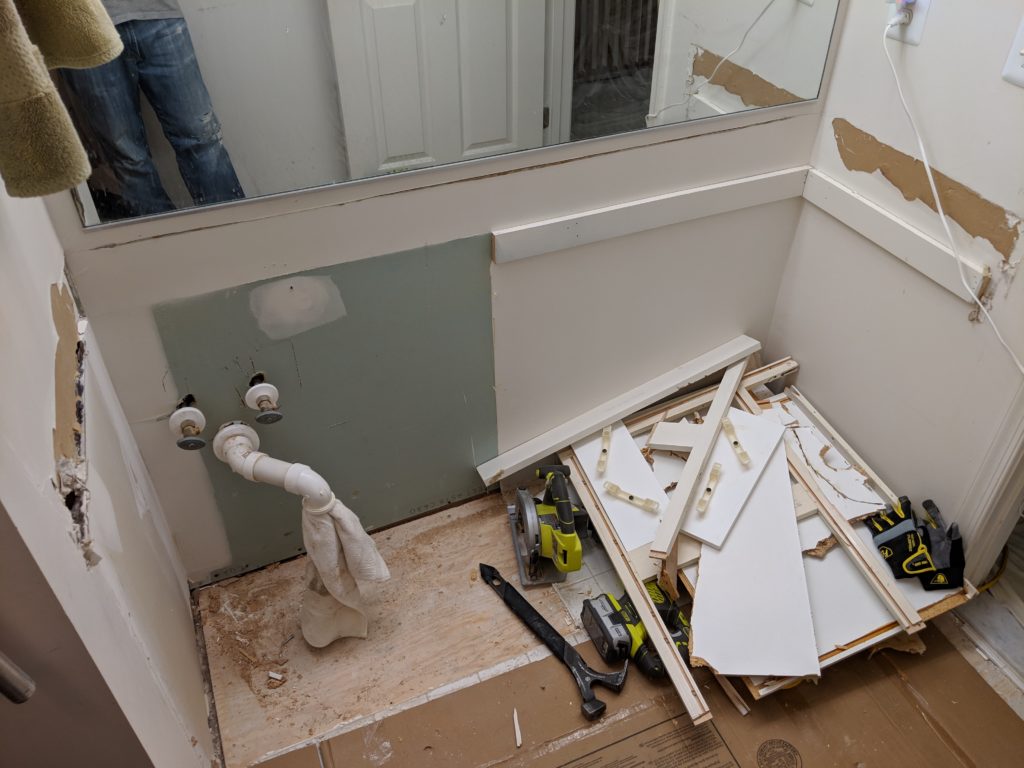
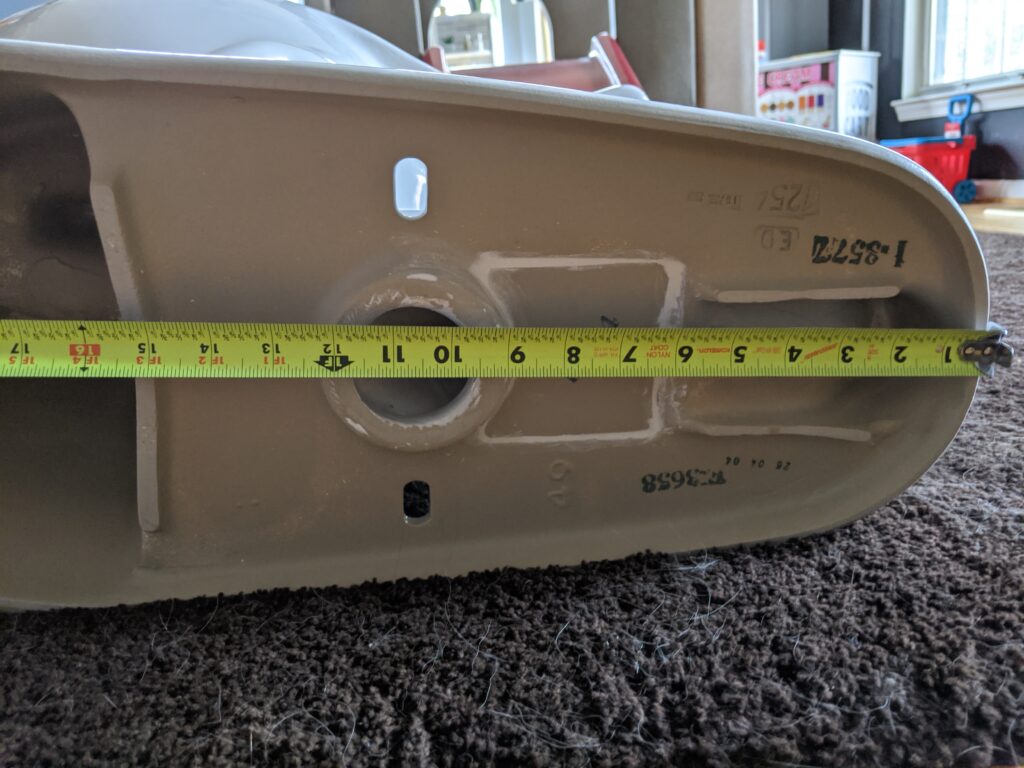
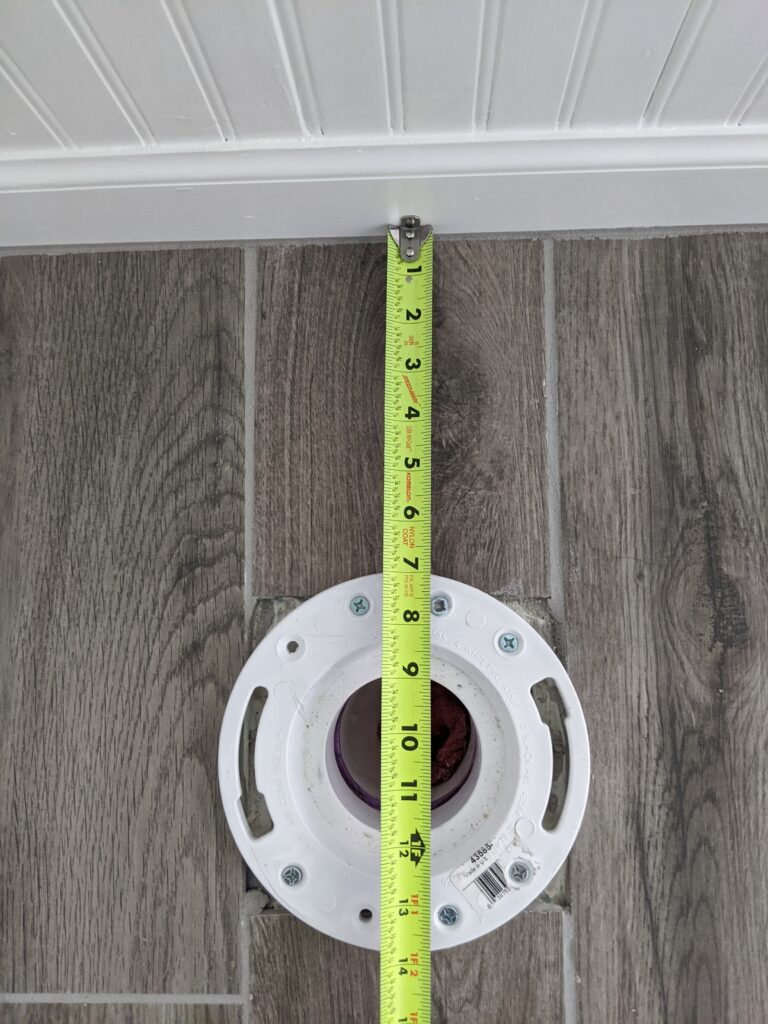
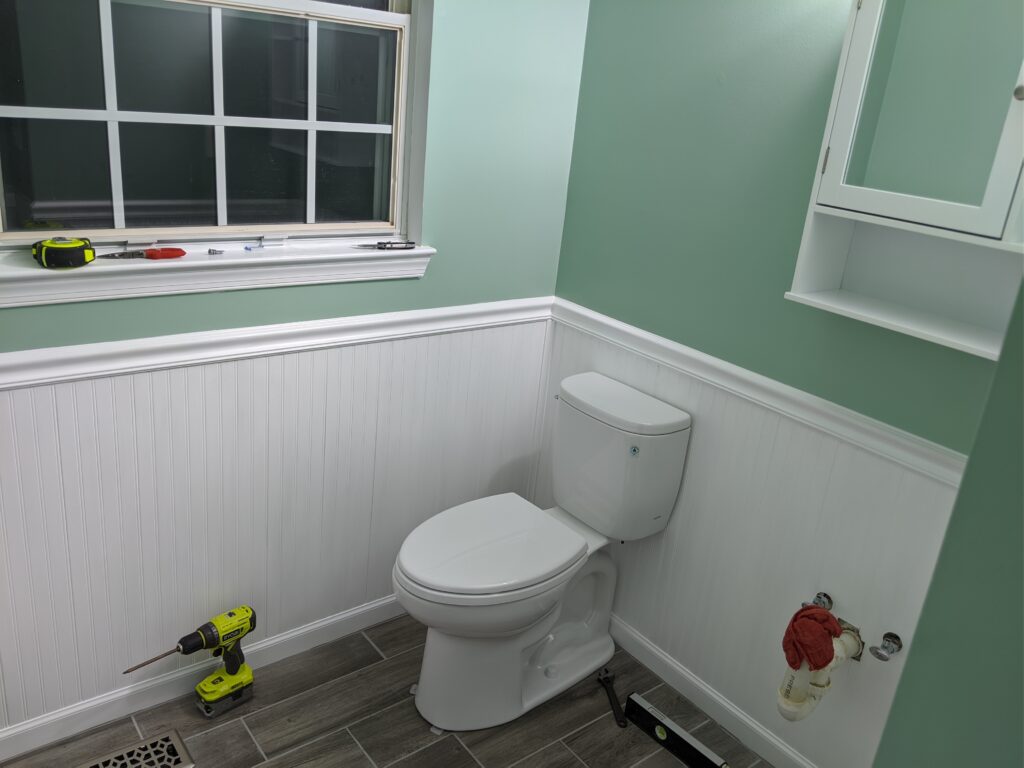
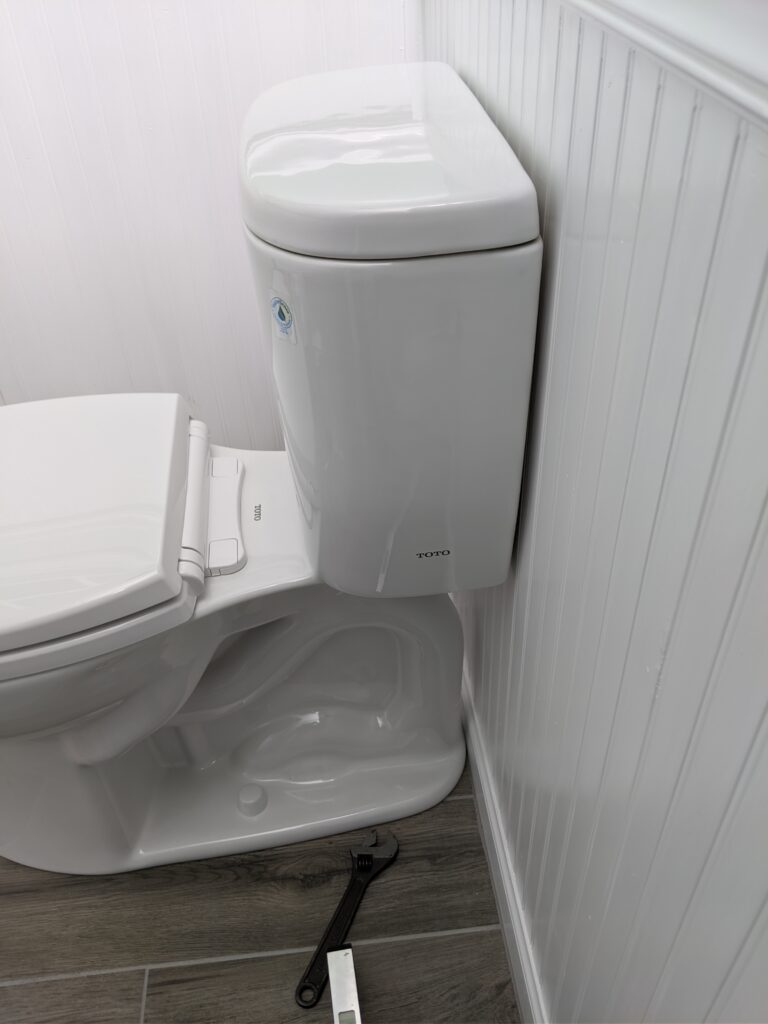
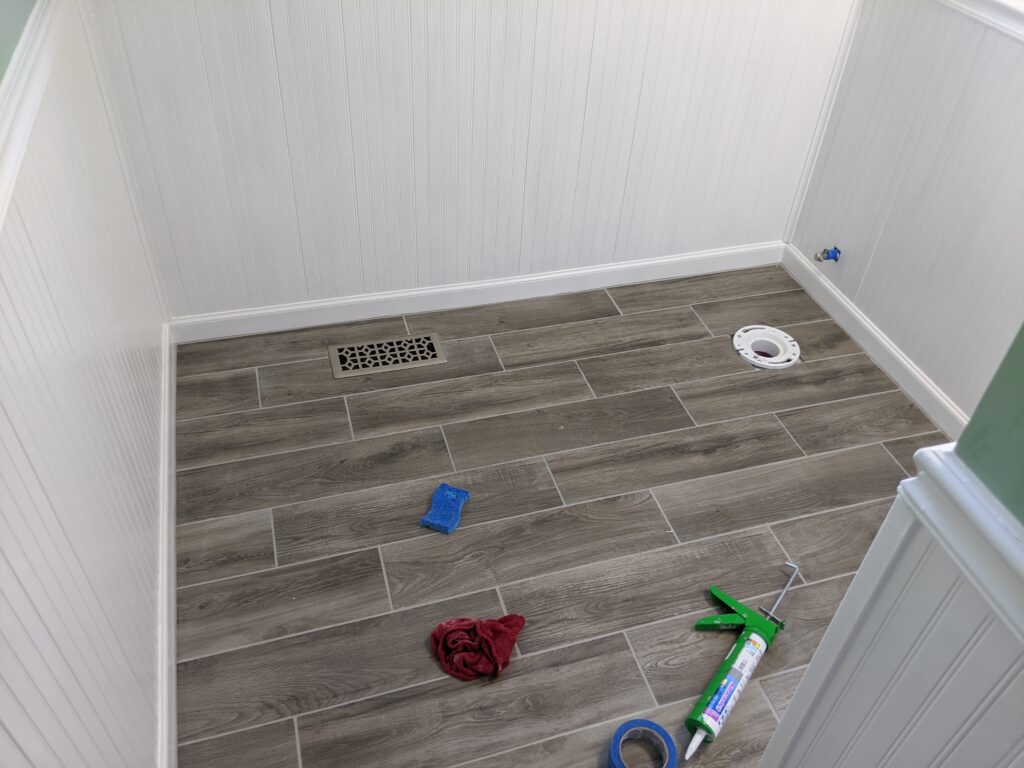
Well I finally finished all of the major work in the bathroom over the holiday week. All that’s left to be done are little things like hanging pictures and such. Overall, I’m pretty happy with the way things turned out. I left things at the end of the last post having just finished the wainscoting. I had actually already installed the toilet as well, so let’s start there.
Powder Room Remodel Part 3: Goodbye Yellow Brick Road
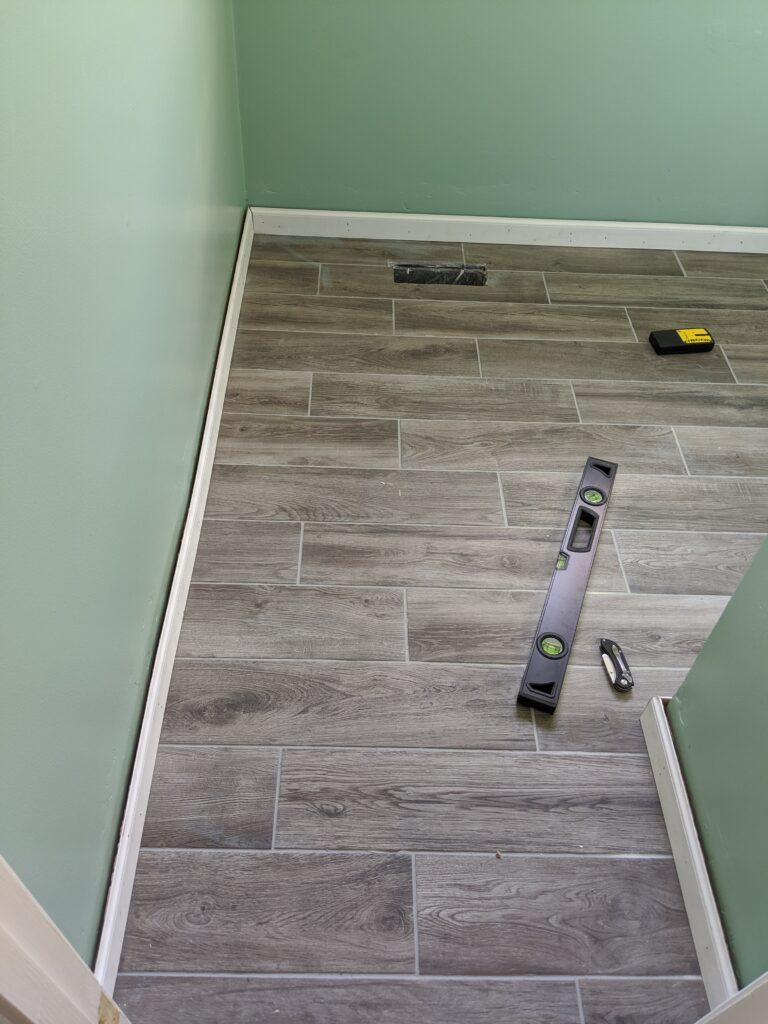
I can’t believe that it’s already been another 2 weeks since my last update (which I forgot to post to social media). Work has really put a damper on my free time during the week to get things done. But, the finish line is (very) near! I left the last update having just finished painting the walls. While the yellow paint didn’t bother me before, I really hated it by the time I was ready to redo this bathroom. We chose a blueish green to go with our beachy theme. It’s amazing how much of a difference it makes to the appearance of the floor. Next up was the trim, wainscoting, and chair rail.
Continue reading “Powder Room Remodel Part 3: Goodbye Yellow Brick Road”Powder Room Remodel Part 2: Tiling and Paint
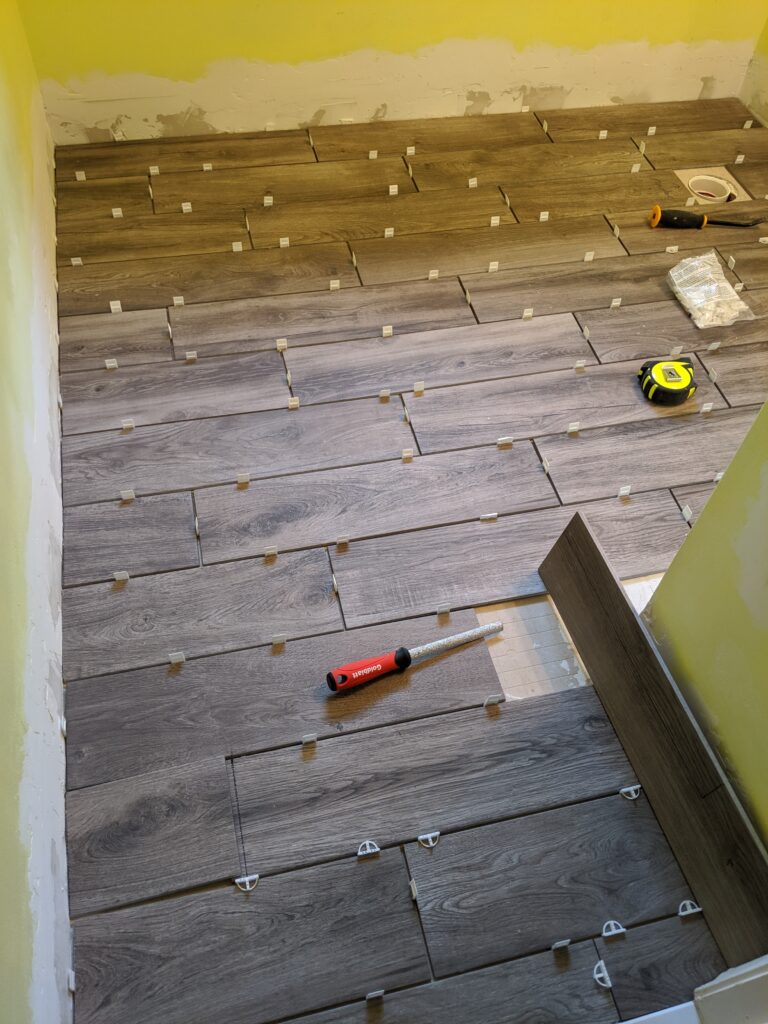
It’s been about 2 weeks since the first post, and things are moving along nicely. While I would’ve originally liked to have been done by now, I’m happy with how things are progressing. Between working a lot and multiple Halloween events, I haven’t had a ton of time, but I got a lot done in the past 2 weeks. First up is tile.
Powder Room Remodel Part 1: Here I Go Again…
Welly, welly, welly, welly, welly, welly, well. Anyone who’s been to our house and used the powder room in the past couple of years, has probably noticed loose & cracked tiles. I was very aware that the floor was failing in there, and badly in need of being ripped out. I wasn’t however, fully aware of the cause. Last year, I noticed some water staining down below the bathroom in the basement ceiling. I happened to have a hole in the ceiling next to it, and could see some water damage on one of the joists. Unfortunately, I couldn’t really see the extent of it since I was just on the edge of the bathroom. At any rate, it was already on my todo list, but it kept getting delayed due to other stuff. Just before we went on vacation last month, I noticed water on the tiles behind the toilet. I flushed it, and watched water pour from the tank somewhere. So I turned off the water in there and decided it was finally being dealt with when we returned.
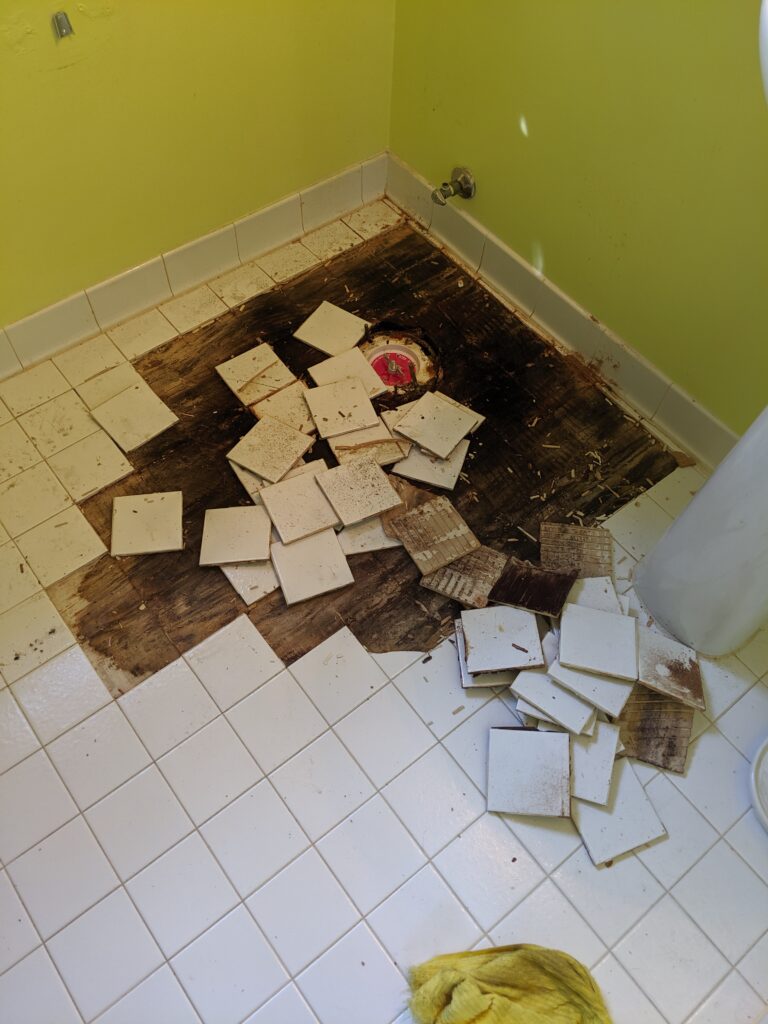
Guest Bathroom Remodel Part 10: Finally done (a long time ago)
Man, time really flies by. I’m about to start another bathroom remodel project, so I guess I should close out this one! As many of my friends know, I got super frustrated at the end of this one and just kinda walked away from it for a while. I’ll add details below, but where did I last leave off? Tiling the tub.
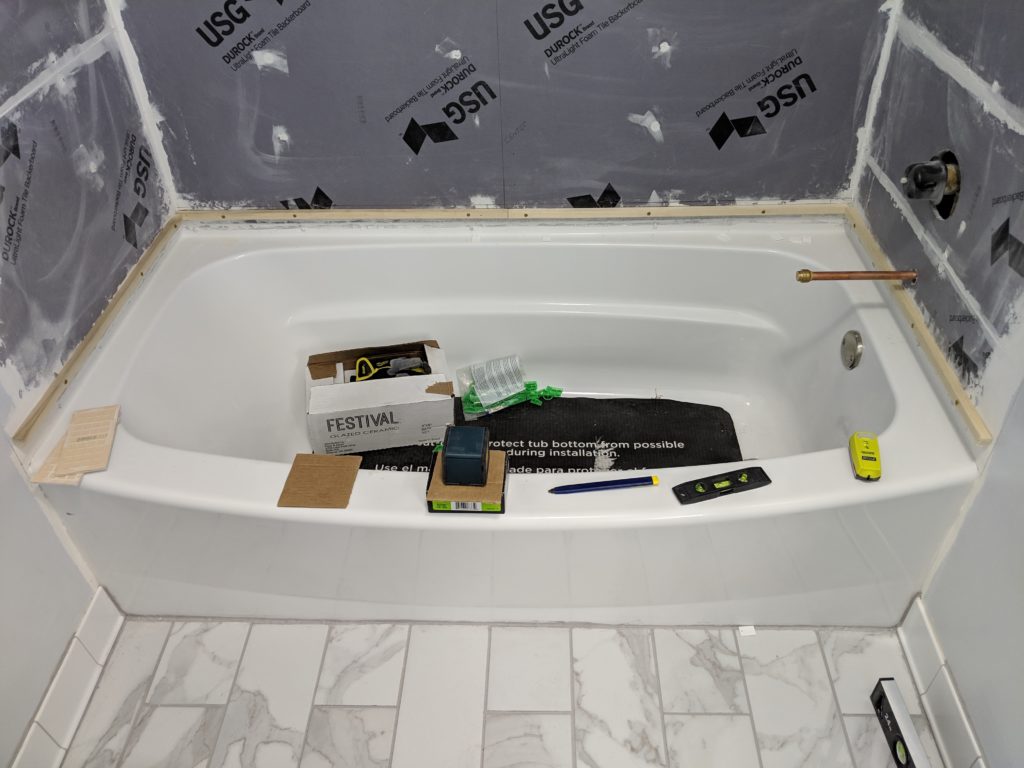
Guest Bathroom Remodel Part 9: Ready For Water (minus the shower)!
I got a lot accomplished this week. The last post I ended with just finishing setting the floor tiles. I ended up not doing grout until Tuesday night, because I got a late start on Monday, and by the time I got the floor cleaned up, it was already 10:00pm. Anyhow, Monday night, I went in and removed all of the spacers, and kicked off all of the leveling caps. All but a couple snapped cleanly at the base (under the tile) as they should. I knew that a couple of them were not going to budge due to excess mortar in between the tiles. I just hit them with my multi-tool using a carbide grit grout removal blade (more on that below).
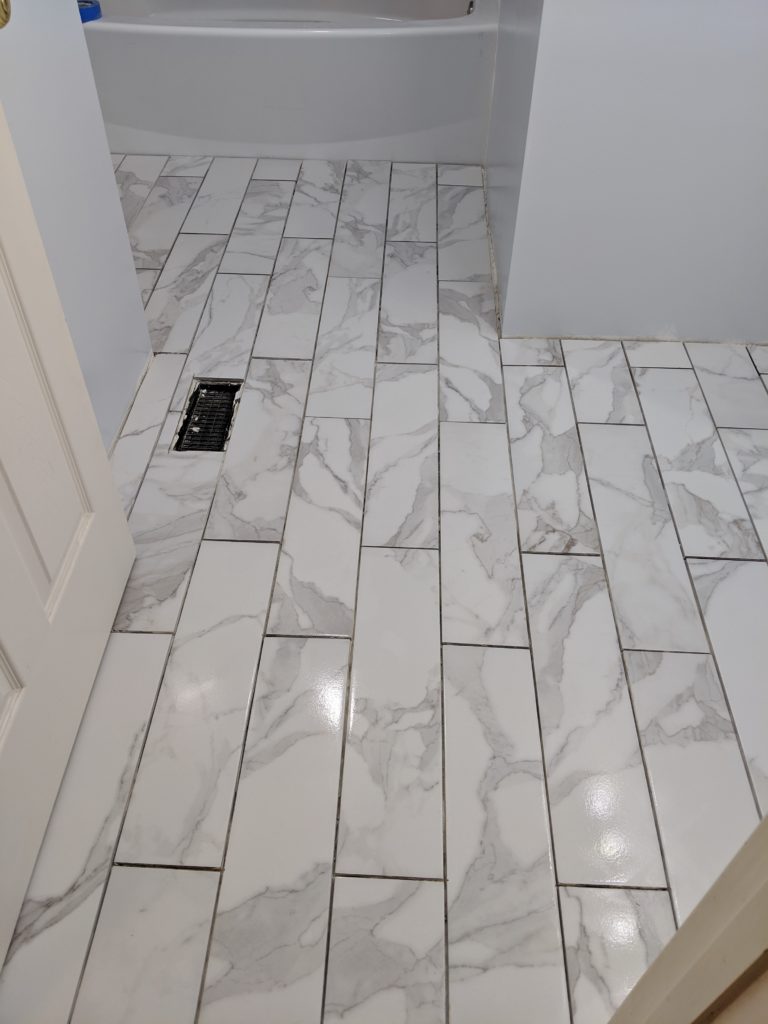
Guest Bathroom Remodel Part 8: Floor Tiles Are Set!
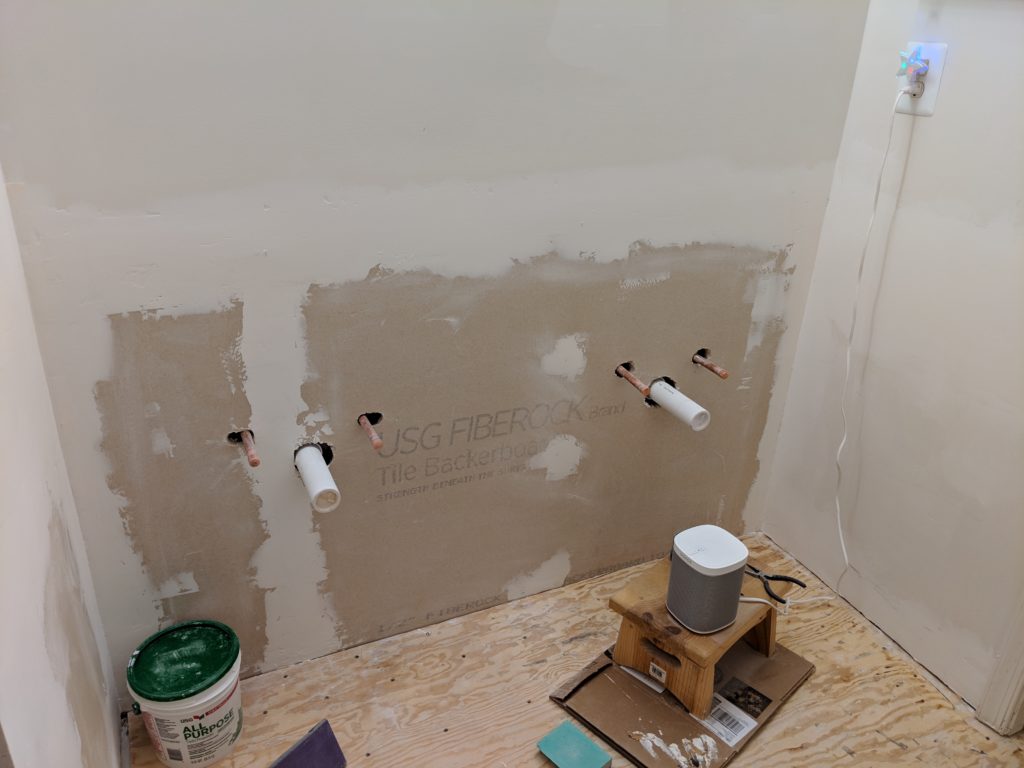
It’s been a busy few days since the last update. I continued working on cleaning up those walls outside of the alcove through Thursday morning. I kept building up anywhere that there were low spots and trying to feather out the high spots. Unfortunately,my last coat of joint compound must have gotten too much air when mixing, because it developed a lot of bubbles as it was setting. Some of them really bad. So I knew that I was going to have to touch these up after sanding, as they leave pits behind.
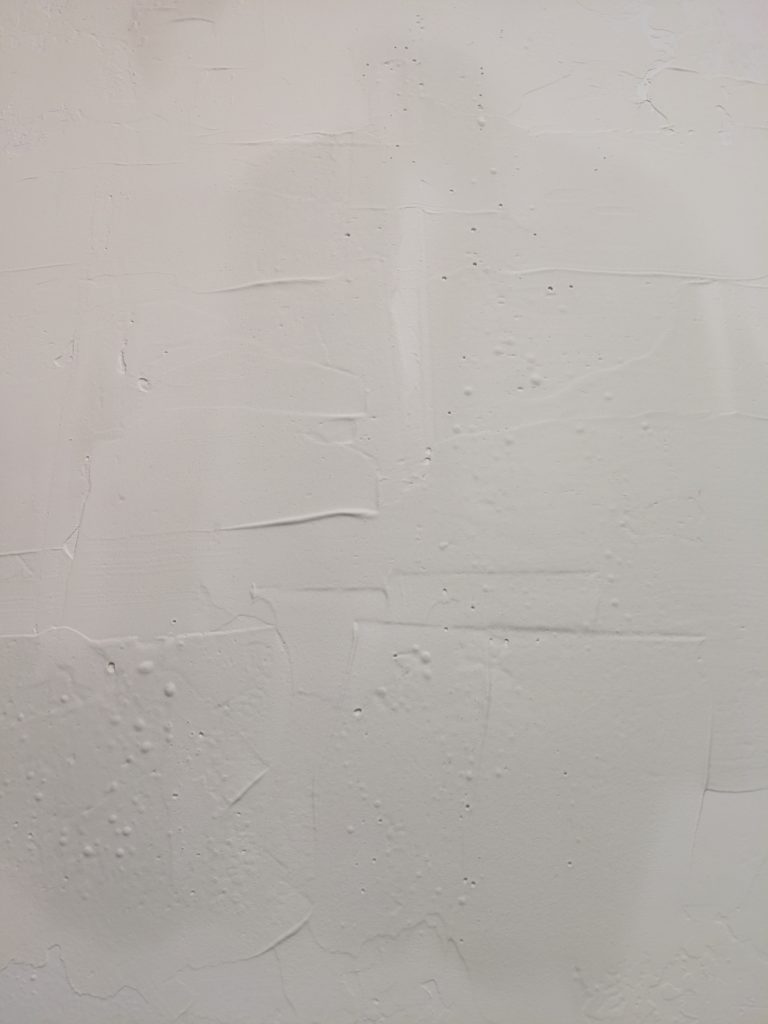
Guest Bathroom Remodel Part 7: So Close to Tile!
Can I just start by stating that everything takes longer than you imagine it will take? Even some of the most simple tasks in this project have taken me much longer than anticipated, because there’s always something. That said, things are looking up. Tiling is about to commence! But first, let’s talk mud again >:( …
Guest Bathroom Remodel Part 6: Things Never Work Out As Planned
This is going to be a long post… I’d like to make it clear that these things are never as smooth as you imagine it will be. All the DIY blogs like to make it sound like their project went smoothly and was done in no time. The reality is that there are always curve balls and setbacks. So if you’re thinking of going down this road, it’s something you need to be prepared for. While it sucks having this bathroom out of commission for longer than I wanted, we are lucky enough to have others in the house, so it’s only a minor inconvenience for Jax to have to use the downstairs bathroom.
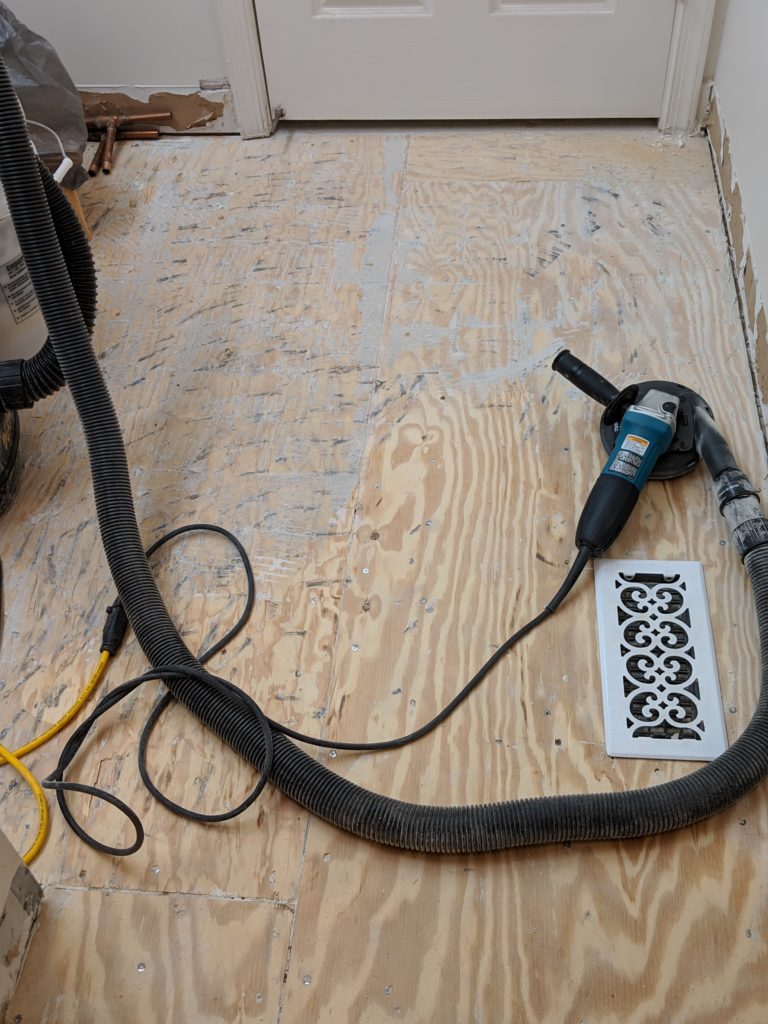
Well I’m a week late on this update, because not much actually happened until late last week. The plumber was here last Wednesday, but couldn’t finish everything due to late start, and having to leave early for another appointment. He planned to return early the next morning to finish things up. That morning however, we got hit with a freak snow storm with around 5 inches dumped on untreated roads. I was heading out of town on Friday, so I couldn’t get him back out until Monday morning. I was bummed, because not only had I lost 2 evenings of working that week, but I had also planned to get to work in there as soon as I got home on Sunday morning. I was able to get to grinding the old mortar off the subfloor at least.
Guest Bathroom Remodel Part 5: Demo Almost Done and Plumbing!
I did the last of the major demo last night/early this morning, removing the toilet, vanity, drywall behind the vanity, and last remaining tiles. The plumber will be installing the new tub and converting the sink plumbing from single to double today/tomorrow. Aside from grinding the remaining mortar from the subfloor (I may replace it though), a few more small areas where I need to replace drywall, and the threshold (which I still haven’t decide what I’m doing with), I am done with demo.
